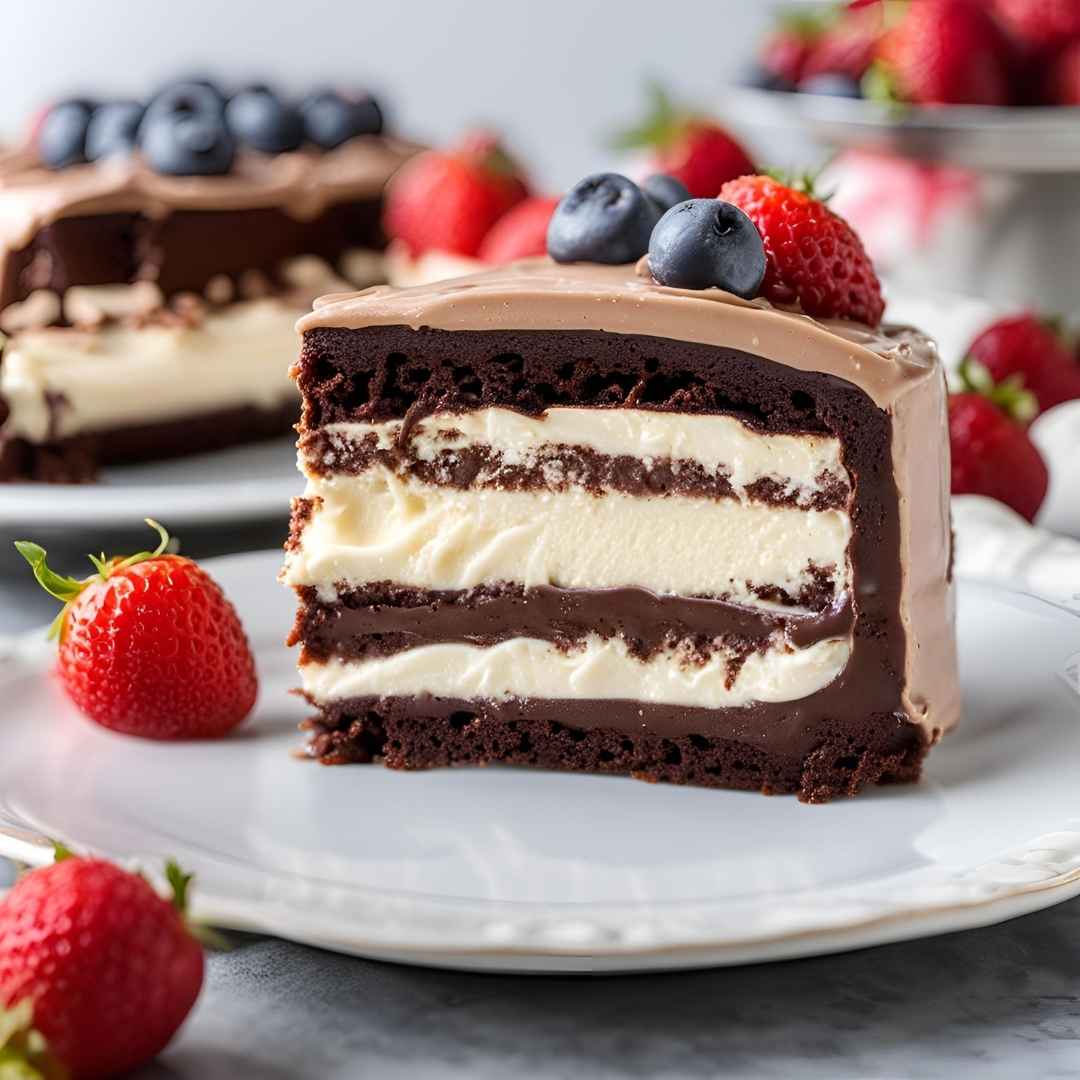
Introduction No Bake Oreo Dessert is a heavenly, quick-to-prepare treat that requires no oven time. This dessert combines the rich creaminess of cheesecake with the irresistible crunch of Oreo cookies, making it a crowd-pleaser for any occasion. Its simplicity and delectable taste make it an excellent choice for both novice and experienced bakers who are short on time but want to impress.
The History of The origin of Oreo-based desserts can be traced back to the invention of the Oreo cookie by the National Biscuit Company (now Nabisco) in 1912. Over the years, this iconic cookie has evolved into a versatile ingredient used in a variety of recipes. The no-bake Oreo dessert gained popularity in the late 20th century, coinciding with the rise of convenience cooking and a growing demand for quick, no-fuss recipes. The combination of minimal effort and maximum flavor has cemented this dessert as a staple in many households.
Ingredients Breakdown
- Oreo Cookies: The star ingredient provides the dessert’s signature flavor and texture. Classic Oreos are recommended, but flavored variants can also be used for unique twists.2. Cream Cheese: This adds a rich, tangy creaminess to the dessert and acts as a binding agent in the filling.3. Whipped Topping (e.g., Cool Whip): Light and airy, it balances the heaviness of the cream cheese while giving the dessert its smooth consistency.4. Butter: Used to bind the Oreo crust, butter ensures the base holds together and adds a subtle richness.5. Powdered Sugar: Adds sweetness to the cream cheese mixture without compromising the smooth texture.6. Milk: A small amount is often used to soften the cream cheese for easier mixing.7. Optional Toppings: Crushed Oreos, chocolate syrup, or sprinkles enhance presentation and flavor.
Step-by-Step Recipe
- Prepare the Crust: Begin by crushing the Oreo cookies into fine crumbs. Set aside a small portion for garnish. Mix the remaining crumbs with melted butter until well combined. Press the mixture firmly into the bottom of a baking dish or springform pan to form the crust. Chill in the refrigerator while preparing the filling.2. Make the Filling: In a mixing bowl, beat the cream cheese until smooth and creamy. Gradually add powdered sugar and continue to beat until fully incorporated. Fold in the whipped topping gently to maintain its airy texture.3. Assemble the Dessert: Spread the cream cheese mixture evenly over the chilled Oreo crust. Smooth the top with a spatula. Sprinkle reserved Oreo crumbs or other toppings over the filling for decoration.4. Chill and Serve: Cover the dish with plastic wrap or aluminum foil and refrigerate for at least 4 hours or overnight. This allows the flavors to meld and the dessert to set properly. Slice into squares or wedges and serve chilled.
Tips for the Perfect
- Use a food processor to achieve uniformly fine Oreo crumbs for a more cohesive crust.2. Ensure the cream cheese is at room temperature for easier mixing and a smoother filling.3. Chill the dessert for the recommended time to allow it to set fully and achieve the best texture.4. For a firmer crust, bake it briefly at 350°F for 8-10 minutes before chilling, though this step is optional.5. Experiment with different Oreo flavors to add variety to the dessert.
Variations and Customizations
- Mint Oreo Dessert: Substitute classic Oreos with mint-flavored Oreos and add a few drops of mint extract to the filling.2. Peanut Butter Oreo Dessert: Add a layer of creamy peanut butter between the crust and filling for a nutty twist.3. Chocolate Lover’s Delight: Mix cocoa powder into the cream cheese filling and top with chocolate chips.4. Fruity Oreo Dessert: Incorporate fresh berries like strawberries or raspberries for a burst of fruity flavor and a visually appealing contrast.5. Individual Servings: Prepare the dessert in small jars or cups for a portable, portion-controlled option.
Health Considerations and Nutritional Value While No Bake Oreo Dessert is undoubtedly indulgent, there are ways to make it slightly healthier. Use reduced-fat cream cheese and light whipped topping to cut down on calories and fat. Opt for sugar-free Oreos and powdered sugar alternatives for a lower sugar content. However, it’s essential to enjoy this dessert in moderation, as its primary ingredients are calorie-dense. A standard serving contains around 250-300 calories, depending on the specific ingredients and portion size.
FAQ
- Can I make this dessert ahead of time? Yes, it’s even better when prepared a day in advance, as it allows the flavors to meld.2. Can I freeze the dessert? Absolutely! Wrap it tightly and freeze for up to one month. Thaw in the refrigerator before serving.3. What can I use instead of whipped topping? Homemade whipped cream works well as a substitute.4. Can I use gluten-free Oreos? Yes, gluten-free Oreos can be used to make this dessert suitable for gluten-sensitive individuals.5. How long can the dessert be stored in the fridge? It can be stored for up to 3-4 days in an airtight container.

No Bake Oreo Dessert
Ingredients
Ingredients for the Crust:
- 32 Oreo cookies
- 6 tablespoons unsalted butter melted
Ingredients for the Filling:
- 8 ounces cream cheese softened
- 1 cup powdered sugar
- 1 8-ounce container whipped topping, divided
- 2 3-ounce boxes instant chocolate pudding mix
- 10-12 Oreo cookies crushed into small pieces
- 3 cups cold milk
- Additional crushed Oreos for topping
Instructions
- Crush 32 Oreo cookies using a resealable zip-top bag and a meat mallet or large soup can. Alternatively, you can use a blender or food processor for finer crumbs.
- In a bowl, mix the crushed Oreos with melted butter until well combined. Press the mixture evenly into the bottom of a greased 13×9-inch baking pan. Refrigerate to set while preparing the next layer.
- In a large mixing bowl, use an electric mixer to beat the cream cheese and powdered sugar until smooth. Gently fold in 1 cup of whipped topping. Spread this mixture evenly over the chilled crust.
- In a medium bowl, whisk the pudding mixes with cold milk until combined. Stir in the chopped Oreos and let the mixture set for 2-3 minutes, just enough to thicken slightly. Spread this layer over the cream cheese mixture.
- Spread the remaining whipped topping evenly over the pudding layer. Refrigerate the dessert for at least two hours to chill and set.
- Before serving, sprinkle additional crushed Oreos on top if desired. Enjoy!
Notes
For a delicious finish, top your Oreo dessert with crushed or chunked Oreos. You can also add mini chocolate chips or chocolate sprinkles and drizzle hot fudge over the top for the ultimate chocolate treat! Use Homemade Whipped Cream:
Swap out Cool Whip for homemade whipped cream for a fresh and easy alternative. It’s my go-to topping for Coca-Cola Chocolate Cherry Cupcakes. Try a Trifle or Mini Cups:
Instead of a 9×13-inch pan, layer the cheesecake filling, pudding, and whipped cream in a large trifle bowl. Alternatively, create individual servings by layering the ingredients in small cups, just like I do for Pumpkin Pie in a Cup or Easter Dirt Cake Cups. Chill Time:
Allow the No-Bake Oreo Dessert to chill in the refrigerator for at least 2-4 hours. This helps it set properly and ensures it’s perfectly cold when served. Make Ahead:
Prepare this dessert up to one day in advance and store it in the refrigerator until ready to serve. Storing Leftovers:
Keep any leftovers fresh by covering them with plastic wrap and storing them in the fridge.