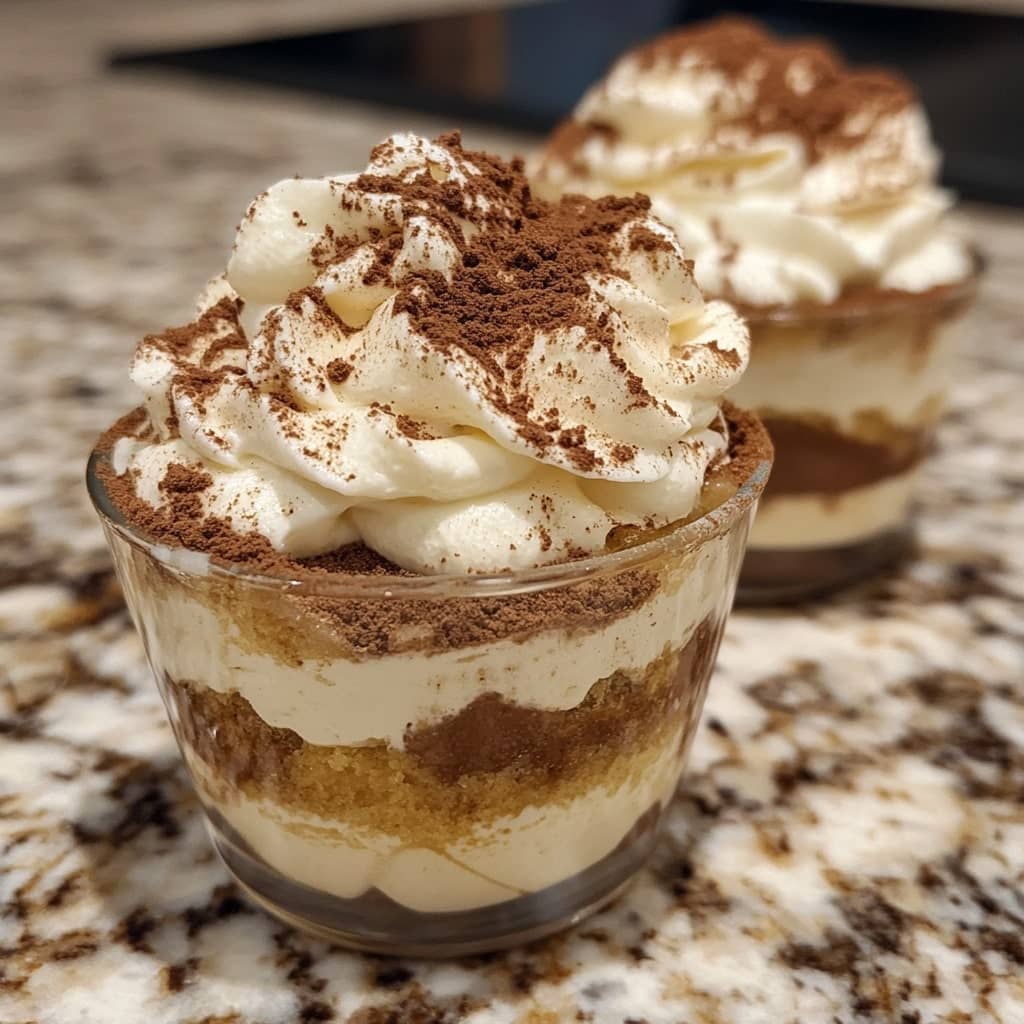
Whipped Cream Cheese Tiramisu Cups offer a delightful twist on the classic Italian dessert, combining the rich flavors of traditional tiramisu with the lightness of whipped cream cheese. These individual servings are perfect for entertaining or enjoying a personal indulgence, providing the beloved taste of tiramisu in a convenient cup.
The History of Tiramisu Tiramisu, meaning “pick me up” in Italian, originated in Treviso, Italy, during the 1960s or 1970s. While the exact origins are debated, it is widely attributed to the restaurant Le Beccherie, where it was crafted by Alba di Pillo-Campeol and pastry chef Roberto Linguanotto. The dessert quickly gained popularity, becoming a staple in Italian cuisine and inspiring numerous variations worldwide. accademiadeltiramisu.com+1Encyclopedia Britannica+1Gourmet Traveller+5The New Yorker+5Wikipedia+5
Ingredients Breakdown To prepare Whipped Cream Cheese Tiramisu Cups, you’ll need:
- 8 ounces of cream cheese, softened
- 1 cup of heavy whipping cream
- ½ cup of granulated sugar
- 1 teaspoon of vanilla extractLa Cucina Italiana+7Rich And Delish+7Encyclopedia Britannica+7
- 1 cup of strong brewed coffee or espresso, cooled
- 2 tablespoons of coffee liqueur (optional)
- 24 ladyfinger cookies
- Unsweetened cocoa powder, for dusting
- Chocolate shavings or cocoa nibs, for garnish (optional)
Step-by-Step Recipe
- In a mixing bowl, beat the softened cream cheese until smooth.
- In a separate bowl, whip the heavy cream until soft peaks form.
- Gradually add the sugar and vanilla extract to the whipped cream, continuing to beat until stiff peaks form.
- Gently fold the whipped cream into the cream cheese until well combined, creating a light and airy mixture.
- In a shallow dish, combine the cooled coffee or espresso with the coffee liqueur, if using.
- Quickly dip each ladyfinger into the coffee mixture, ensuring they are moistened but not soggy.
- Place a layer of dipped ladyfingers at the bottom of each serving cup.
- Spoon a layer of the cream mixture over the ladyfingers.
- Repeat the layers until the cups are filled, ending with a layer of the cream mixture.
- Cover and refrigerate the tiramisu cups for at least 4 hours, or overnight for best results.
- Before serving, dust the tops with cocoa powder and garnish with chocolate shavings or cocoa nibs, if desired.
Tips for the Perfect Tiramisu Cups
- Use high-quality, full-fat cream cheese for a richer flavor and smoother texture.
- Ensure the coffee or espresso is cooled before dipping the ladyfingers to prevent them from becoming too soft.
- For a non-alcoholic version, omit the coffee liqueur or substitute with a coffee-flavored syrup.
- Prepare the tiramisu cups a day in advance to allow the flavors to meld together.
- Serve the cups chilled for the best taste and texture.
Variations and Customizations
- Substitute the cream cheese with mascarpone for a more traditional tiramisu flavor.
- Add a layer of fresh berries between the ladyfingers and cream mixture for a fruity twist.
- Incorporate flavored liqueurs, such as amaretto or hazelnut, for a unique taste.
- Use chocolate or vanilla ladyfingers to alter the flavor profile.
- Create a layered dessert in a trifle dish for a family-style presentation.
Health Considerations and Nutritional Value Whipped Cream Cheese Tiramisu Cups are a decadent dessert, rich in dairy and sugars. For a lighter version, consider using reduced-fat cream cheese and light whipped topping. Be mindful of portion sizes, as the dessert is calorie-dense. Those with dietary restrictions can opt for gluten-free ladyfingers and ensure all ingredients meet their specific needs.
FAQ Can I make these tiramisu cups ahead of time? Yes, preparing them a day in advance enhances the flavor. How long do they last in the refrigerator? They can be stored for up to 3 days. Can I freeze tiramisu cups? It’s not recommended, as freezing may alter the texture. What can I use instead of coffee liqueur? You can use a coffee-flavored syrup or omit it entirely. Are there any egg-free versions? This recipe is egg-free, making it suitable for those with egg allergies.

Whipped cream cheese tiramisu cups
Ingredients
- 8 ounces 1 package of softened cream cheese
- ½ cup of powdered sugar
- 2 tablespoons of light rum or ½ teaspoon of rum extract
- 1 cup of heavy whipping cream
- 3 ounces 1 package of ladyfingers, totaling 12 pieces
- ½ cup of cold prepared espresso or strong coffee
- 2 teaspoons of unsweetened cocoa powder
Instructions
- Step 1: In a large bowl, use an electric mixer on medium speed to beat the softened cream cheese and powdered sugar until the mixture becomes smooth. Then, add the rum and mix on low speed until well incorporated.
- Step 2: In a separate chilled small bowl, whip the heavy cream on high speed until stiff peaks form. Gently fold this whipped cream into the cream cheese mixture until combined.
- Step 3: Carefully split each ladyfinger horizontally in half. Arrange half of these ladyfingers, placing the cut sides facing up, at the bottom of an ungreased 8x8x2-inch square pan or a 9×1 1/2-inch round pan. Evenly drizzle 1/4 cup of the cold espresso over the ladyfingers. Then, spread half of the cream cheese mixture over this layer.
- Step 4: Place the remaining ladyfingers, cut sides up, over the cream cheese layer. Drizzle the remaining 1/4 cup of espresso over these ladyfingers. Top with the remaining cream cheese mixture, spreading it evenly.
- Step 5: Sift or sprinkle the cocoa powder over the top layer. Cover the pan and refrigerate for about 4 hours, or until the filling becomes firm. Store any leftovers in the refrigerator, keeping them covered