Introduction
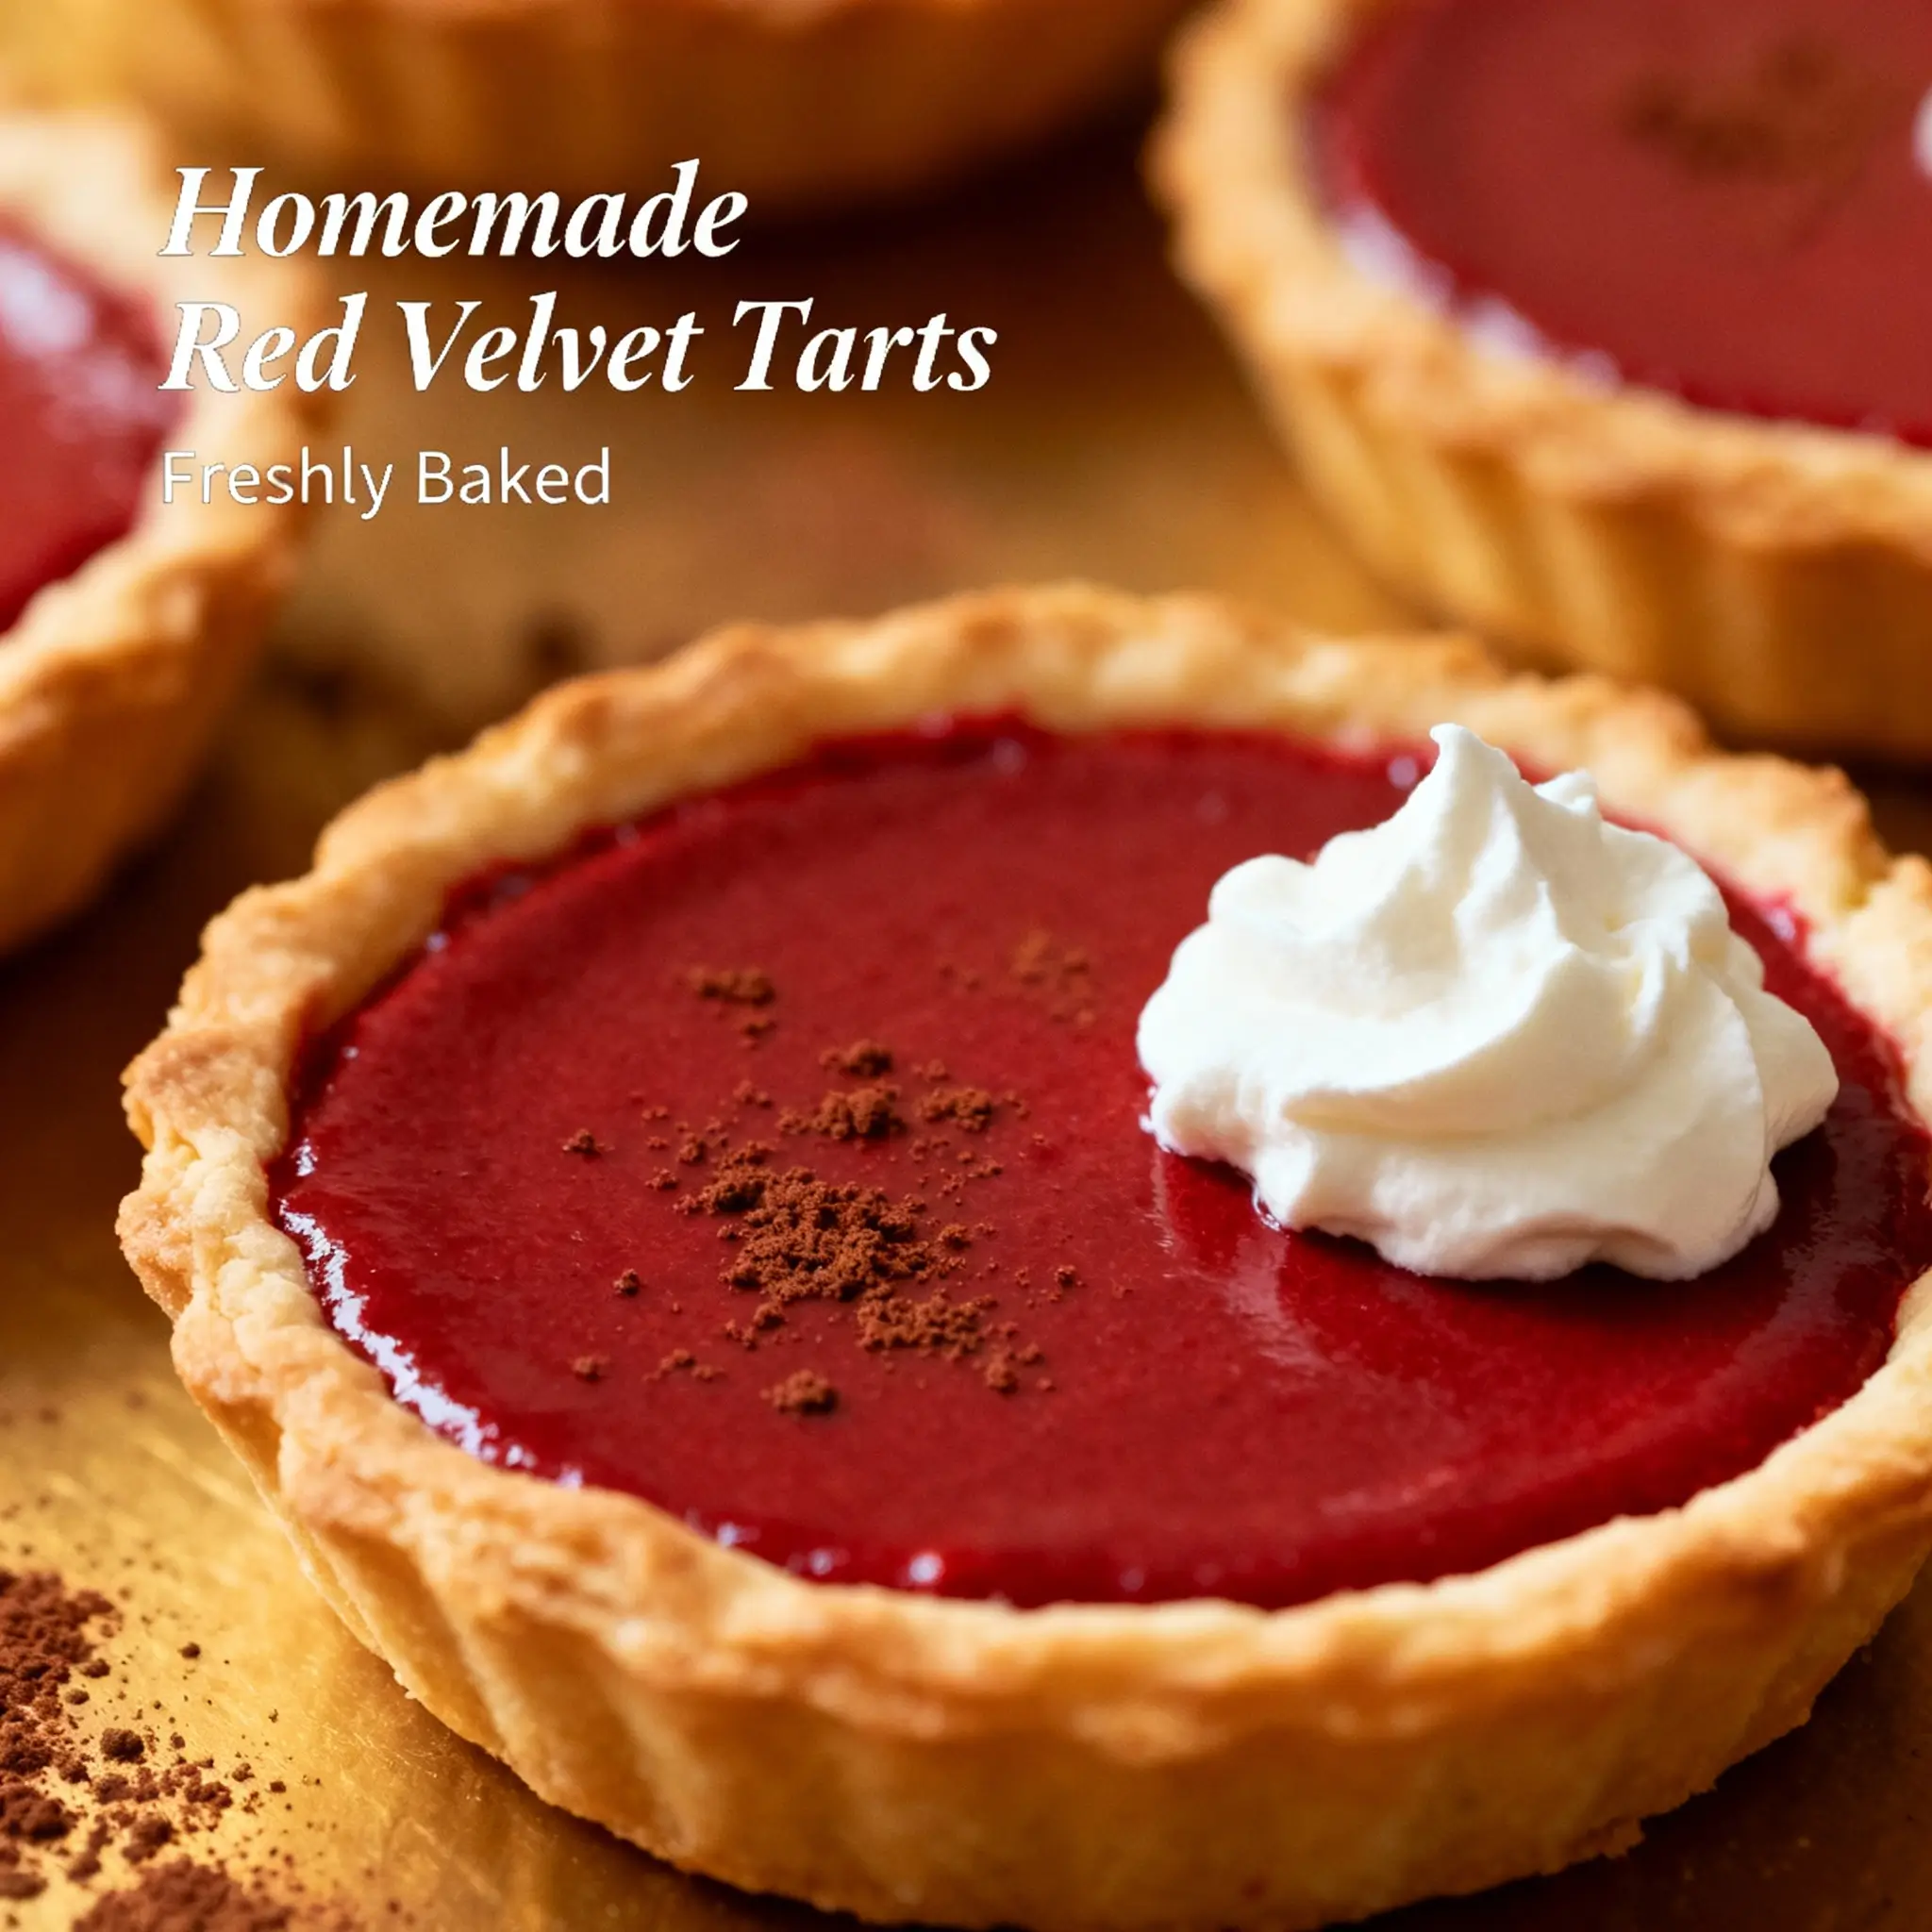
Red Velvet Tarts are a stunning fusion of classic American dessert elegance and modern, bite-sized sophistication. Unlike traditional red velvet cake—often served in towering layers or sheet-cake form—these individual tarts distill the iconic flavor profile into delicate, handheld pastries that balance rich cocoa depth, subtle tang, velvety cream cheese sweetness, and an eye-catching crimson hue. Each tart features a buttery shortcrust or graham cracker base, a luscious, moist red velvet filling (not a cake layer, but a dense, custard-adjacent batter enriched with buttermilk and vinegar), and a luxuriously smooth, stabilized cream cheese glaze or frosting that sets to a satiny finish. Perfect for bridal showers, holiday buffets, afternoon tea service, or gourmet gift boxes, Red Velvet Tarts offer visual drama without compromising on nuanced flavor—neither overly sweet nor artificially flavored when made authentically. Their compact size invites indulgence without heaviness, while their structural integrity makes them ideal for make-ahead preparation, transport, and elegant plating.
The History
The origins of red velvet cake trace back to the early 20th century, with documented recipes appearing as early as the 1920s—though some food historians suggest antecedents in Victorian-era “velvet cakes,” which referred to exceptionally fine, tender crumb textures achieved through the use of cake flour and acidic ingredients like vinegar or buttermilk. The “red” element evolved gradually: originally, the reddish tint came naturally from the reaction between non-Dutched (anthocyanin-rich) cocoa and acidic components—a phenomenon known as the “cocoa bloom.” This subtle rosy hue was later amplified by beet juice in Depression-era home kitchens seeking moisture and color enhancement, and eventually replaced post-WWII by affordable, vibrant red food coloring—first liquid, then gel—as mass-market dyes became widely available. The cake gained national fame after being added to the menu of New York’s Waldorf-Astoria Hotel in the 1940s (a claim contested by some historians but deeply embedded in culinary lore), and later cemented its status via Southern U.S. bakeries and church suppers. The tart iteration is a far more recent innovation—emerging prominently in the late 2000s and early 2010s alongside the rise of artisanal pastry trends, Instagram-driven food aesthetics, and demand for portion-controlled, visually cohesive desserts. Pioneered by boutique patisseries in cities like Atlanta, Austin, and Los Angeles—and popularized through food blogs, Pinterest, and televised baking competitions—Red Velvet Tarts represent a deliberate reimagining: transforming a nostalgic, often polarizing dessert (criticized for artificial coloring or cloying sweetness) into a refined, balanced, and technically nuanced miniature confection rooted in chemical precision and sensory harmony.
Ingredients Breakdown
Understanding each ingredient’s functional role is essential to mastering Red Velvet Tarts—not just for flavor, but for texture, stability, color fidelity, and emulsion integrity:
- Unbleached All-Purpose Flour: Provides gluten structure without excess toughness; bleached flour is avoided as its lower protein content and altered starch behavior can compromise crust integrity and filling set.
- Natural (Non-Alkalized) Cocoa Powder: Critical for authentic red development—the anthocyanins react with acid (buttermilk/vinegar) to produce a natural burgundy undertone, enhancing depth beneath artificial coloring and reducing reliance on excessive dye.
- Buttermilk (Full-Fat, Cultured): Adds tang, tenderness, and acidity for leavening activation and color enhancement; low-fat or powdered substitutes lack the necessary fat content and live cultures for optimal crumb moisture and pH balance.
- Distilled White Vinegar: Works synergistically with buttermilk to lower pH, activate baking soda fully, and intensify the cocoa’s red pigments—never substituted with apple cider vinegar (which imparts off-flavors) or lemon juice (which adds unwanted citrus notes).
- Baking Soda (Not Baking Powder): A pure alkali that reacts instantly with acids to create carbon dioxide bubbles and raise pH—this alkalinity further deepens the red hue and contributes to the signature “velvet” tenderness by weakening gluten bonds.
- Granulated Sugar: Serves dual roles: sweetness and hygroscopic moisture retention; superfine sugar is preferred for smoother batter incorporation and finer crumb.
- Brown Sugar (Light or Dark): Adds molasses-derived complexity, moisture, and subtle caramel notes—dark brown sugar yields deeper flavor but may mute red intensity slightly; light is most commonly used for balance.
- Unsalted Butter (European-Style, 82–84% Fat): Higher fat content yields richer flavor, superior mouthfeel, and better emulsion stability in both crust and filling; salted butter introduces inconsistent salinity and may accelerate fat oxidation.
- Large Eggs (Room Temperature): Act as emulsifiers, binders, and leavening agents; cold eggs cause batter to seize and hinder uniform aeration—temperature consistency is non-negotiable for stable texture.
- Red Food Coloring (High-Quality Gel or Powder): Preferably concentrated, gluten-free, and free of corn syrup solids (which can cause weeping); liquid coloring dilutes batter and weakens structure—1–2 tsp gel typically suffices for vibrant, non-staining color without affecting pH or density.
- Vanilla Extract (Double-Strength, Alcohol-Based): Pure Madagascar bourbon vanilla provides aromatic warmth; imitation vanillin lacks nuance and can clash with cocoa’s phenolics.
- Sea Salt (Fine Grain, Non-Iodized): Enhances all other flavors and balances sweetness; iodized salt can impart a faint medicinal note at elevated concentrations.
- Cream Cheese (Full-Fat, Block-Style, Not Spreadable): Essential for the glaze/frosting—spreadable versions contain stabilizers, gums, and excess whey that prevent proper setting and cause cracking or separation.
- Powdered Sugar (Confectioners’ Sugar, 10X, with 3% Cornstarch): Cornstarch aids thickening and prevents grittiness; sifted twice to eliminate lumps that could compromise glaze silkiness.
- Heavy Cream (36–40% Milk Fat, Cold): Adds fluidity and richness to the glaze without thinning it excessively—ultra-pasteurized versions are acceptable but may yield slightly less glossy finish than pasteurized.
- White Vinegar (for Glaze, Optional): A tiny pinch (⅛ tsp per cup of glaze) brightens flavor and improves shelf life by inhibiting microbial growth without detectable acidity.
Step-by-Step Recipe
- Prepare Tart Shells (Minimum 24 Hours Ahead): In a food processor, pulse 1½ cups all-purpose flour, ¼ cup granulated sugar, and ½ tsp fine sea salt until combined. Add 10 tbsp cold, cubed European-style unsalted butter and 1 large cold egg yolk; pulse until mixture resembles coarse meal with pea-sized butter bits. Drizzle in 2–3 tbsp ice water, 1 tsp at a time, pulsing just until dough begins to clump. Turn dough onto parchment, flatten into a 1-inch-thick disc, wrap tightly, and refrigerate for at least 2 hours (or freeze up to 3 months). When ready, preheat oven to 350°F (175°C). Roll chilled dough to ⅛-inch thickness on lightly floured surface; line 12 standard (3.5-inch) fluted tart pans with removable bottoms, pressing gently without stretching. Trim excess, prick bases with fork, and freeze shells for 20 minutes. Line with parchment and pie weights, then blind-bake for 18 minutes. Remove weights and parchment; bake 8–10 minutes more until golden. Cool completely in pans on wire rack—do not remove yet.
- Make Red Velvet Filling: In a medium bowl, whisk together 1¼ cups all-purpose flour, ¾ cup natural cocoa powder, 1 tsp baking soda, 1 tsp fine sea salt, and 1 cup granulated sugar. In a large heatproof bowl, melt 6 tbsp unsalted butter over simmering water (double boiler), then cool to 90°F. Whisk in ¾ cup packed light brown sugar until dissolved. Whisk in 2 large room-temperature eggs, one at a time, fully incorporating after each. Whisk in 1 tsp pure vanilla extract, 1 tbsp distilled white vinegar, and 1½ tsp high-quality red gel food coloring until uniformly maroon. Gradually fold dry ingredients into wet mixture in three additions, alternating with 1 cup full-fat cultured buttermilk (room temperature), beginning and ending with dry ingredients. Fold gently with silicone spatula—do not overmix; batter should be thick, glossy, and pourable, with no lumps. Rest batter 15 minutes at room temperature to hydrate flour and stabilize emulsion.
- Fill & Bake Tarts: Spoon 3½ tablespoons (≈65g) batter into each cooled tart shell, smoothing tops with offset spatula. Tap pans sharply on counter once to release air bubbles. Place tarts on center oven rack; bake at 350°F for 22–26 minutes—rotating pan halfway—until edges are set, centers spring back lightly when touched, and a toothpick inserted ½ inch from edge comes out clean (center may appear slightly moist but will firm upon cooling). Avoid overbaking—underdone centers yield fudgy, custard-like texture; overbaked centers become dry and crumbly. Cool tarts in pans on wire rack for 45 minutes, then carefully run thin knife around inner rim to loosen. Gently lift tarts off base plates using offset spatula; transfer to wire rack to cool completely (minimum 2 hours, preferably overnight)—filling must be fully set before glazing.
- Prepare Cream Cheese Glaze: In stand mixer fitted with paddle attachment, beat 8 oz full-fat block cream cheese (softened to 65°F, not melted) on medium-low for 2 minutes until perfectly smooth and lump-free. Sift in 2½ cups powdered sugar in three additions, beating on low after each until incorporated. Add ¼ cup cold heavy cream, 1 tsp pure vanilla, and optional ⅛ tsp white vinegar; beat on medium for 1 minute until homogeneous. Scrape bowl thoroughly. Increase speed to medium-high; beat 2–3 minutes until glaze is ultra-smooth, glossy, and holds soft peaks—do not overbeat, or it may curdle. Refrigerate uncovered for 20 minutes to thicken slightly before application.
- Glaze & Finish: Place fully cooled tarts on wire rack over parchment-lined sheet tray. Using small offset spatula or piping bag with wide round tip (#12), apply 2 tbsp glaze per tart, swirling gently to cover top and allow slight drip down sides. For professional finish, use bench scraper dipped in hot water and wiped dry to smooth glaze surface. Refrigerate tarts uncovered for 45 minutes to fully set glaze. Optional garnishes: edible gold leaf flakes, freeze-dried raspberry dust, white chocolate curls, or a single candied violet.
Tips
- Color Consistency Is Chemistry, Not Guesswork: Always use distilled white vinegar—not apple cider or rice vinegar—and measure precisely. Too much acid causes overreaction with cocoa, yielding brownish-purple instead of true red; too little results in dull, muddy tones. Test color by mixing 1 tsp batter with 1 tsp buttermilk and 1 drop vinegar—adjust dye incrementally based on this swatch.
- Temperature Discipline Is Non-Negotiable: Butter, eggs, buttermilk, and cream cheese must all be within 65–72°F. Use instant-read thermometer. Cold ingredients cause seizing, poor emulsification, and uneven baking; warm ingredients promote premature starch gelatinization and collapsed structure.
- Rest the Batter—Don’t Skip It: The 15-minute rest allows gluten relaxation and full starch hydration, preventing tunneling and ensuring even rise. Skipping leads to dense, gummy centers and cracked surfaces.
- Blind-Bake Crusts Until Deep Golden: Pale crusts absorb moisture from filling and turn soggy. Look for rich amber color along edges and base—not just pale blonde. If crust puffs, gently press down with folded parchment mid-bake.
- Use a Digital Scale for Precision: Volume measurements for cocoa, flour, and sugar vary wildly (up to ±20%). Weigh all dry ingredients: 1 cup all-purpose flour = 120g; 1 cup cocoa = 85g; 1 cup granulated sugar = 200g.
- Rotate & Monitor Religiously: Ovens have hot spots. Rotate pans 180° at 12-minute mark. Begin checking doneness at 22 minutes—even 60 seconds overbake ruins texture. Use oven thermometer for accuracy.
- Cool Completely Before Glazing: Warm filling melts glaze, causing pooling, sliding, and loss of sheen. Overnight cooling is ideal—refrigeration firms filling without chilling so much that glaze beads.
- Stabilize Glaze for Humidity: In humid climates, add ½ tsp unflavored gelatin (bloomed in 1 tsp cold water, then microwaved 5 seconds) to glaze mixture before final beating—this prevents sweating and maintains gloss for 72+ hours.
- Freeze for Long-Term Storage: Un-glazed, fully cooled tarts freeze flawlessly for up to 3 months. Thaw overnight in fridge, then glaze fresh. Never freeze glazed tarts—they develop ice crystals and lose shine.
- Revive Stale Glaze: If refrigerated glaze thickens too much, warm bowl gently over steaming water for 15 seconds, then beat 10 seconds on medium—do not microwave directly.
Variations and Customizations
- Decadent Chocolate-Hazelnut: Replace 2 tbsp cocoa with toasted hazelnut flour; swirl 1 tsp Nutella into each filled tart before baking; finish with crushed roasted hazelnuts and dark chocolate shavings.
- Boozy Bourbon Caramel: Infuse buttermilk with 1 tbsp bourbon and 1 tsp sea salt for 1 hour before using; replace glaze with bourbon-caramel cream cheese (add 2 tbsp homemade bourbon caramel sauce to glaze base).
- Spiced Chai Velvet: Steep 2 chai tea bags in warm buttermilk for 10 minutes, then strain; add 1 tsp ground cardamom, ½ tsp ginger, and ¼ tsp black pepper to dry ingredients.
- Vegan & Gluten-Free: Substitute oat milk + 1 tbsp lemon juice for buttermilk; use GF 1:1 flour blend with added ½ tsp xanthan gum; replace eggs with flax eggs (2 tbsp ground flax + 6 tbsp water); use vegan butter and dairy-free cream cheese (Tofutti works best); color with beet powder + annatto extract.
- Black & White Velvet: Divide batter; color half black with activated charcoal (food-grade, ¼ tsp) and half classic red. Pipe alternating dollops into shells and swirl gently with toothpick for marbled effect.
- Strawberry-Balsamic Swirl: Fold 3 tbsp balsamic-reduced strawberry compote (simmer ½ cup strawberries + 1 tbsp balsamic + 1 tbsp sugar until thick) into batter just before filling—creates jewel-toned ribbons.
- Espresso Velvet: Dissolve 1 tbsp instant espresso powder in vinegar before adding to batter; finish with dark chocolate ganache drizzle and espresso bean garnish.
- Coconut-Lime Velvet: Replace buttermilk with coconut buttermilk (coconut milk + vinegar); add 1 tbsp lime zest to batter; glaze with lime-cream cheese and toasted coconut flakes.
- Maple-Pecan Crumble: Top filled tarts before baking with 1 tbsp maple-pecan streusel (½ cup chopped pecans, 2 tbsp maple sugar, 1 tbsp cold butter, 1 tbsp flour); bake as directed.
- Miniature “Cupcake” Style: Use mini muffin tins lined with paper liners; reduce bake time to 14–16 minutes; glaze with piped rosettes and edible glitter.
Health Considerations and Nutritional Value
While Red Velvet Tarts are inherently indulgent, thoughtful formulation can enhance nutritional integrity without sacrificing authenticity:
- Sugar Reduction Strategies: Up to 25% granulated sugar can be replaced with monk fruit–erythritol blend (e.g., Lakanto) without texture loss; brown sugar substitution requires caution—molasses-free alternatives lack moisture contribution. Never eliminate sugar entirely—it’s critical for tenderness and emulsion stability.
- Whole Grain Options: Substitute 30% of all-purpose flour with white whole wheat flour for added fiber and B vitamins; avoid 100% whole wheat—it yields dense, gritty texture incompatible with velvet crumb.
- Fat Quality Matters: European-style butter contains higher CLA (conjugated linoleic acid) and butyrate—compounds linked to anti-inflammatory benefits. Grass-fed sources elevate omega-3 ratios.
- Food Coloring Safety: FDA-approved red dyes (Red #40, Red #3) are rigorously tested, but sensitive individuals may prefer natural alternatives: beetroot powder (adds earthy note), hibiscus extract (tart, floral), or anthocyanin-rich purple carrot juice (neutral flavor, stable color).
- Probiotic Boost: Using raw, unpasteurized buttermilk (where legally available) introduces live Lactobacillus cultures—supporting gut microbiome health. Pasteurized versions still provide beneficial lactic acid.
- Nutrient Density Enhancements: Enrich batter with 1 tbsp ground flaxseed (omega-3s, fiber) or 2 tsp mesquite powder (low-glycemic, mineral-rich) — adjust liquid slightly if needed.
- Portion Control as Wellness Tool: At ~280–320 calories per tart (depending on size and glaze thickness), they satisfy sweet cravings efficiently—reducing likelihood of overconsumption versus larger slices.
- Allergen Awareness: Naturally nut-free and soy-free (if using soy-free butter), making them accessible for common allergy profiles. Always verify labels on food coloring and powdered sugar for hidden allergens.
- Glycemic Impact: With moderate sugar, high-fat content, and fiber from cocoa, these tarts have a lower glycemic load than many fruit-based desserts—slowing glucose absorption.
- Transparency Note: While not “health food,” these tarts prioritize real ingredients, minimal processing, and functional nutrition—aligning with mindful eating principles rather than restrictive diet culture.
Ingredients
For the Tart Shells (Yields 12)
- 1½ cups (180g) unbleached all-purpose flour
- ¼ cup (50g) granulated sugar
- ½ tsp fine sea salt
- 10 tbsp (140g) cold unsalted European-style butter, cubed
- 1 large cold egg yolk
- 2–3 tbsp ice water
For the Red Velvet Filling
- 1¼ cups (150g) unbleached all-purpose flour
- ¾ cup (65g) natural (non-alkalized) unsweetened cocoa powder
- 1 tsp baking soda
- 1 tsp fine sea salt
- 1 cup (200g) granulated sugar
- ¾ cup (150g) packed light brown sugar
- 6 tbsp (85g) unsalted European-style butter
- 2 large eggs, room temperature
- 1 tsp pure vanilla extract
- 1 tbsp distilled white vinegar
- 1½ tsp high-quality red gel food coloring
- 1 cup (240ml) full-fat cultured buttermilk, room temperature
For the Cream Cheese Glaze
- 8 oz (225g) full-fat block cream cheese, softened to 65°F
- 2½ cups (300g) powdered sugar, sifted
- ¼ cup (60ml) cold heavy cream
- 1 tsp pure vanilla extract
- ⅛ tsp distilled white vinegar (optional, for brightness)
Directions
- Make the Tart Dough: In a food processor, combine flour, sugar, and salt. Pulse 3 times. Add cold butter and egg yolk; pulse until mixture resembles coarse crumbs with visible pea-sized butter pieces (about 12 pulses). Drizzle in ice water, 1 tsp at a time, pulsing just until dough begins to clump together. Turn dough onto parchment paper, gather into a disc, wrap tightly, and refrigerate for at least 2 hours or up to 3 days.
- Blind-Bake the Shells: Preheat oven to 350°F (175°C). Roll chilled dough to ⅛-inch thickness. Line 12 standard fluted tart pans (3.5-inch diameter) with removable bottoms. Press dough in gently without stretching. Trim excess, prick bases with fork, and freeze for 20 minutes. Line with parchment and fill with pie weights. Bake 18 minutes. Remove weights and parchment; bake 8–10 minutes more until deep golden. Cool completely in pans.
- Prepare Filling Batter: Whisk dry ingredients (flour, cocoa, baking soda, salt, granulated sugar, brown sugar) in medium bowl. In heatproof bowl, melt butter over double boiler; cool to 90°F. Whisk in brown sugar until dissolved. Add eggs one at a time, then vanilla, vinegar, and food coloring. Alternate folding in dry ingredients and buttermilk, beginning and ending with dry. Rest batter 15 minutes.
- Bake the Tarts: Spoon 3½ tbsp batter into each shell. Tap pan sharply. Bake 22–26 minutes until edges are set and centers spring back. Cool in pans 45 minutes, then carefully remove and cool completely on wire rack (2+ hours or overnight).
- Make Glaze: Beat cream cheese until smooth. Gradually add powdered sugar. Mix in cream, vanilla, and optional vinegar. Beat 2–3 minutes until glossy and holds soft peaks. Chill 20 minutes.
- Glaze & Serve: Apply 2 tbsp glaze per tart. Refrigerate 45 minutes to set. Garnish as desired. Store refrigerated up to 5 days or freeze unglazed up to 3 months.
FAQ
- Can I use regular cocoa instead of natural cocoa?
- No—Dutched (alkalized) cocoa has neutralized anthocyanins and will not react with acid to produce red tones. Natural cocoa is mandatory for authentic color development.
- Why did my tarts sink in the center?
- Likely causes: underbaking (center wasn’t set), opening oven too early (temperature shock), overmixing batter (excess gluten), or inaccurate oven temperature. Use oven thermometer and avoid peeking before 20 minutes.
- Can I make these gluten-free?
- Yes—with caveats. Use certified GF 1:1 blend containing xanthan gum (like King Arthur or Bob’s Red Mill). Add ½ tsp extra xanthan gum to dry ingredients. Expect slightly denser crumb; do not substitute almond or coconut flour alone.
- My glaze cracked or separated—what went wrong?
- Cream cheese was too cold or too warm (must be 65°F), overbeaten, or low-fat spreadable version was used. Always use full-fat block cream cheese and stop mixing once glossy.
- How far ahead can I prepare these?
- Crusts: baked and frozen up to 3 months. Filled tarts (unglazed): baked, cooled, and frozen up to 3 months—thaw overnight in fridge, then glaze. Glazed tarts: best consumed within 48 hours; refrigerate up to 5 days (glaze may dull).
- Can I use liquid food coloring?
- You can—but it’s strongly discouraged. Liquid dye adds excess water, weakening batter structure and diluting flavor. Gel or powder concentrates deliver intense color with zero texture compromise.
- Is there a way to reduce the red dye without losing color?
- Yes. Use natural cocoa + vinegar + buttermilk as your base red, then supplement with just ½ tsp high-potency gel instead of 1½ tsp. The chemical reaction does 60–70% of the work.
- Why do you specify European-style butter?
- Higher fat (82–84% vs. 80%) means less water, resulting in flakier crusts, richer flavor, and more stable emulsions. Standard butter introduces excess steam, risking soggy bottoms and greasy fillings.
- Can I make mini versions for appetizers?
- Absolutely. Use 2-inch mini tart pans. Reduce filling to 1 tbsp per shell and bake 14–16 minutes at 350°F. Yield: ~