Red Velvet Sugar Cookies: A Decadent Twist on a Classic Favorite
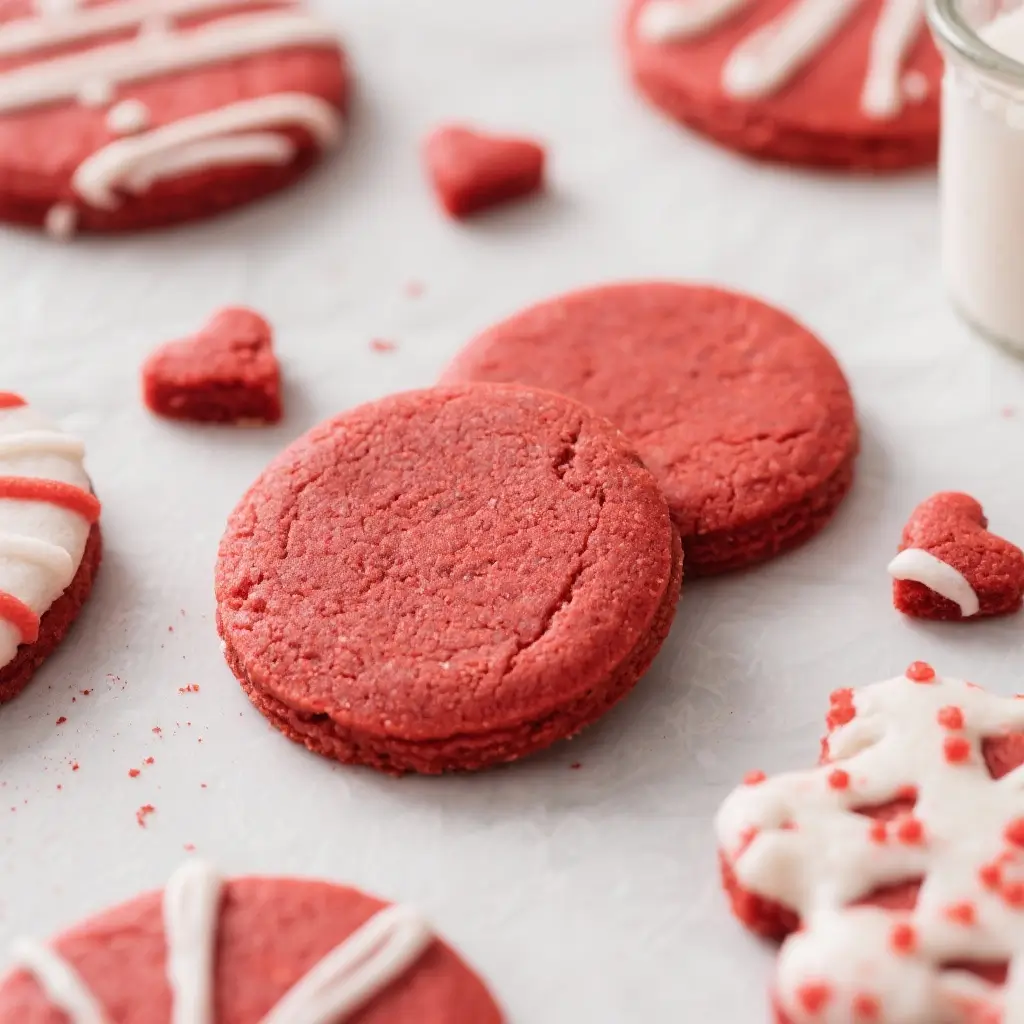
There’s something irresistibly charming about sugar cookies—soft, buttery, and delicately sweet, they’ve been a staple in American baking for generations. But when you introduce the rich, velvety allure of red velvet into the mix, you create a dessert that’s not only visually stunning but also bursting with flavor. Red Velvet Sugar Cookies combine the best of both worlds: the tender crumb of a classic sugar cookie and the luxurious depth of red velvet cake. Whether you’re baking for a holiday celebration, a birthday party, or simply because your sweet tooth is calling, these cookies are sure to impress. With their deep crimson hue, subtle cocoa notes, and creamy frosting drizzle, they’re as delightful to look at as they are to eat.
The History of Red Velvet Sugar Cookies
To truly appreciate Red Velvet Sugar Cookies, we need to trace back the roots of their two key inspirations: sugar cookies and red velvet cake. Sugar cookies originated in 17th-century Europe, particularly in Germany and the Netherlands, where bakers created simple, crisp treats using sugar, flour, and butter. These early versions evolved over time, especially after arriving in America through German immigrants in Pennsylvania Dutch country. By the 18th century, sugar cookies had become a beloved part of American holiday traditions, often cut into festive shapes and decorated with icing.
Red velvet cake, on the other hand, has a more mysterious origin story. Its earliest known appearance dates back to the early 20th century, with some attributing its creation to Southern U.S. bakeries. The distinctive red color originally came from a chemical reaction between natural cocoa powder (which is acidic) and baking soda, enhanced by ingredients like buttermilk and vinegar. This reaction gave the cake a faint reddish tint, which later became more pronounced with the addition of red food coloring—especially popularized by brands like Adams Extract in the 1920s to promote their red dye products.
The fusion of red velvet and sugar cookies is a relatively modern innovation, emerging in the late 20th and early 21st centuries as bakers began experimenting with flavor crossovers. As red velvet gained cult status—thanks in part to its popularity in cakes, cupcakes, and even cheesecakes—it was only a matter of time before it found its way into cookie dough. Today, Red Velvet Sugar Cookies represent a perfect blend of nostalgia and creativity, combining old-world charm with contemporary flair.
Ingredients Breakdown: What Makes These Cookies So Special?
The magic of Red Velvet Sugar Cookies lies in the careful balance of ingredients that give them their signature taste, texture, and color. Let’s take a detailed look at each component and understand its role in creating this indulgent treat:
- Butter (Unsalted): Provides richness and tenderness. Creaming the butter with sugar creates air pockets that help the cookies rise slightly and develop a soft interior.
- Granulated Sugar: Sweetens the dough and contributes to the slight crispness around the edges while keeping the center chewy.
- Brown Sugar: Adds moisture and a hint of molasses flavor, enhancing the depth of the cookie’s profile.
- Eggs: Bind the ingredients together and add structure and richness. One large egg is typically enough to hold the dough without making it too dense.
- Vanilla Extract: Enhances overall flavor and complements the sweetness with warm, aromatic notes.
- All-Purpose Flour: Forms the base structure of the cookie. It’s important to measure it accurately (spoon and level method) to avoid dry or tough cookies.
- Cocoa Powder (Unsweetened Natural): A small amount—usually 1–2 tablespoons—gives the cookies the characteristic red velvet flavor without overpowering them. Natural cocoa (not Dutch-processed) reacts better with acidic ingredients for optimal color development.
- Baking Soda & Baking Powder: Leavening agents that work together to give the cookies a soft lift. Baking soda reacts with acid (like buttermilk), while baking powder provides additional rise.
- Salt: Balances the sweetness and enhances all the other flavors.
- Buttermilk: Adds tanginess and moisture while reacting with baking soda to create a tender crumb. If unavailable, you can make a substitute by adding ½ tablespoon of lemon juice or vinegar to regular milk and letting it sit for 5 minutes.
- Red Food Coloring (Liquid or Gel): Essential for achieving the vibrant red hue. Gel coloring is more concentrated and produces a deeper color without altering the dough’s consistency. Traditional recipes use several drops, sometimes up to 1–2 teaspoons depending on desired intensity.
- Cream Cheese Frosting (Optional but Recommended): Used for drizzling or dipping, this adds a tangy-sweet finish reminiscent of red velvet cake. Made from cream cheese, butter, powdered sugar, vanilla, and a splash of milk.
Step-by-Step Recipe: How to Make Perfect Red Velvet Sugar Cookies
Follow this detailed guide to bake bakery-quality Red Velvet Sugar Cookies right in your kitchen. These instructions yield approximately 24 medium-sized cookies and take about 45 minutes from start to finish (plus optional chilling time).
Ingredients
- 1 cup (2 sticks / 227g) unsalted butter, softened to room temperature
- ¾ cup (150g) granulated sugar
- ½ cup (100g) packed light brown sugar
- 1 large egg, room temperature
- 2 teaspoons pure vanilla extract
- 2½ cups (315g) all-purpose flour (spooned and leveled)
- 2 tablespoons (8g) unsweetened natural cocoa powder
- 1 teaspoon baking soda
- ½ teaspoon baking powder
- ½ teaspoon salt
- 2 tablespoons (30ml) buttermilk (or homemade substitute)
- 1–2 teaspoons red gel food coloring (adjust for preferred color intensity)
For the Cream Cheese Drizzle (Optional)
- 4 oz (113g) cream cheese, softened
- ¼ cup (57g) unsalted butter, softened
- 1½ cups (180g) powdered sugar, sifted
- 1 teaspoon vanilla extract
- 1–2 tablespoons milk or heavy cream (to adjust consistency)
Directions
- Preheat Oven and Prepare Baking Sheets: Preheat your oven to 350°F (175°C). Line two large baking sheets with parchment paper or silicone baking mats to prevent sticking.
- Cream Butter and Sugars: In a large mixing bowl or stand mixer fitted with a paddle attachment, beat the softened butter, granulated sugar, and brown sugar together on medium speed until light, fluffy, and pale in color—about 3–4 minutes. Scrape down the sides of the bowl as needed.
- Add Wet Ingredients: Beat in the egg and vanilla extract until fully incorporated, about 1 minute. The mixture may look slightly curdled if the egg is cold, so ensure all ingredients are at room temperature.
- Mix Dry Ingredients: In a separate bowl, whisk together the flour, cocoa powder, baking soda, baking powder, and salt until well combined and no lumps remain.
- Combine Wet and Dry Mixtures: Gradually add the dry ingredients to the wet mixture on low speed, mixing just until combined. Avoid overmixing to prevent tough cookies.
- Incorporate Buttermilk and Food Coloring: Stir in the buttermilk until absorbed. Add the red food coloring one teaspoon at a time, mixing thoroughly after each addition, until the dough reaches a deep, even red color. Use gloves if working with gel coloring to avoid stained hands.
- Chill the Dough (Optional but Recommended): For thicker, less spread-out cookies, cover the dough and refrigerate for 1–2 hours. This step helps solidify the butter and improves texture.
- Scoop and Shape: Use a cookie scoop or tablespoon to portion out rounded balls of dough (about 1.5 tablespoons each). Roll them between your palms into smooth spheres and place them 2 inches apart on the prepared baking sheets.
- Bake: Bake one sheet at a time in the center rack of the oven for 10–12 minutes, or until the edges are set and the tops appear slightly cracked but still soft to the touch. Do not overbake—cookies will firm up as they cool.
- Cool: Allow the cookies to cool on the baking sheet for 5 minutes before transferring them to a wire rack to cool completely.
- Prepare Cream Cheese Drizzle: While cookies cool, beat the softened cream cheese and butter together until smooth. Gradually add sifted powdered sugar, vanilla, and 1 tablespoon of milk. Mix until creamy and drizzle-able. Add more milk if needed.
- Decorate: Once cookies are completely cooled, drizzle the cream cheese frosting over the top using a spoon or piping bag. You can also dip the tops for a fuller coverage.
- Serve or Store: Enjoy immediately or let the frosting set slightly before serving. Store leftovers in an airtight container.
Professional Tips for the Best Results
- Use Room Temperature Ingredients: Cold butter or eggs can lead to uneven mixing and grainy dough. Take everything out of the fridge 30–60 minutes before starting.
- Don’t Skip the Chill Time: Chilling prevents excessive spreading and gives you a thicker, bakery-style cookie with a melt-in-your-mouth texture.
- Measure Flour Accurately: Too much flour leads to dry, crumbly cookies. Spoon flour into the measuring cup and level off with a knife—don’t pack or tap the cup.
- Use Gel Food Coloring: Liquid coloring contains water, which can alter the dough’s consistency. Gel coloring is more concentrated and won’t affect texture.
- Avoid Overbaking: These cookies should be soft and slightly underdone when removed from the oven. They’ll continue to cook slightly on the hot baking sheet.
- Rotate the Pan: Ovens have hot spots. Rotate the baking sheet halfway through baking for even browning.
- Double the Batch: These cookies freeze beautifully unbaked. Scoop and freeze dough balls on a tray, then transfer to a freezer bag. Bake straight from frozen, adding 1–2 minutes to the baking time.
Variations and Customizations
One of the joys of baking is personalizing recipes to suit your taste. Here are several creative ways to customize your Red Velvet Sugar Cookies:
- Gluten-Free Version: Substitute all-purpose flour with a high-quality gluten-free flour blend (like Bob’s Red Mill 1-to-1). Ensure your cocoa powder and other ingredients are certified gluten-free.
- Dairy-Free Option: Replace butter with vegan butter (e.g., Earth Balance), use dairy-free chocolate chips, and swap buttermilk with almond milk + lemon juice. For frosting, use dairy-free cream cheese alternatives.
- Mini Cookies: Make bite-sized versions using a teaspoon-sized scoop. Reduce baking time to 7–9 minutes.
- Stuffed Cookies: Place a small piece of cream cheese or white chocolate in the center of each dough ball before baking for a gooey surprise.
- Chocolate-Dipped: Melt dark, milk, or white chocolate and dip half of each cooled cookie for an elegant finish.
- Sprinkle-Topped: Before baking, gently press festive sprinkles into the dough balls for added color and crunch—perfect for birthdays or holidays.
- Lemon Zest Variation: Add 1 teaspoon of lemon zest to the dough for a bright, citrusy contrast to the richness.
- No-Frosting Option: Skip the cream cheese drizzle for a simpler, everyday cookie. Dust with powdered sugar instead.
- Cookie Sandwiches: Pair two cookies with a layer of cream cheese filling or chocolate ganache in between.
Health Considerations and Nutritional Value
While Red Velvet Sugar Cookies are undeniably delicious, it’s important to enjoy them in moderation as part of a balanced diet. Here’s a general nutritional breakdown per cookie (based on 24 cookies, including cream cheese drizzle):
- Calories: ~220–250 kcal
- Total Fat: 12–14g (including 7g saturated fat)
- Carbohydrates: 28–32g (including 18–22g sugars)
- Protein: 2–3g
- Sodium: 120–150mg
- Fiber: 0.5–1g
Considerations:
- Sugar Content: These cookies are high in added sugars from both the dough and frosting. Those managing blood sugar levels or following low-sugar diets should consume sparingly.
- Food Coloring: Artificial dyes (especially red #40) are common in red food coloring. Some people prefer natural alternatives like beetroot powder, though results may vary in color intensity.
- Dairy and Allergens: Contains dairy, eggs, and wheat. Not suitable for individuals with allergies unless modified with substitutions.
- Portion Control: Stick to one cookie per serving and pair with a glass of milk or a fruit salad to balance the meal.
- Occasional Treat: Best enjoyed during special occasions rather than daily consumption.
Frequently Asked Questions (FAQ)
Can I make Red Velvet Sugar Cookies without food coloring?
Yes, but they won’t have the iconic red hue. Natural cocoa and buttermilk may give a faint pinkish tint, but it will be very subtle. For a natural alternative, try blending beetroot powder with a little water to form a paste and add gradually.
Why did my cookies spread too much?
Common causes include softened butter that’s too warm, skipping the chill time, or using too little flour. Always measure flour correctly and consider chilling the dough for at least 1 hour.
Can I freeze the baked cookies?
Yes! Freeze cooled, unfrosted cookies in an airtight container with parchment layers. Thaw at room temperature and add frosting just before serving.
Can I use Dutch-process cocoa instead of natural cocoa?
It’s not recommended. Natural cocoa is acidic and reacts with baking soda to help the cookies rise and enhance color. Dutch-process is neutral and may reduce the intended texture and flavor balance.
How long do these cookies last?
Stored in an airtight container at room temperature, they stay fresh for 4–5 days. With cream cheese frosting, refrigeration is advised, extending freshness to 7 days.
Can I prepare the dough ahead of time?
Absolutely. Wrap the dough tightly in plastic wrap and refrigerate for up to 3 days or freeze for up to 3 months. Thaw frozen dough overnight in the fridge before scooping and baking.
Are these cookies kid-friendly?
Yes! Kids love the color and sweetness. Let them help with rolling dough, adding sprinkles, or decorating with frosting for a fun baking activity.
Summary
Red Velvet Sugar Cookies are a luxurious fusion of classic sugar cookie softness and the bold, tangy richness of red velvet cake, crowned with a creamy cream cheese drizzle. Visually striking and irresistibly flavorful, they’re perfect for holidays, celebrations, or whenever you want to indulge in a little dessert magic.