Introduction
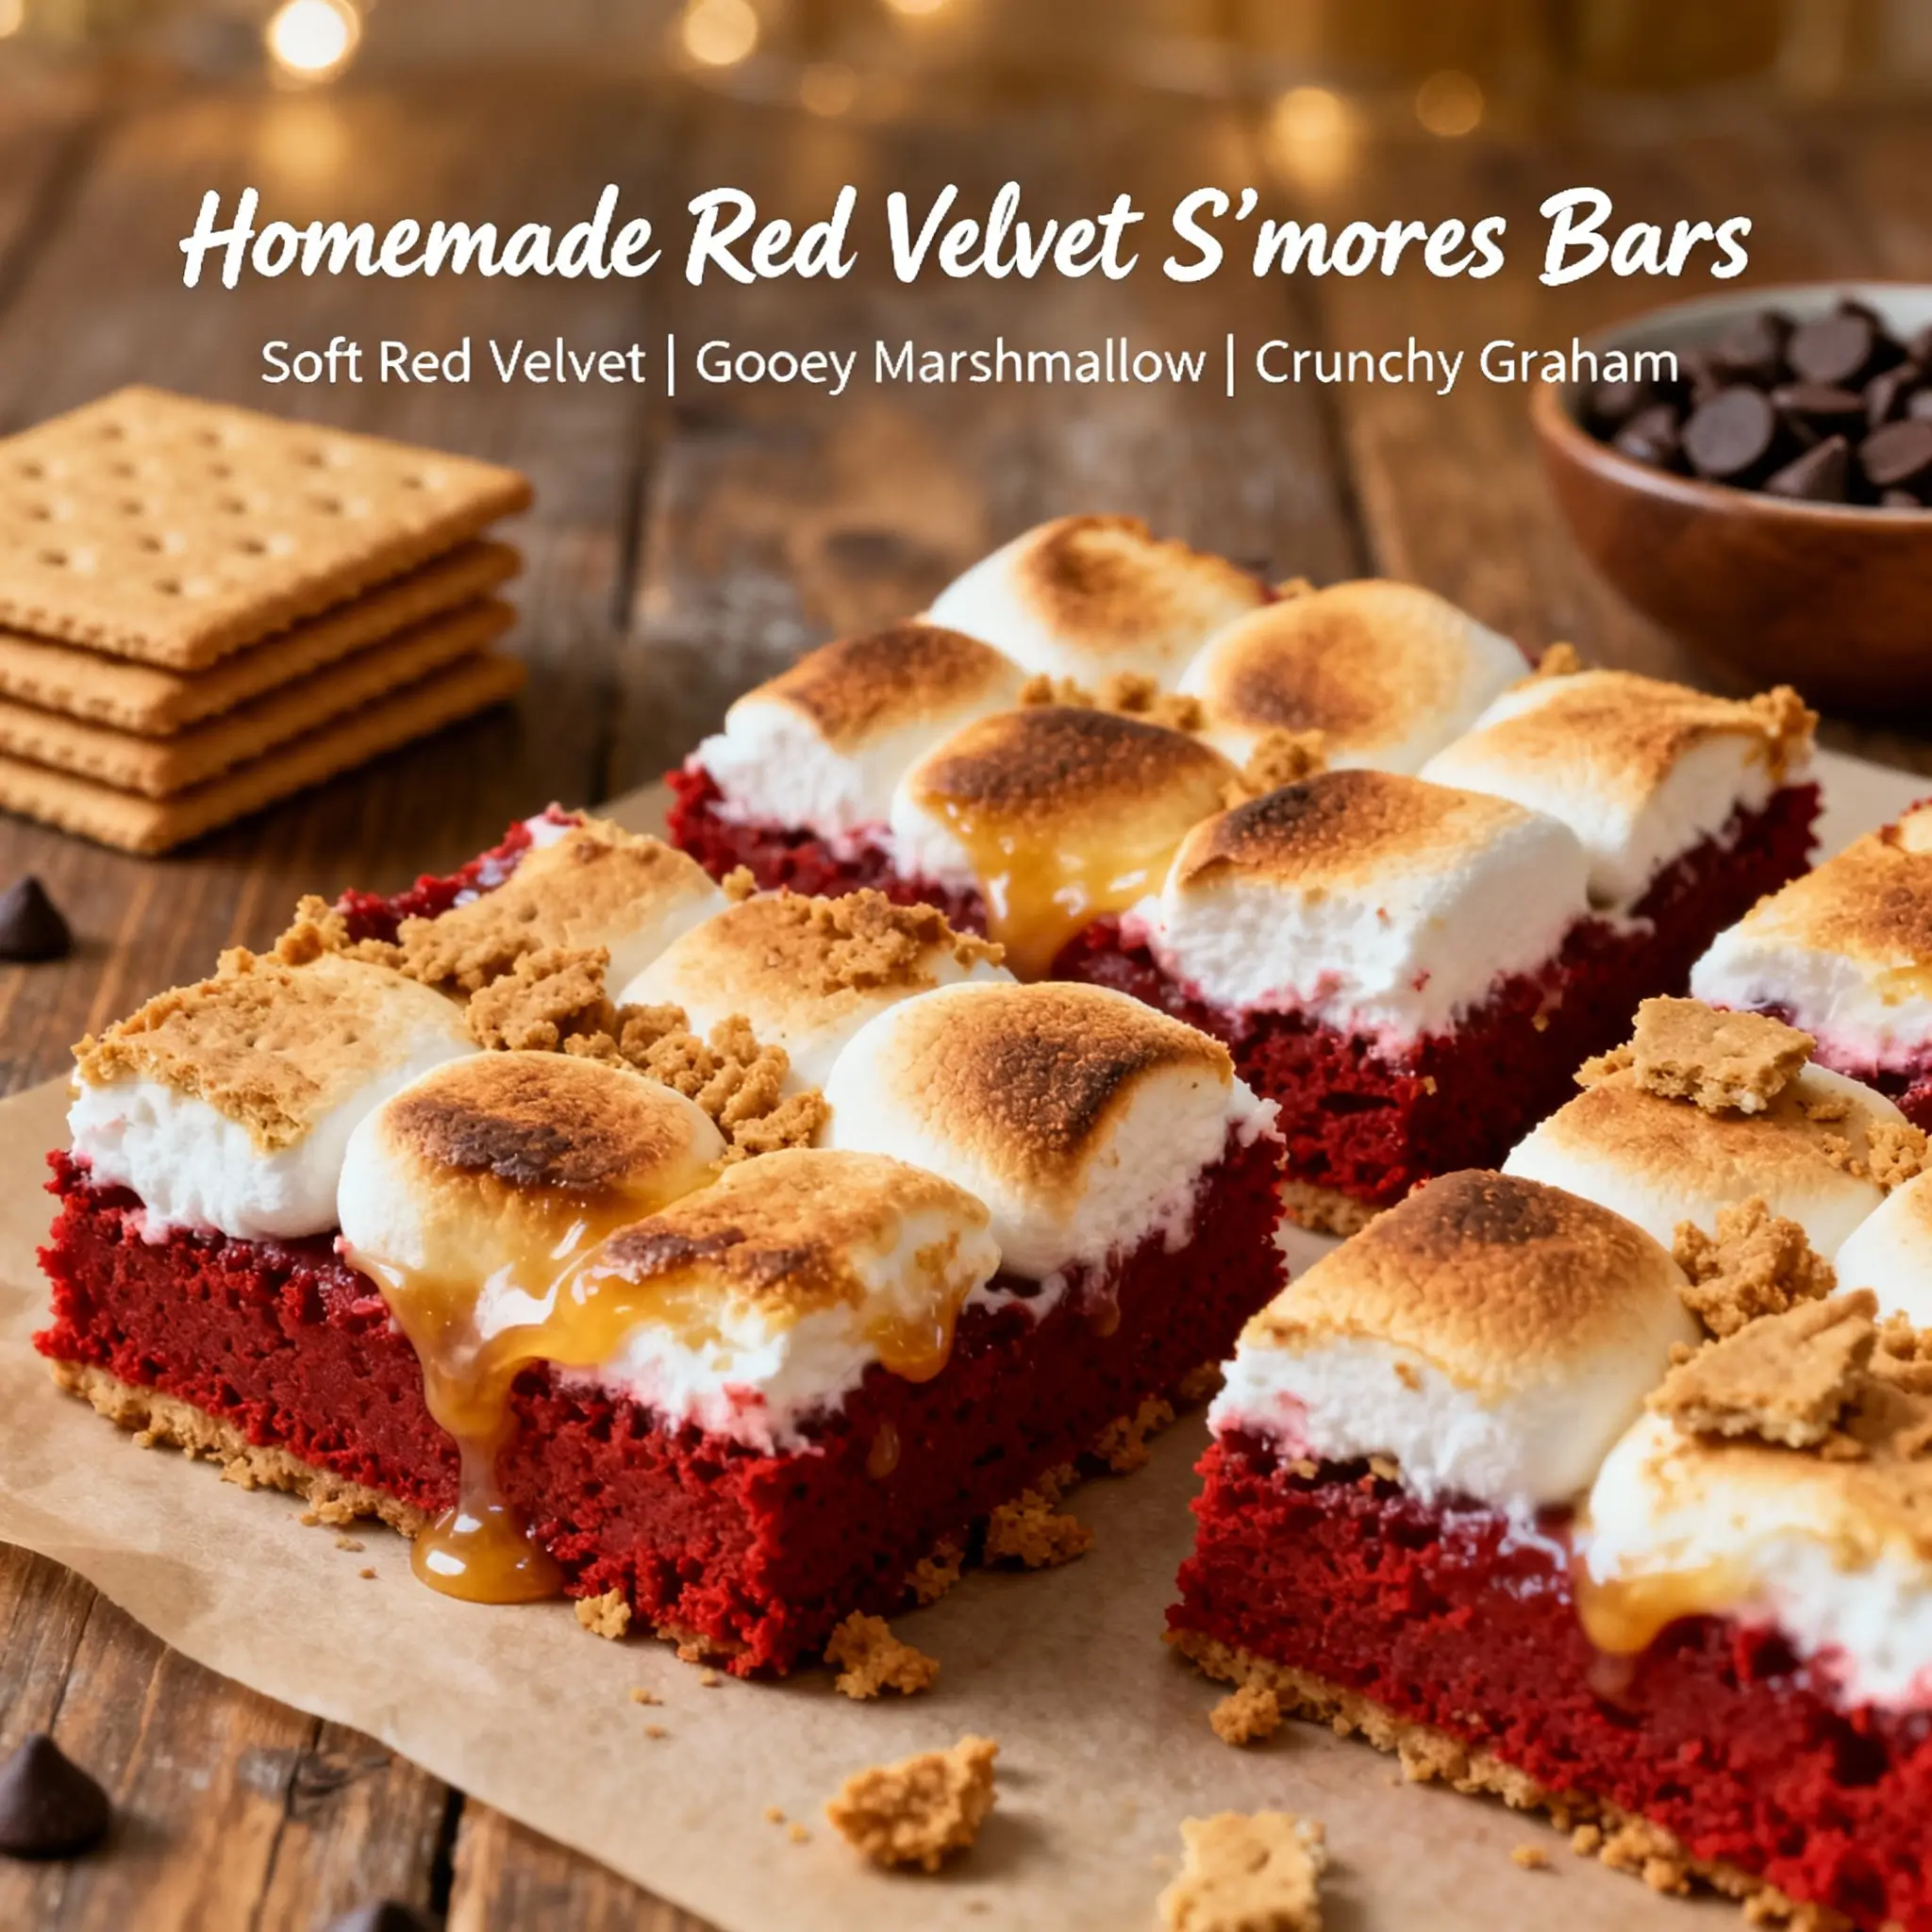
Indulge in the decadent fusion of two beloved treats with these irresistible Red Velvet S’mores Bars. Imagine the rich, velvety texture of red velvet cake harmoniously layered with the gooey, toasted sweetness of classic s’mores—all packed into a single, easy-to-make bar. These bars are perfect for holiday gatherings, backyard barbecues, bake sales, or whenever you’re craving a dessert that feels both nostalgic and luxurious. With their vibrant color, soft crumb, and melty marshmallow topping, Red Velvet S’mores Bars deliver an unforgettable sensory experience that’s as delightful to look at as it is to eat.
The History
The origins of this delectable hybrid treat trace back to the long-standing popularity of its two main inspirations: red velvet cake and traditional s’mores. Red velvet cake first gained fame in the early 20th century, particularly through advertisements by the Adams Extract Company, which promoted a distinctive red-hued cake made with cocoa, buttermilk, vinegar, and red food coloring. Its subtle chocolate flavor and striking crimson appearance made it a staple at celebrations, especially in Southern American cuisine.
On the other hand, s’mores emerged around the 1920s as a campfire favorite—short for “some more,” because everyone wanted another after the first bite. Combining graham crackers, chocolate, and toasted marshmallows, s’mores became synonymous with outdoor adventures and childhood nostalgia.
Red Velvet S’mores Bars represent a modern twist where bakers began experimenting with layering techniques and flavor infusions. By merging the moist, tender crumb of red velvet with the gooey, charred delight of melted marshmallows and chocolate, this dessert captures the best of both worlds. It reflects today’s trend toward creative mashups that honor tradition while embracing innovation—perfect for home bakers seeking fun, shareable desserts with maximum visual and taste appeal.
Ingredients Breakdown
To create the perfect balance of flavors and textures in Red Velvet S’mores Bars, each ingredient plays a crucial role:
- All-Purpose Flour: Provides structure to the cakey base. Sifted to prevent clumping and ensure lightness.
- Cocoa Powder (Unsweetened): Adds depth and a hint of chocolate without overpowering the delicate red velvet profile.
- Baking Soda & Baking Powder: Work together to leaven the batter, giving the bars a soft, springy texture.
- Salt: Enhances all the other flavors and balances sweetness.
- Granulated Sugar: Sweetens the base and contributes to a tender crumb.
- Butter (Unsalted, Softened): Adds richness and moisture; creaming it with sugar creates air pockets for fluffiness.
- Large Eggs: Bind the ingredients and add structure and moisture.
- Vanilla Extract: Deepens the flavor profile with warm, aromatic notes.
- Red Food Coloring (Liquid or Gel): Gives the signature vivid red hue. Gel coloring offers more intensity without thinning the batter.
- Buttermilk: Reacts with baking soda for lift and tenderness; adds tang that complements the sweetness.
- White Vinegar: Further activates the baking soda and enhances the cake’s soft texture.
- Graham Cracker Crumbs: Used in the crust layer to echo the classic s’mores foundation—crunchy, sweet, and slightly spiced.
- Butter (for crust): Binds the graham cracker crumbs and helps them form a firm base when baked.
- Semisweet Chocolate Chips or Chunks: Melt into pools of rich chocolate throughout the bars, mimicking the chocolate layer in traditional s’mores.
- Mini Marshmallows: Cover the top generously, melting into a golden, sticky blanket when toasted—essential for that authentic s’mores magic.
- Optional: Cream Cheese Swirl: A few spoonfuls of softened cream cheese swirled into the batter can elevate the red velvet flavor and add a creamy contrast.
Using high-quality ingredients ensures the best flavor and texture. For instance, real butter instead of margarine, pure vanilla extract, and fresh buttermilk make a noticeable difference in the final product.
Step-by-Step Recipe
- Preheat Oven & Prepare Pan: Preheat your oven to 350°F (175°C). Line a 9×13-inch baking pan with parchment paper, leaving overhang on two sides for easy removal. Lightly grease any exposed pan surface.
- Make the Graham Cracker Crust: In a medium bowl, combine 1 ½ cups graham cracker crumbs with 6 tablespoons melted butter and 2 tablespoons sugar. Mix until the crumbs are evenly moistened. Press the mixture firmly into the bottom of the prepared pan. Bake for 8–10 minutes until lightly golden. Remove and let cool slightly while preparing the batter.
- Prepare Dry Ingredients: In a large bowl, whisk together 2 cups all-purpose flour, 2 tablespoons unsweetened cocoa powder, 1 teaspoon baking soda, ½ teaspoon baking powder, and ¼ teaspoon salt. Set aside.
- Cream Butter and Sugar: In a separate large mixing bowl, beat ¾ cup softened butter with 1 ½ cups granulated sugar using an electric mixer until light and fluffy (about 3–4 minutes).
- Add Wet Ingredients: Beat in 2 large eggs, one at a time, followed by 2 teaspoons vanilla extract. Mix well after each addition. Stir in 1 tablespoon red food coloring (gel preferred) until fully incorporated.
- Alternate Adding Dry and Wet Mixtures: Gradually add the dry ingredients to the butter mixture in three parts, alternating with 1 cup buttermilk and 1 teaspoon white vinegar. Begin and end with the dry ingredients. Mix just until combined—do not overmix.
- Spread Batter Over Crust: Pour the red velvet batter evenly over the pre-baked graham cracker crust. Use a spatula to smooth the top.
- Add Chocolate and Marshmallows: Sprinkle 1 cup semisweet chocolate chips (or chopped chocolate) evenly over the batter. Then, cover the entire surface with a generous layer of mini marshmallows—aim for full coverage without overcrowding.
- Bake: Place in the center of the oven and bake for 28–33 minutes, or until a toothpick inserted into the center comes out with moist crumbs (not wet batter). The marshmallows will puff and begin to turn golden.
- Optional Broil for Toasted Effect: Turn off the oven, switch to broil, and place the pan under the broiler for 1–2 minutes to deepen the color of the marshmallows. Watch closely to avoid burning.
- Cool Completely: Allow the bars to cool in the pan on a wire rack for at least 1 hour before lifting them out using the parchment overhang. Chill in the refrigerator for 30 minutes for cleaner cuts.
- Cut and Serve: Use a sharp knife dipped in hot water to slice into squares. Wipe the blade between cuts for neat edges.
Tips
- Don’t Overbake: The bars continue to set as they cool. Remove them from the oven when the center still has a slight jiggle—this prevents dryness.
- Use Gel Food Coloring: It provides a brighter red without adding extra liquid, preserving the batter’s consistency.
- Toast Marshmallows Carefully: If using the broiler, keep the pan 6 inches from the heat source and watch constantly—marshmallows can burn in seconds.
- Chill Before Cutting: This helps the layers hold their shape and gives clean lines, especially important with the gooey marshmallow topping.
- Line the Pan Well: Parchment paper is essential for lifting the entire slab out intact. Avoid foil unless double-lined, as marshmallows may stick.
- Room Temperature Ingredients: Ensure butter, eggs, and buttermilk are at room temperature to emulsify properly and create a smooth batter.
- Even Marshmallow Layer: Distribute mini marshmallows in a single even layer. Too thick, and they won’t melt uniformly; too sparse, and you’ll miss the gooey effect.
- Let Cool Fully: Cutting too soon leads to collapsed edges and messy bars. Patience rewards perfection!
Variations and Customizations
These Red Velvet S’mores Bars are highly adaptable—feel free to get creative! Here are some popular variations:
- Cream Cheese Layer: Add a layer of sweetened cream cheese (8 oz cream cheese + ⅓ cup sugar + 1 egg, beaten smooth) beneath the red velvet batter or swirl it on top before baking.
- Dark Chocolate Upgrade: Swap semisweet chips for dark chocolate chunks for a more sophisticated, less sweet flavor.
- Gluten-Free Version: Replace all-purpose flour with a gluten-free 1:1 baking blend and use gluten-free graham crackers for the crust.
- Vegan Adaptation: Use plant-based butter, flax eggs (2 tbsp ground flax + 5 tbsp water), almond milk mixed with vinegar (as buttermilk substitute), dairy-free chocolate, and vegan marshmallows (like Dandies).
- Mini Bars: Bake in a muffin tin for individual portions—use cupcake liners sprayed with non-stick spray for easy removal.
- Peppermint Twist: Add ½ teaspoon peppermint extract to the batter and sprinkle crushed candy canes over the marshmallows before broiling—perfect for Christmas.
- Nutty Crunch: Mix chopped pecans or walnuts into the graham cracker crust or sprinkle on top before baking for added texture.
- Layered Look: Create a checkerboard effect by dropping spoonfuls of plain and cream cheese batter and swirling gently with a knife.
- Cookie Crust Alternative: Replace graham crackers with Oreo crumbs for a chocolate cookie base that complements the red velvet beautifully.
- Spiked Version: Add 1–2 tablespoons bourbon or butterscotch liqueur to the batter for an adult-friendly twist.
Health Considerations and Nutritional Value
While undeniably delicious, Red Velvet S’mores Bars are a rich dessert best enjoyed in moderation. Here’s a nutritional overview per serving (assuming 12 servings):
- Calories: ~380–420 kcal
- Total Fat: ~18–22g (including 10–12g saturated fat)
- Cholesterol: ~60–70mg
- Sodium: ~280–350mg
- Total Carbohydrates: ~55–60g
- Sugars: ~40–45g
- Protein: ~4–5g
- Fiber: ~1–2g
Considerations:
- High Sugar Content: Due to multiple sources—granulated sugar, marshmallows, chocolate, and graham crackers—these bars are not suitable for low-sugar diets.
- Dairy and Eggs: Contains butter, buttermilk, and eggs, making it unsuitable for vegans or those with allergies unless modified.
- Gluten: Standard recipe contains wheat flour and graham crackers. Gluten-sensitive individuals should use certified gluten-free alternatives.
- Food Coloring: Some artificial red dyes (like Red 40) may be a concern for children or sensitive individuals. Natural alternatives like beet juice or powdered beetroot can be used, though results may vary in color intensity.
- Balancing Indulgence: Pair with fresh fruit or a side salad if serving at a meal. One small square satisfies most sweet cravings.
Ingredients
- 1 ½ cups graham cracker crumbs (about 12 full sheets)
- 6 tablespoons unsalted butter, melted
- 2 tablespoons granulated sugar (for crust)
- 2 cups all-purpose flour
- 2 tablespoons unsweetened cocoa powder
- 1 teaspoon baking soda
- ½ teaspoon baking powder
- ¼ teaspoon salt
- ¾ cup unsalted butter, softened
- 1 ½ cups granulated sugar
- 2 large eggs
- 2 teaspoons pure vanilla extract
- 1 tablespoon red gel food coloring (or liquid)
- 1 cup buttermilk
- 1 teaspoon white vinegar
- 1 cup semisweet chocolate chips
- 2 cups mini marshmallows
Directions
- Preheat oven to 350°F (175°C). Line a 9×13-inch baking dish with parchment paper and lightly grease.
- In a bowl, mix graham cracker crumbs, 6 tbsp melted butter, and 2 tbsp sugar. Press firmly into the bottom of the pan. Bake for 8–10 minutes, then cool.
- Whisk together flour, cocoa powder, baking soda, baking powder, and salt in a bowl.
- Cream ¾ cup softened butter and 1 ½ cups sugar until fluffy. Add eggs one at a time, then vanilla and red food coloring.
- In another container, mix buttermilk and vinegar. Gradually add dry ingredients and buttermilk mixture to butter mixture, alternating and mixing just until combined.
- Pour batter over the cooled crust. Smooth with a spatula.
- Sprinkle chocolate chips evenly, then cover with mini marshmallows in a single layer.
- Bake for 28–33 minutes until a toothpick comes out with moist crumbs. Marshmallows should be puffed and lightly golden.
- (Optional) Broil for 1–2 minutes to toast marshmallows further. Watch carefully.
- Cool completely in the pan on a rack. Chill for 30 minutes for easier slicing.
- Lift out using parchment and cut into squares with a hot, clean knife.
- Serve at room temperature. Store leftovers covered at room temperature for up to 2 days or refrigerate for up to 5 days.
FAQ
Q: Can I make these bars ahead of time?
A: Yes! Prepare and bake up to 2 days in advance. Store covered at room temperature. Re-crisp marshmallows briefly under the broiler if desired before serving.
Q: Why did my bars come out soggy?
A: Overmixing the batter, underbaking, or cutting too soon can cause sogginess. Always cool completely and chill before slicing.
Q: Can I freeze Red Velvet S’mores Bars?
A: Yes. Wrap individual bars tightly in plastic and store in a freezer-safe bag for up to 2 months. Thaw in the refrigerator and bring to room temperature before serving. Avoid freezing if topped with cream cheese unless well-sealed.
Q: Can I use regular marshmallows instead of mini?
A: Mini marshmallows melt more evenly. If using regular, slice them thinly and arrange closely to cover the surface.
Q: Is buttermilk necessary?
A: Yes—it reacts with baking soda for rise and tenderness. Substitute: 1 cup milk + 1 tbsp vinegar or lemon juice, let sit 5 minutes.
Q: How do I store leftover bars?
A: Keep in an airtight container at room temperature for 1–2 days. Refrigerate for longer storage (up to 5 days), though the texture may firm slightly.
Q: Can I make these without food coloring?
A: You can, but they won’t have the iconic red hue. The flavor remains similar, but it becomes more of a “cocoa s’mores bar.”
Summary
Red Velvet S’mores Bars blend the luxurious taste of red velvet cake with the gooey charm of campfire s’mores into one stunning, no-fuss dessert. Perfect for parties, gifts, or satisfying a sweet craving, these bars are as eye-catching as they are delicious.