Red Velvet Scones: A Luxurious Twist on a Classic Treat
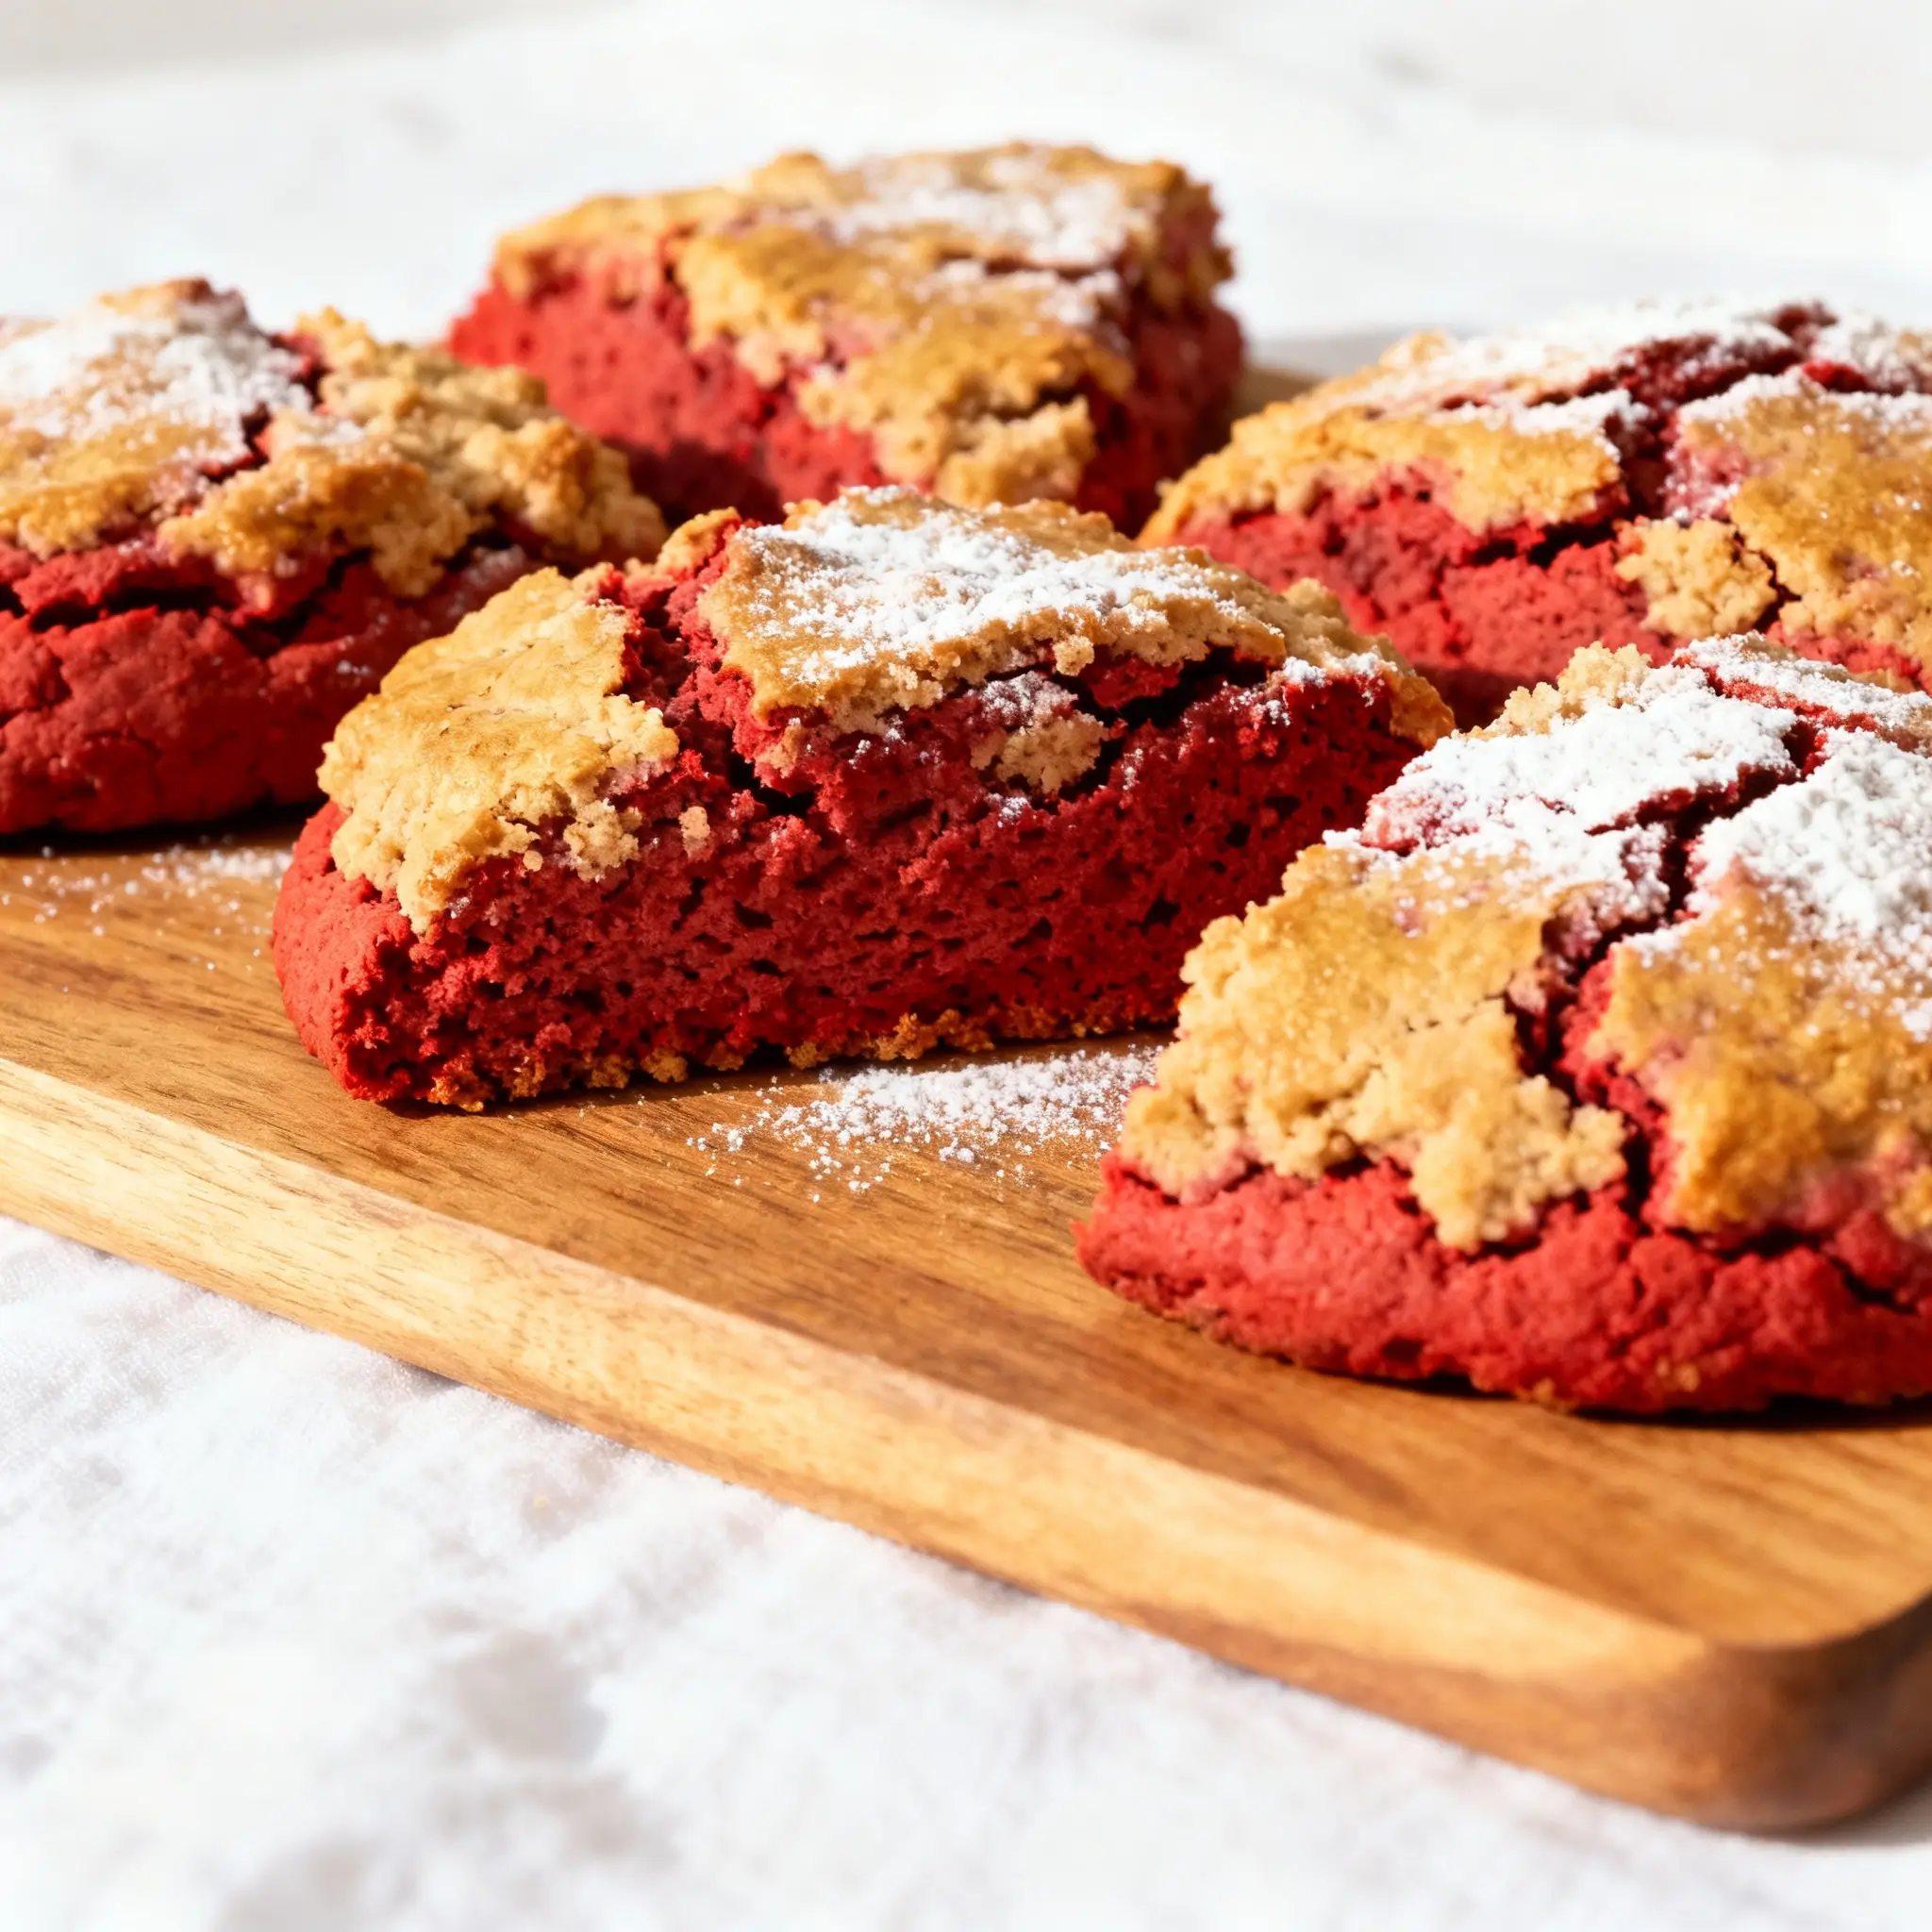
Indulge in the rich, velvety charm of Red Velvet Scones—a decadent fusion of traditional British scone craftsmanship and the beloved American red velvet cake. With their deep crimson hue, tender crumb, and subtle cocoa undertones, these scones are more than just a breakfast item; they’re an experience. Perfectly suited for afternoon tea, brunch gatherings, or as a delightful dessert with a cup of coffee, Red Velvet Scones bring elegance and flavor to any table.
The History Behind the Red Velvet Craze
The story of red velvet begins in the early 20th century, most notably associated with Southern U.S. cuisine. Originally, the red hue came from a chemical reaction between natural cocoa powder (which contains anthocyanin) and acidic ingredients like buttermilk and vinegar—a phenomenon known as “red cocoa” before modern food coloring became widespread. The legendary Waldorf-Astoria Hotel in New York popularized the red velvet cake during the mid-1900s, sparking nationwide fascination.
Scones, on the other hand, have roots in Scotland, dating back to the early 16th century. Traditionally made with simple pantry staples—flour, butter, milk, and baking soda—scones were baked on griddles or in ovens and served warm with clotted cream and jam. Over time, bakers began experimenting with sweet variations, incorporating fruits, chocolate, cheese, and spices.
The marriage of red velvet and scones is a relatively modern innovation, born from the trend of cake-inspired baked goods. As consumers sought bolder flavors and visually striking pastries, creative bakers began infusing scone dough with cocoa, buttermilk, and red food coloring, giving rise to the now-popular Red Velvet Scone. This hybrid treat combines the moist richness of red velvet cake with the flaky, golden exterior of a classic scone—making it a favorite at bakeries and home kitchens alike.
Ingredients Breakdown: What Makes These Scones Special?
The magic of Red Velvet Scones lies in the balance of ingredients that deliver both texture and taste. Let’s dive into each component:
- All-Purpose Flour: Provides structure and forms the base of the dough. It ensures a light yet sturdy crumb.
- Granulated Sugar: Adds sweetness and aids in browning the edges during baking.
- Baking Powder & Baking Soda: Leavening agents that help the scones rise and become fluffy. Baking soda also reacts with acidic ingredients for extra lift.
- Salt: Enhances overall flavor and balances the sweetness.
- Cocoa Powder (Unsweetened, Natural): Imparts the signature chocolatey depth of red velvet without overpowering the palate. Natural cocoa also contributes to the color reaction.
- Cold Unsalted Butter (Cubed): The key to flakiness. When cold butter melts in the oven, it creates steam pockets that result in layered, tender layers.
- Buttermilk: Adds tanginess, tenderness, and activates the leavening agents. Its acidity also enhances the red color when combined with cocoa.
- Egg: Binds the dough together and adds richness and moisture.
- Red Food Coloring (Liquid or Gel): Gives the scones their vibrant red hue. Gel coloring is preferred for more intense color without altering consistency.
- Vanilla Extract: Adds aromatic warmth and complements the cocoa and buttermilk notes.
- White Chocolate Chips (Optional): A luxurious addition that mimics the cream cheese frosting commonly paired with red velvet cake.
For the glaze:
– Powdered sugar, milk or cream, and vanilla extract come together to create a silky drizzle that enhances sweetness and presentation.
Step-by-Step Recipe: How to Make Perfect Red Velvet Scones
Follow this detailed guide to achieve bakery-quality Red Velvet Scones at home. Precision and care are essential for the ideal texture and appearance.
Ingredients
For the Scones:
- 2 ½ cups (315g) all-purpose flour, plus extra for dusting
- ⅓ cup (65g) granulated sugar
- 1 tablespoon baking powder
- ½ teaspoon baking soda
- ½ teaspoon salt
- ¼ cup (25g) unsweetened natural cocoa powder
- ½ cup (1 stick / 113g) cold unsalted butter, cubed
- ¾ cup (180ml) cold buttermilk
- 1 large egg, cold
- 1–2 tablespoons red food coloring (gel recommended)
- 1 ½ teaspoons vanilla extract
- ½ cup (90g) white chocolate chips (optional)
For the Glaze:
- 1 cup (120g) powdered sugar
- 2–3 tablespoons heavy cream or milk
- ½ teaspoon vanilla extract
- Pinch of salt
Directions
- Preheat Oven & Prepare Baking Sheet: Preheat your oven to 400°F (200°C). Line a large baking sheet with parchment paper or a silicone mat.
- Mix Dry Ingredients: In a large mixing bowl, whisk together flour, granulated sugar, baking powder, baking soda, salt, and cocoa powder until well combined and no streaks remain.
- Cut in the Butter: Add the cold, cubed butter to the dry mixture. Using a pastry cutter, two forks, or your fingertips, work the butter into the flour until the mixture resembles coarse crumbs with pea-sized butter pieces. This step is crucial for flakiness—do not overmix.
- Whisk Wet Ingredients: In a separate medium bowl, whisk together the cold buttermilk, egg, red food coloring, and vanilla extract until smooth and uniformly colored.
- Combine Wet and Dry Mixtures: Pour the wet ingredients into the flour-butter mixture. Gently fold using a spatula or wooden spoon until the dough just comes together. If using, fold in white chocolate chips at this stage. Do not overmix—overworking the dough leads to tough scones.
- Shape the Dough: Turn the shaggy dough out onto a lightly floured surface. With floured hands, gently knead 3–4 times to form a cohesive ball. Pat the dough into a circle about 1 inch thick and 7–8 inches in diameter.
- Cut the Scones: Using a sharp knife or bench scraper, cut the circle into 8 equal wedges, like a pizza. Carefully transfer the wedges to the prepared baking sheet, leaving about 2 inches between each for expansion.
- Chill (Optional but Recommended): For higher rise and better shape retention, place the unbaked scones in the refrigerator for 15–20 minutes before baking.
- Bake: Bake in the preheated oven for 18–22 minutes, or until the tops are set, a toothpick inserted into the center comes out clean, and the edges are lightly golden. Rotate the tray halfway through for even baking.
- Cool: Allow the scones to cool on the baking sheet for 5 minutes, then transfer to a wire rack to cool completely before glazing.
- Prepare the Glaze: While the scones cool, whisk together powdered sugar, cream (start with 2 tbsp), vanilla, and salt. Add more liquid ½ teaspoon at a time until desired consistency is reached—it should be thick but pourable.
- Glaze the Scones: Drizzle the glaze over the cooled scones using a spoon or piping bag. Allow the glaze to set for 10–15 minutes before serving.
Tips for Success: Mastering the Art of Red Velvet Scones
- Keep Everything Cold: Cold butter, cold buttermilk, and even chilling the bowl beforehand prevent the butter from melting too soon, ensuring flaky layers.
- Don’t Overmix: Overworking the dough activates gluten, resulting in dense, chewy scones instead of tender ones.
- Use Gel Food Coloring: Liquid coloring can add excess moisture. Gel provides vibrant color with minimal volume.
- Uniform Thickness: When shaping the dough, aim for even thickness so all scones bake at the same rate.
- Sharp Knife for Cutting: A dull knife can compress the edges. Use a sharp blade and make one clean motion per cut.
- Bake Immediately After Cutting: Delaying baking may cause the leavening agents to activate prematurely, reducing rise.
- Rotate the Pan: Ovens have hot spots. Rotating the tray ensures even browning.
- Freeze Before Baking for Neater Edges: Chilling helps maintain shape and improves rise.
Variations and Customizations
Make these scones your own with these delicious twists:
- Cream Cheese Swirl: Soften 4 oz cream cheese, mix with 2 tbsp sugar and ½ tsp vanilla. Drop spoonfuls onto the dough before folding gently—creates a marbled effect.
- Dark Chocolate Version: Replace white chocolate chips with dark chocolate chunks for a less sweet, richer profile.
- Gluten-Free: Substitute all-purpose flour with a 1:1 gluten-free baking blend. Ensure other ingredients are GF-certified.
- Dairy-Free: Use plant-based butter (cold), coconut milk yogurt mixed with lemon juice (for buttermilk substitute), and dairy-free white chocolate chips.
- Lemon Zest Addition: Add 1 tsp lemon zest to the dry ingredients for a bright contrast against the rich cocoa.
- Mini Scones: Use a small biscuit cutter to make bite-sized versions. Reduce baking time to 12–15 minutes.
- No-Glaze Option: Skip the glaze and sprinkle raw sugar on top before baking for a sweet, crunchy crust.
- Spiced Red Velvet: Add ½ tsp cinnamon and a pinch of nutmeg for a warm, autumnal twist.
Health Considerations and Nutritional Value
While Red Velvet Scones are undeniably indulgent, understanding their nutritional profile helps in enjoying them mindfully.
Nutritional Breakdown (Per Scone, based on 8 servings, with glaze):
- Calories: ~320–350
- Total Fat: 16–18g (mostly from butter and chocolate)
- Saturated Fat: 10–11g
- Carbohydrates: 42–45g
- Sugars: 22–25g (including added sugars from glaze)
- Protein: 5–6g
- Fiber: 1–2g
- Sodium: ~300–350mg
Health Notes:
These scones are high in refined carbohydrates and saturated fat due to butter and sugar content. They offer minimal fiber and micronutrients unless fortified with additions like nuts or seeds. For those managing blood sugar, portion control is advised. Individuals with lactose intolerance or dairy allergies should opt for dairy-free substitutions.
Enjoy occasionally as part of a balanced diet. Pairing with a protein-rich spread (like almond butter) or serving alongside Greek yogurt can help stabilize blood sugar levels.
Frequently Asked Questions (FAQ)
Q: Can I make Red Velvet Scones ahead of time?
A: Yes! You can prepare the dough, shape the scones, and freeze them on a tray. Once solid, transfer to a freezer bag. Bake straight from frozen, adding 3–5 minutes to the baking time.
Q: Why did my scones turn out dry?
A: Overbaking or overmixing are common culprits. Ensure you measure flour accurately (spoon and level, don’t scoop) and remove scones from the oven as soon as a toothpick comes out clean.
Q: Can I use Dutch-process cocoa instead of natural cocoa?
A: Not recommended. Dutch-process cocoa is neutral in pH and won’t react with the buttermilk and baking soda, potentially affecting rise and color development.
Q: My scones didn’t rise much. What went wrong?
A: Possible reasons include expired leavening agents, overmixing, or using warm ingredients. Always check baking powder/soda freshness and keep components cold.
Q: How should I store leftover scones?
A: Store in an airtight container at room temperature for up to 2 days. For longer storage, freeze unglazed scones for up to 3 months. Thaw and reheat in a 300°F oven for 5–7 minutes.
Q: Can I omit the food coloring?
A: Yes, but they won’t have the iconic red velvet look. The flavor will still be delicious—think “cocoa scones with a twist.”
Q: Are these scones kid-friendly?
A: Absolutely! Children love the bright color and sweet flavor. Consider making heart or star shapes for special occasions.
Summary
Red Velvet Scones blend the rich legacy of Southern red velvet cake with the timeless appeal of British baking, resulting in a stunning, flavorful pastry perfect for any occasion. With a moist interior, crisp golden crust, and creamy glaze, they’re a show-stopping treat that’s surprisingly simple to make.