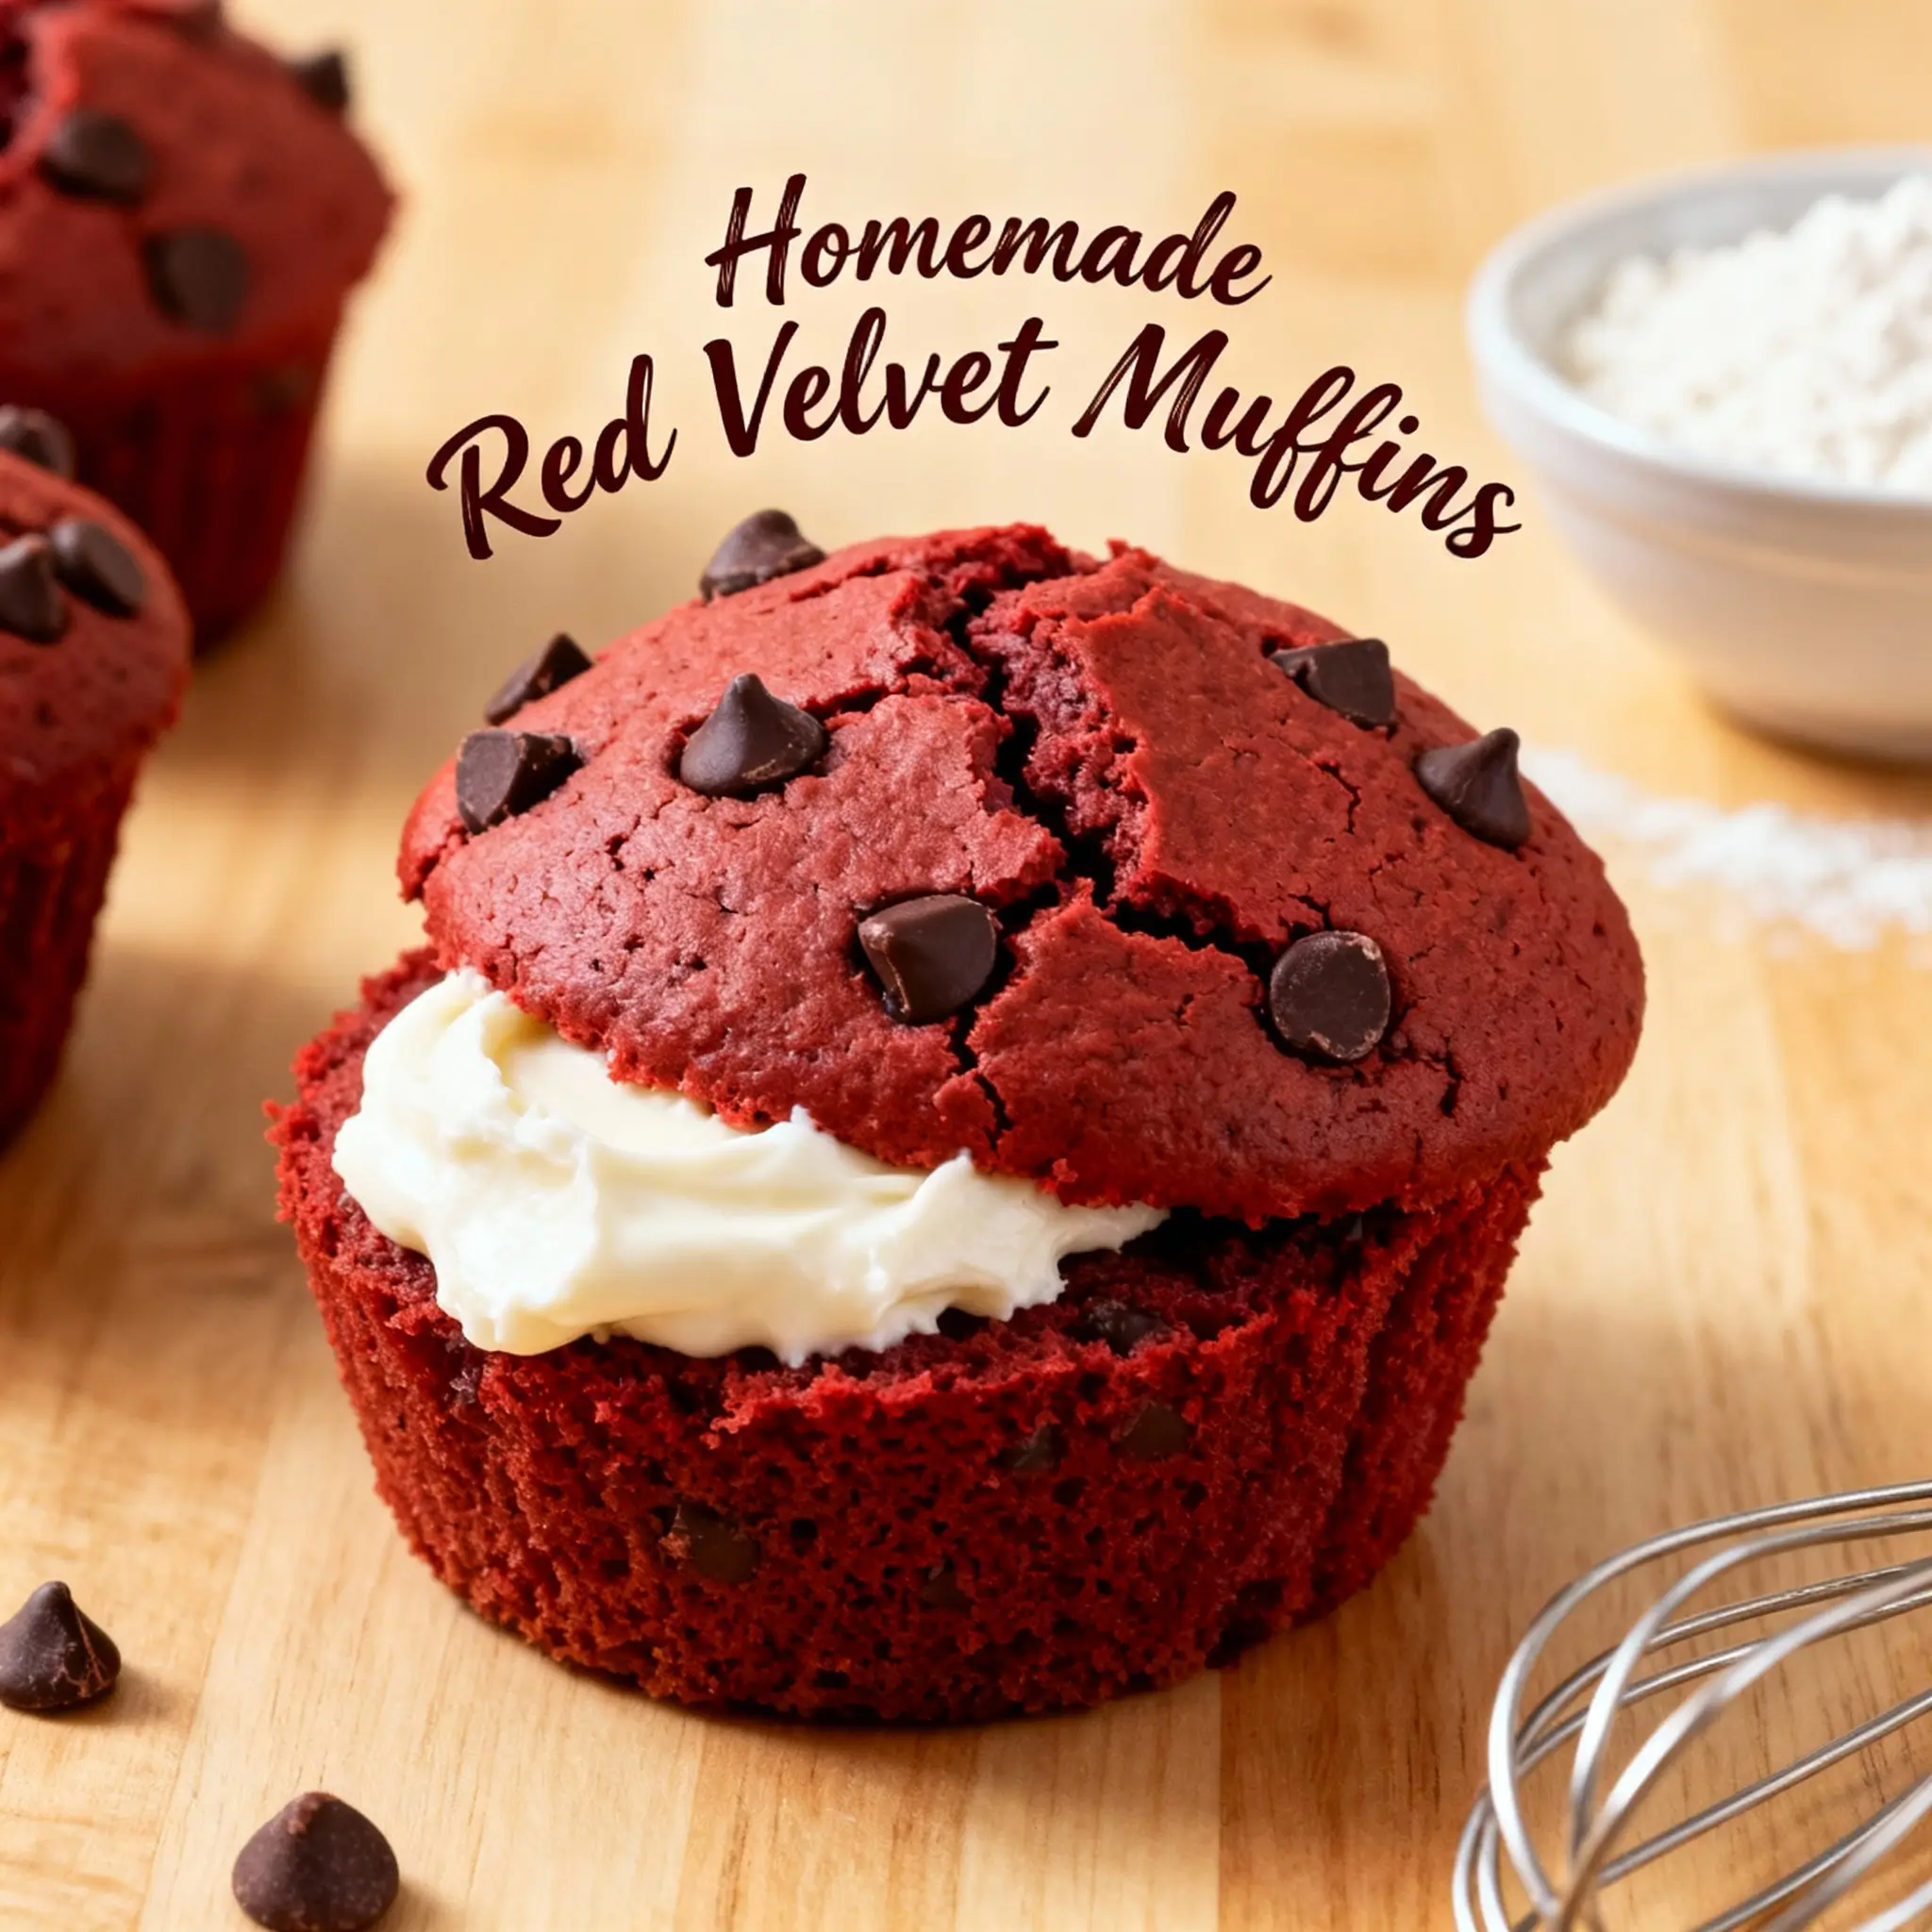
Red Velvet Muffins: A Decadent Delight for Every Occasion
The History of Red Velvet Muffins
The story of red velvet begins in the early 20th century, rooted in Southern American baking traditions. While its most famous form is the luxurious red velvet cake, often associated with elegant desserts and holiday gatherings, the concept has evolved into a wide variety of treats—including red velvet muffins. The original “red” hue came not from artificial food coloring, as many assume today, but from a chemical reaction between natural cocoa powder (which contains anthocyanin) and acidic ingredients like buttermilk and vinegar. This interaction produced a subtle reddish tint in the crumb.
Over time, especially during the mid-1900s, the popularity of red velvet surged, partly due to clever marketing by cake flour companies such as Adams Extract & Spice Company, who promoted vibrant red cakes using their red food coloring. The Waldorf-Astoria Hotel and other upscale establishments further popularized the dessert, turning it into a symbol of indulgence and celebration.
As home bakers sought convenient, portion-controlled versions of this beloved flavor, the red velvet muffin emerged as a perfect alternative—offering the same rich, tangy-sweet taste and striking crimson color in a portable, oven-fresh format. Today, red velvet muffins are a staple at brunches, birthday parties, coffee mornings, and even gourmet bakeries worldwide, loved for their soft texture, beautiful appearance, and comforting familiarity.
Ingredients Breakdown: What Makes Red Velvet Muffins Special?
The magic of red velvet muffins lies in the harmony of simple yet purposeful ingredients. Each component plays a role in creating the signature look, texture, and flavor profile that sets these muffins apart from ordinary chocolate or vanilla varieties.
- All-Purpose Flour: Provides structure and a tender crumb. Some recipes substitute part of the flour with cake flour for an even softer texture.
- Cocoa Powder (Unsweetened): Adds depth and a hint of chocolate flavor without making the muffins overly rich. Natural cocoa (not Dutch-processed) is preferred for its acidity, which reacts with baking soda to enhance rise and color development.
- Granulated Sugar: Sweetens the batter while aiding in moisture retention and browning.
- Baking Soda: Reacts with acidic ingredients (like buttermilk and vinegar) to create lift and fluffiness.
- Salt: Balances sweetness and enhances overall flavor complexity.
- Buttermilk: A key player in both tenderness and chemistry. Its acidity activates the baking soda and contributes to the moist, velvety texture. It also adds a slight tang that defines red velvet’s unique taste.
- Vegetable Oil or Melted Butter: Oil keeps the muffins moist longer; butter adds richness and flavor. Many bakers use a combination of both for optimal results.
- Eggs: Bind the ingredients together and add structure and volume when beaten into the batter.
- Vanilla Extract: Enhances aroma and complements the mild cocoa notes.
- White Vinegar: Works with baking soda and buttermilk to increase leavening and intensify the red hue through pH reactions.
- Red Food Coloring: Modern red velvet relies heavily on liquid or gel food coloring to achieve its bold, eye-catching shade. Gel coloring is preferred because it’s more concentrated and doesn’t add excess liquid.
- Optional Add-ins: Cream cheese swirls, chocolate chips, or chopped nuts can elevate the experience, though purists may prefer the classic version.
Step-by-Step Recipe for Perfect Red Velvet Muffins
Making red velvet muffins at home is easier than you might think—and the results are bakery-quality deliciousness. Follow these detailed steps for fluffy, moist, and vibrantly colored muffins every time.
Ingredients
- 2 cups (250g) all-purpose flour
- 1/2 cup (40g) unsweetened natural cocoa powder
- 1 tsp baking soda
- 1/2 tsp salt
- 1 1/2 cups (300g) granulated sugar
- 1 cup (240ml) buttermilk, room temperature
- 1/2 cup (120ml) vegetable oil (or melted butter)
- 2 large eggs, room temperature
- 1 1/2 tsp pure vanilla extract
- 1 tsp white vinegar
- 2–3 tbsp red food coloring (gel recommended)
- Optional: 4 oz cream cheese, softened (for swirl variation)
Directions
- Preheat Oven & Prepare Pan: Preheat your oven to 375°F (190°C). Line a 12-cup muffin tin with paper liners or grease lightly with non-stick spray.
- Mix Dry Ingredients: In a large bowl, whisk together flour, cocoa powder, baking soda, salt, and sugar until well combined and no lumps remain.
- Combine Wet Ingredients: In another bowl, whisk buttermilk, oil, eggs, vanilla extract, vinegar, and red food coloring until smooth and uniformly colored. The mixture should have a deep red hue.
- Combine Wet and Dry: Pour the wet ingredients into the dry ingredients. Gently fold together using a spatula just until no dry streaks remain. Do not overmix—this ensures tender muffins.
- Add Optional Swirl (Cream Cheese): If using cream cheese, place a spoonful (about 1 tbsp) into each muffin cup, then top with batter. Use a toothpick to gently swirl the cheese into the batter for a marbled effect.
- Fill Muffin Cups: Divide the batter evenly among the 12 cups, filling each about 3/4 full. For taller muffin tops, you can slightly overfill them.
- Bake: Place in the preheated oven and bake for 18–22 minutes, or until a toothpick inserted into the center comes out clean or with a few moist crumbs.
- Cool: Let the muffins cool in the pan for 5 minutes before transferring them to a wire rack to cool completely.
- Serve or Store: Enjoy warm with a pat of butter, a drizzle of glaze, or plain. Store in an airtight container for up to 3 days or freeze for longer storage.
Pro Tips for Baking the Best Red Velvet Muffins
- Use Room Temperature Ingredients: Cold eggs or buttermilk can cause the batter to curdle or affect rising. Allow them to sit out for 30 minutes before mixing.
- Don’t Overmix: Overmixing develops gluten, leading to dense, tough muffins. Mix only until the ingredients are incorporated.
- Gel Food Coloring Is Key: Liquid coloring may dilute the batter and require large quantities. Gel gives intense color with minimal volume.
- Check Oven Temperature: An inaccurate oven can lead to uneven baking. Use an oven thermometer if needed.
- Filling the Cups: Use a large cookie scoop or ice cream scoop for consistent sizing and professional-looking results.
- Rotate the Pan: Halfway through baking, rotate the muffin tin to ensure even browning, especially if your oven has hot spots.
- Test for Doneness: Insert a toothpick near the center—if it comes out clean or with moist crumbs (not wet batter), they’re done.
- Cool Properly: Cooling too quickly can cause condensation and sogginess. Let them rest in the pan briefly, then transfer to a wire rack.
Variations and Customizations
Red velvet muffins are wonderfully versatile. Once you master the base recipe, feel free to experiment with exciting twists:
- Cream Cheese-Stuffed Muffins: Fill the center with a cube of sweetened cream cheese before baking for a gooey surprise inside.
- Chocolate Chip Red Velvet: Fold in semi-sweet or white chocolate chips for added richness and texture.
- Gluten-Free Version: Substitute all-purpose flour with a 1:1 gluten-free baking blend. Ensure cocoa powder and food coloring are certified gluten-free.
- Dairy-Free Option: Replace buttermilk with a mix of almond milk and lemon juice (1 tbsp per cup), and use dairy-free margarine or coconut oil instead of butter.
- Mini Red Velvet Muffins: Use a mini muffin tin and reduce baking time to 10–12 minutes. Perfect for parties or snacks.
- Low-Sugar or Keto-Friendly: Use erythritol or monk fruit sweetener in place of sugar, and swap flour with almond or coconut flour blends designed for keto baking.
- Spiced Red Velvet: Add cinnamon, nutmeg, or pumpkin spice for a seasonal twist, especially delightful in fall and winter.
- Lemon Zest Infusion: Add 1 tsp lemon zest to brighten the flavor and cut through the sweetness.
- Marble Muffins: Swirl vanilla batter into red velvet for a beautiful marbled effect.
- Top With Crunch: Sprinkle coarse sugar or streusel topping before baking for a crisp crown.
Health Considerations and Nutritional Value
While red velvet muffins are undeniably indulgent, understanding their nutritional content helps in making mindful choices. A standard red velvet muffin (without frosting) contains approximately:
- Calories: 280–320 per muffin
- Total Fat: 12–15g (mostly from oil and eggs)
- Saturated Fat: 3–4g
- Carbohydrates: 40–45g
- Sugars: 25–30g
- Protein: 4–5g
- Fiber: 1–2g
- Sodium: 200–300mg
These values vary based on ingredient swaps and portion size. To make a healthier version:
- Reduce sugar by 25%—many find the muffins still sweet enough.
- Replace half the oil with unsweetened applesauce or mashed banana to lower fat content.
- Use whole wheat pastry flour for added fiber and nutrients.
- Avoid high-sugar frostings or glazes unless for special occasions.
- Be cautious with artificial food dyes—some studies suggest potential sensitivity in children. Natural alternatives like beetroot powder can be used, though the color will be less vibrant and the flavor slightly earthy.
For those with dietary restrictions, allergen-friendly versions (gluten-free, dairy-free, egg-free) are achievable with proper substitutions and testing.
Frequently Asked Questions (FAQ)
Why are my red velvet muffins dry?
Dryness usually results from overbaking, overmixing, or using too much flour. Spoon flour into the measuring cup (don’t scoop), avoid excessive stirring, and check for doneness a few minutes before the suggested time.
Can I make red velvet muffins without buttermilk?
Yes! Make a quick substitute by adding 1 tbsp lemon juice or white vinegar to 1 cup of milk and letting it sit for 5–10 minutes until slightly curdled.
Why use vinegar in red velvet muffins?
Vinegar reacts with baking soda and buttermilk to produce carbon dioxide, helping the muffins rise. It also enhances the red color by lowering the pH, which affects cocoa pigments.
How do I store red velvet muffins?
Keep them in an airtight container at room temperature for up to 3 days. For longer storage, refrigerate for up to 1 week or freeze for up to 3 months. Thaw at room temperature or reheat gently in the microwave.
Can I freeze red velvet muffin batter?
Yes, though it’s best to bake them first. However, unbaked batter can be portioned into liners and frozen; bake straight from frozen, adding 3–5 extra minutes to the baking time.
Are red velvet muffins the same as chocolate muffins?
No. While both contain cocoa, red velvet has a milder chocolate flavor, a tangy note from buttermilk and vinegar, and a distinctive red color. The texture is also lighter and more cake-like.
What’s the best way to get a bright red color?
Use high-quality red gel food coloring. One tablespoon of gel can deliver intense color without altering the batter consistency. Natural options like beet juice or powdered spirulina offer subtler hues.
Can I make these muffins ahead of time?
Absolutely. Bake a batch on Sunday and enjoy throughout the week. They also make excellent grab-and-go breakfasts or snacks.
Summary
Red velvet muffins combine the elegance of red velvet cake with the convenience of a handheld treat, featuring a soft, moist crumb, a hint of cocoa, and a stunning red hue.
Perfect for breakfast, snacks, or dessert, they’re easy to customize and beloved by all ages—making them a timeless favorite in any baker’s repertoire.