Red Velvet Mousse: A Luxurious Dessert Delight
The History of Red Velvet Mousse
The story of red velvet mousse begins with the rich heritage of red velvet cake, a dessert that rose to prominence in the early 20th century. Originally associated with Southern American baking, red velvet cake was famed for its soft, velvety crumb and striking crimson hue. The color was originally a byproduct of a reaction between natural cocoa (which contains anthocyanin) and acidic ingredients like buttermilk and vinegar—this chemical interaction gave the cake a subtle reddish tint. Over time, bakers began enhancing this color with food coloring, especially during the mid-1900s when the now-iconic bright red version became popular.
The Waldorf-Astoria Hotel in New York is often credited with popularizing red velvet cake, allegedly serving it to distinguished guests and sparking nationwide fascination. Though the famous “red velvet cake recipe” supposedly sold for a hefty sum may be more myth than fact, the legend helped cement the dessert’s status as a classic. As culinary trends evolved, pastry chefs began reimagining traditional baked goods into lighter, airier forms. Enter the red velvet mousse—a modern, elegant interpretation that captures the essence of the original cake while offering a silky, melt-in-your-mouth texture.
Mousse, derived from the French word for “foam,” has long been a staple in fine dining due to its delicate structure and luxurious mouthfeel. Combining the deep cocoa flavor, tangy undertones, and vibrant color of red velvet with the airy richness of mousse was a natural evolution. Today, red velvet mousse stands as a sophisticated dessert option for celebrations, dinner parties, or even as an indulgent treat for one. Its rise in popularity is fueled not only by taste but also by its stunning visual appeal—deep ruby layers topped with snowy whipped cream create a dessert that’s as photogenic as it is delicious.
Ingredients Breakdown: What Makes Red Velvet Mousse Special
The magic of red velvet mousse lies in its carefully balanced ingredients, each contributing to its signature flavor, color, and texture. Here’s a detailed breakdown:
- Dark Chocolate or High-Quality Cocoa Powder: Provides the deep chocolate base essential for authentic red velvet flavor. Using Dutch-processed cocoa offers a smoother, less acidic taste compared to natural cocoa.
- Granulated Sugar: Adds sweetness and helps stabilize the whipped components. It’s crucial in achieving the right balance without overpowering the tanginess.
- Butter (Unsalted): Enhances richness and contributes to the smooth, creamy mouthfeel. Room-temperature butter blends seamlessly into the mixture.
- Eggs (Separated): The yolks add silkiness and emulsification, while the whites, when whipped to stiff peaks, provide the airy lift that defines a perfect mousse.
- Heavy Cream (Cold): Whipped into soft peaks, it adds volume and a cloud-like texture. Cold cream whips better and holds its shape longer.
- Red Food Coloring (Gel-Based Preferred): Essential for achieving the bold red hue. Gel coloring is more concentrated than liquid, so less is needed, preventing dilution of the mousse.
- Vanilla Extract: Adds warmth and depth, rounding out the flavor profile.
- White Vinegar or Lemon Juice: Introduces a subtle tang reminiscent of traditional red velvet cake, balancing the sweetness.
- Salt: A pinch enhances all the other flavors and prevents the dessert from tasting flat.
- Cream Cheese (Optional but Recommended): For a cheesecake-inspired twist, adding softened cream cheese gives the mousse a slight tang and richer body, mimicking the frosting commonly paired with red velvet cake.
These ingredients work in harmony to recreate the beloved red velvet experience in a no-bake, spoonable format. The result is a dessert that’s both familiar and refreshingly new.
Step-by-Step Recipe: How to Make Perfect Red Velvet Mousse at Home
Creating red velvet mousse from scratch may seem intimidating, but with patience and attention to detail, it’s entirely achievable—even for home bakers without professional training. Follow these steps for a flawless dessert every time.
Ingredients You’ll Need:
- 4 large egg yolks
- 1/3 cup granulated sugar (plus extra for meringue)
- 1/4 cup high-quality cocoa powder (Dutch-processed preferred)
- 1/4 cup heavy cream, cold
- 1/2 cup semi-sweet chocolate chips or chopped dark chocolate
- 1/2 cup unsalted butter, room temperature
- 4 large egg whites
- 1/4 teaspoon cream of tartar
- 1 tablespoon red gel food coloring
- 1 teaspoon vanilla extract
- 1/2 teaspoon white vinegar
- Pinch of salt
- 4 oz cream cheese, softened (optional)
- Whipped cream and chocolate shavings for garnish
Directions:
- Prepare the Chocolate Base: In a heatproof bowl set over a pot of simmering water (double boiler method), combine chocolate chips and butter. Stir continuously until fully melted and smooth. Remove from heat and let cool slightly.
- Whisk Egg Yolks and Sugar: In a separate bowl, whisk egg yolks with 1/3 cup sugar until pale and slightly thickened. Gradually whisk in the cocoa powder until no lumps remain. Add this mixture to the melted chocolate, stirring until fully incorporated.
- Add Flavorings: Mix in vanilla extract, red food coloring, and white vinegar. If using cream cheese, beat it into the chocolate mixture until smooth and uniform.
- Whip the Cream: In a chilled bowl, whip the cold heavy cream to soft peaks. Gently fold about one-third into the chocolate mixture to lighten it before incorporating the rest. Set aside.
- Make the Meringue: In another clean, dry bowl, beat egg whites with a pinch of salt and cream of tartar until foamy. Gradually add 1/4 cup sugar, one tablespoon at a time, continuing to beat until glossy stiff peaks form.
- Fold in the Meringue: Gently fold one-third of the meringue into the chocolate mixture to loosen it. Then, carefully fold in the remaining meringue in two additions, taking care not to deflate the mixture. The goal is a fluffy, homogeneous blend with no streaks.
- Chill: Spoon the mousse into individual serving glasses, ramekins, or a large serving bowl. Cover with plastic wrap and refrigerate for at least 4 hours, preferably overnight, to allow the mousse to set and flavors to meld.
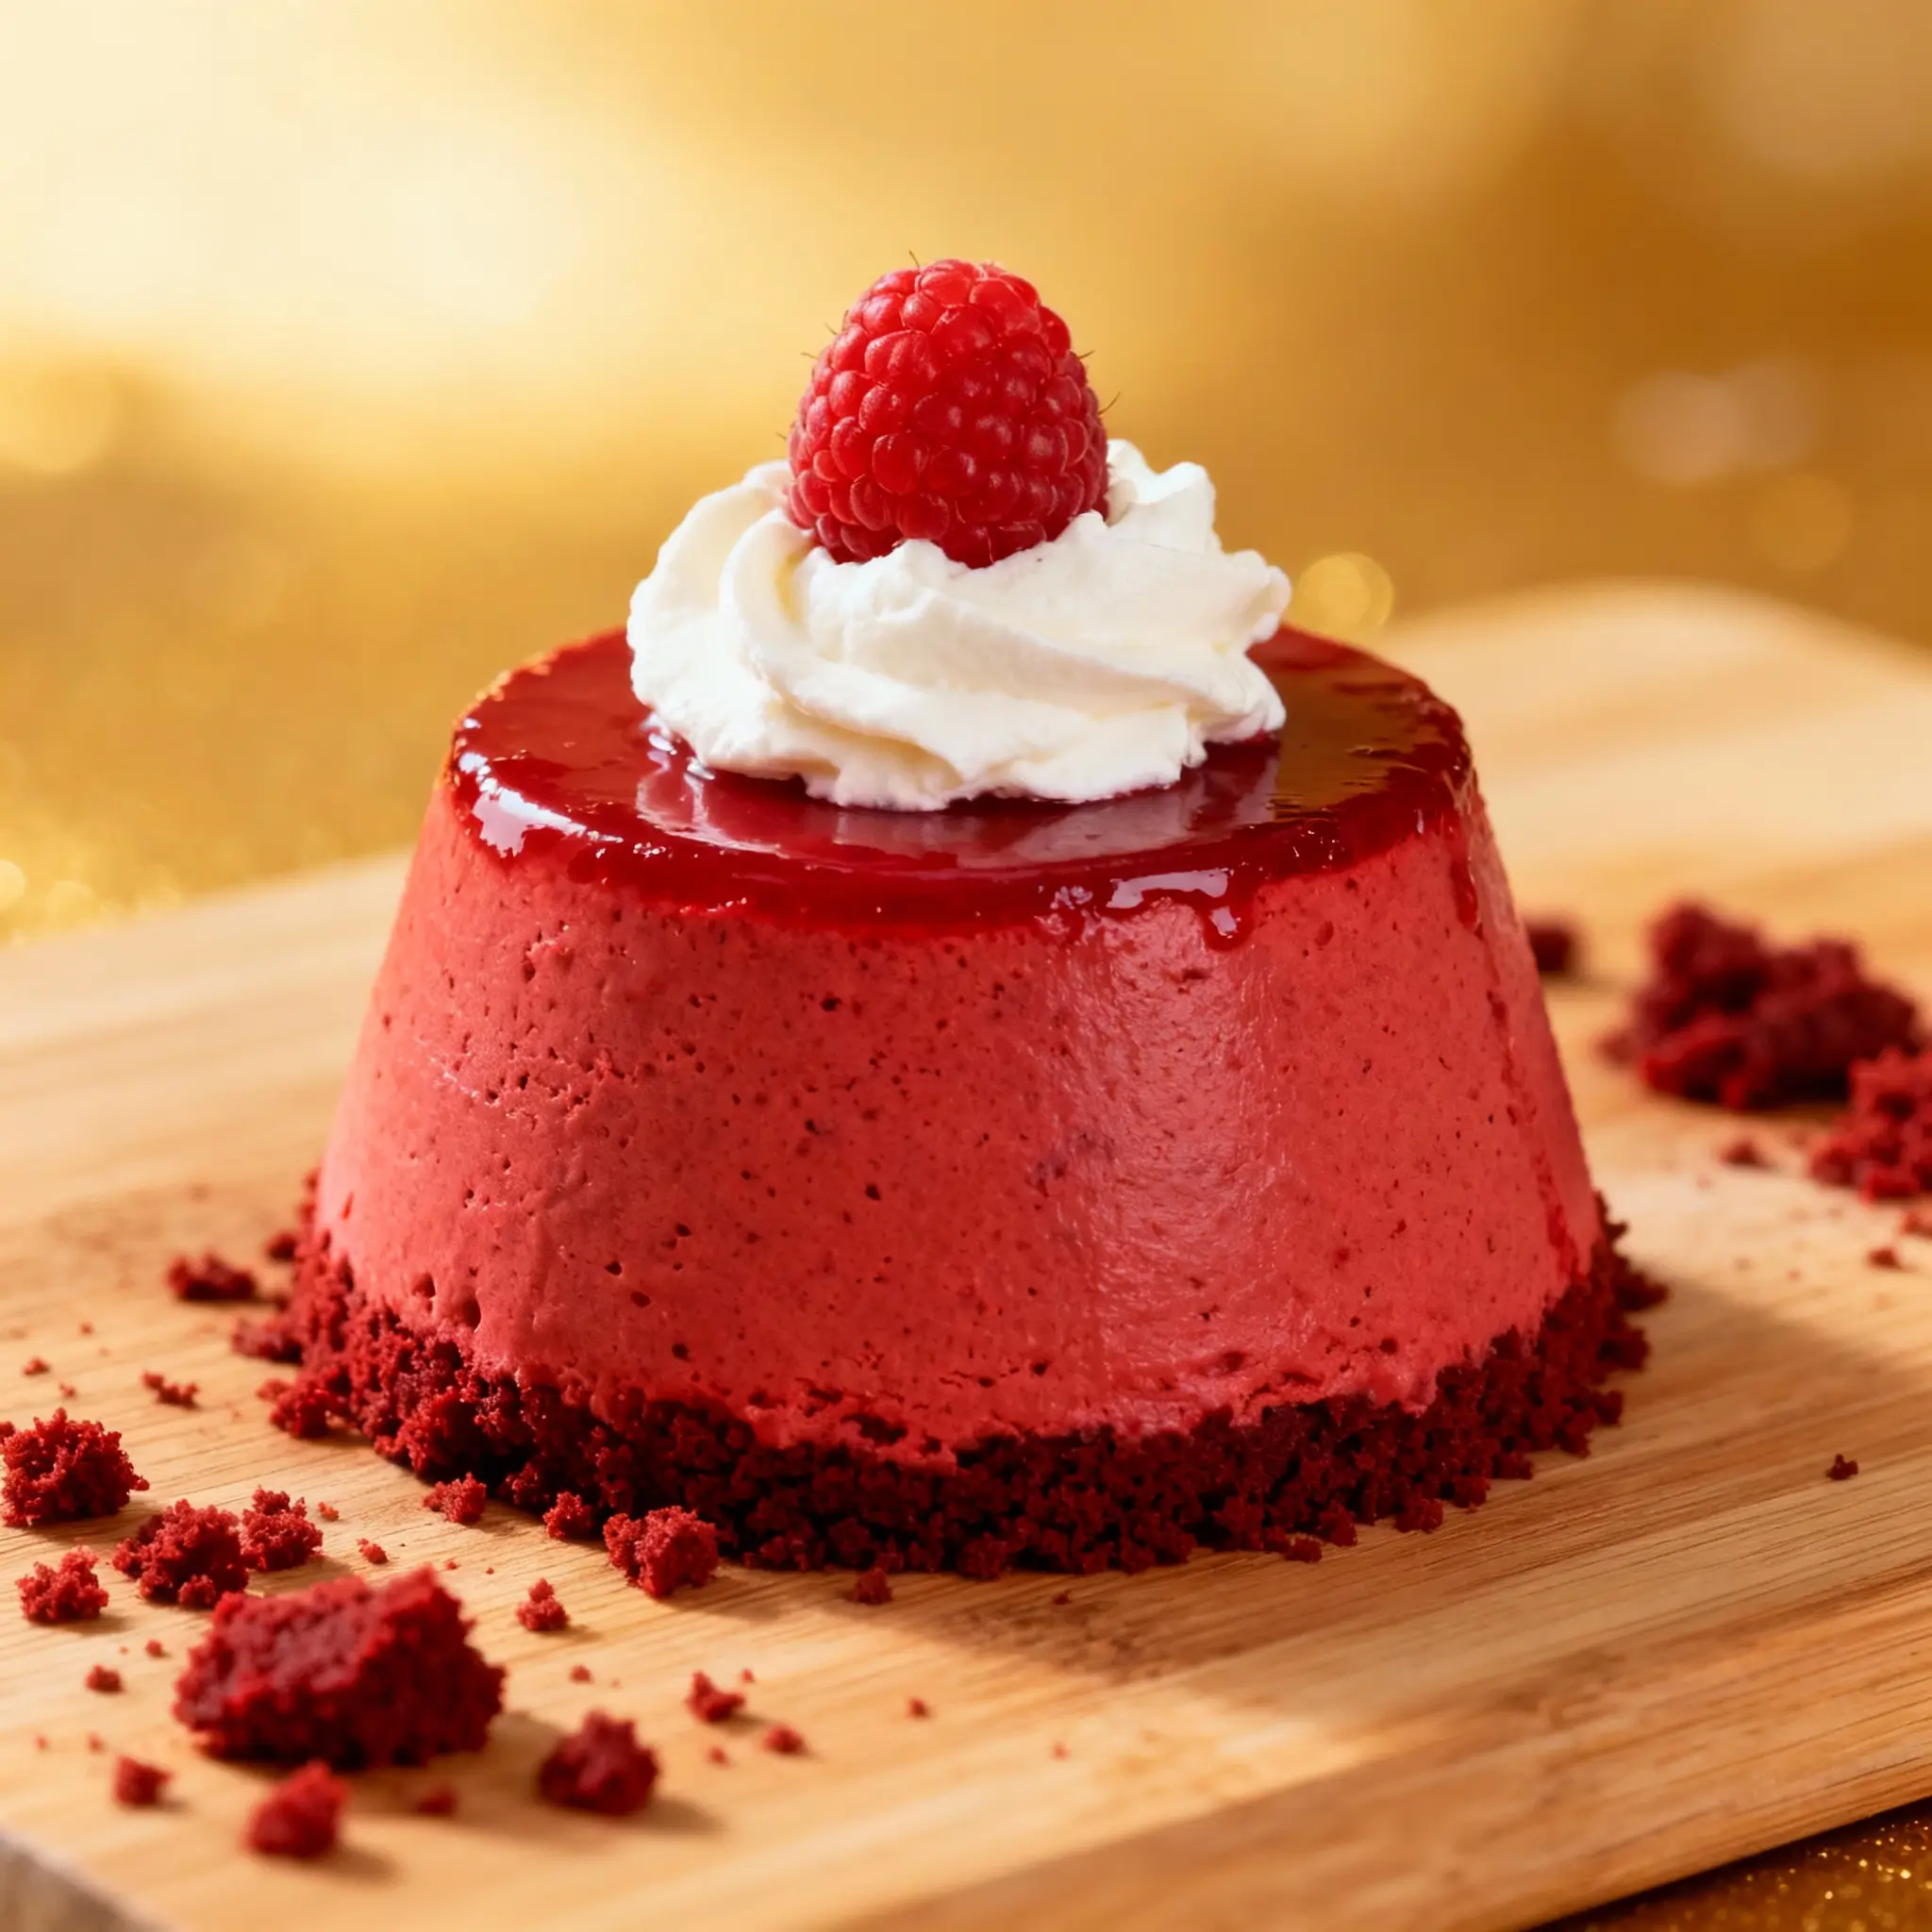
- Garnish and Serve: Before serving, top with freshly whipped cream, a sprinkle of cocoa, crushed red velvet crumbs, or chocolate shavings. For elegance, add fresh berries like raspberries or strawberries.
Tips for Making the Best Red Velvet Mousse
- Use Gel Food Coloring: Liquid dyes can alter the consistency; gel provides intense color without adding excess moisture.
- Room-Temperature Ingredients: Ensure eggs and butter are at room temperature for smoother blending, but keep cream cold for optimal whipping.
- Avoid Overmixing: When folding in whipped cream and meringue, use a spatula and gentle motions to preserve air bubbles.
- Chill Bowls and Beaters: For best results when whipping cream or egg whites, chill your mixing bowls and beaters in the freezer for 10–15 minutes beforehand.
- Don’t Skip the Cream of Tartar: It stabilizes egg whites, helping them hold their shape longer and reducing the risk of collapse.
- Taste as You Go: Adjust sweetness, acidity, or cocoa intensity based on your preference before folding in aerated components.
- Set Overnight: While 4 hours works, allowing the mousse to set for 6–8 hours or overnight yields a more cohesive, velvety texture.
- Serve Chilled: This dessert is best enjoyed cold. Take it out of the fridge 5–10 minutes before serving for optimal creaminess.
Variations and Customizations
Red velvet mousse is highly adaptable. Whether you’re catering to dietary restrictions or simply want to experiment, here are some creative twists:
- Vegetarian/Vegan Version: Replace eggs with aquafaba (chickpea brine). Whip 1/2 cup aquafaba with cream of tartar and sugar to mimic meringue. Use coconut cream instead of dairy cream and vegan chocolate.
- Alcohol-Infused: Add 1–2 tablespoons of bourbon, Kahlúa, or Chambord for a grown-up twist. The alcohol enhances the complexity of flavors.
- Layered Parfait: Alternate mousse with crumbled red velvet cake, cookie crumbs, or pomegranate seeds for added texture.
- Mini Mason Jar Desserts: Serve in small jars for parties or gifts—perfect for holidays like Valentine’s Day or Christmas.
- Chocolate-Covered Cups: Dip the rims of serving glasses in melted chocolate and sprinkles for a gourmet touch.
- Spiced Red Velvet: Add a pinch of cinnamon, nutmeg, or cayenne for a warm, spiced variation.
- Protein Boost: Fold in unflavored collagen peptides or protein powder (ensure it dissolves well to avoid grittiness).
- Low-Sugar Option: Substitute sugar with erythritol or monk fruit sweetener, and use sugar-free chocolate. Note: sugar substitutes may affect texture and browning in meringue.
Health Considerations and Nutritional Value
While undeniably indulgent, understanding the nutritional content of red velvet mousse can help you enjoy it mindfully. A standard 1/2-cup serving (without garnishes) contains approximately:
- Calories: 320–380
- Fat: 25–30g (mostly from butter, cream, and chocolate)
- Saturated Fat: 15–18g
- Carbohydrates: 22–28g
- Sugars: 18–22g
- Protein: 4–6g
- Cholesterol: 120–150mg (from egg yolks and dairy)
- Sodium: 80–100mg
Health Notes:
- The mousse is high in saturated fat and sugar, so it’s best enjoyed in moderation, especially for those managing heart health or diabetes.
- Egg whites make the dish lighter and reduce cholesterol compared to using whole eggs throughout.
- Cocoa contains antioxidants like flavonoids, which may support cardiovascular health in moderate amounts.
- For a healthier profile, consider using reduced-fat cream cheese, light cream alternatives, or increasing the proportion of whipped egg whites for volume without added fat.
- Pregnant individuals should ensure eggs are pasteurized or fully cooked due to salmonella risk. To eliminate raw egg concerns, you can gently cook the yolk mixture over a double boiler until it reaches 160°F (71°C), then proceed.
Frequently Asked Questions (FAQ)
Can I make red velvet mousse without eggs?
Yes! Use aquafaba (chickpea brine) as a substitute for egg whites. For yolks, try a commercial egg replacer or additional whipped cream with a bit of cornstarch for binding.
Why did my mousse turn out grainy?
This could be due to improperly melted chocolate, cold ingredients causing separation, or overmixing. Always melt chocolate slowly and ensure all ingredients are properly tempered.
How long does red velvet mousse last in the fridge?
It stays fresh for up to 3 days when covered tightly. However, texture is best within the first 48 hours.
Can I freeze red velvet mousse?
Freezing is possible but not ideal. The texture may become slightly grainy or weep upon thawing. If freezing, do so in an airtight container for up to 2 weeks. Thaw slowly in the refrigerator.
Why use both whipped cream and meringue?
Combining both creates a more stable, complex texture—whipped cream adds richness, while meringue contributes lightness and structure.
Can I use cake mix instead of cocoa?
While convenient, boxed cake mixes contain fillers and extra sugar that may throw off the balance. For best results, stick to pure cocoa and control the ingredients.
What can I serve with red velvet mousse?
Pair it with shortbread cookies, vanilla wafers, fresh berries, or a drizzle of chocolate sauce. It also complements coffee, dessert wines, or sparkling rosé.
Summary
Red velvet mousse is a decadent, modern twist on the classic Southern red velvet cake, blending rich cocoa, tangy notes, and a vibrant red hue into a silky, airy dessert. Easy to customize and perfect for special occasions, this no-bake treat delivers luxury in every spoonful.