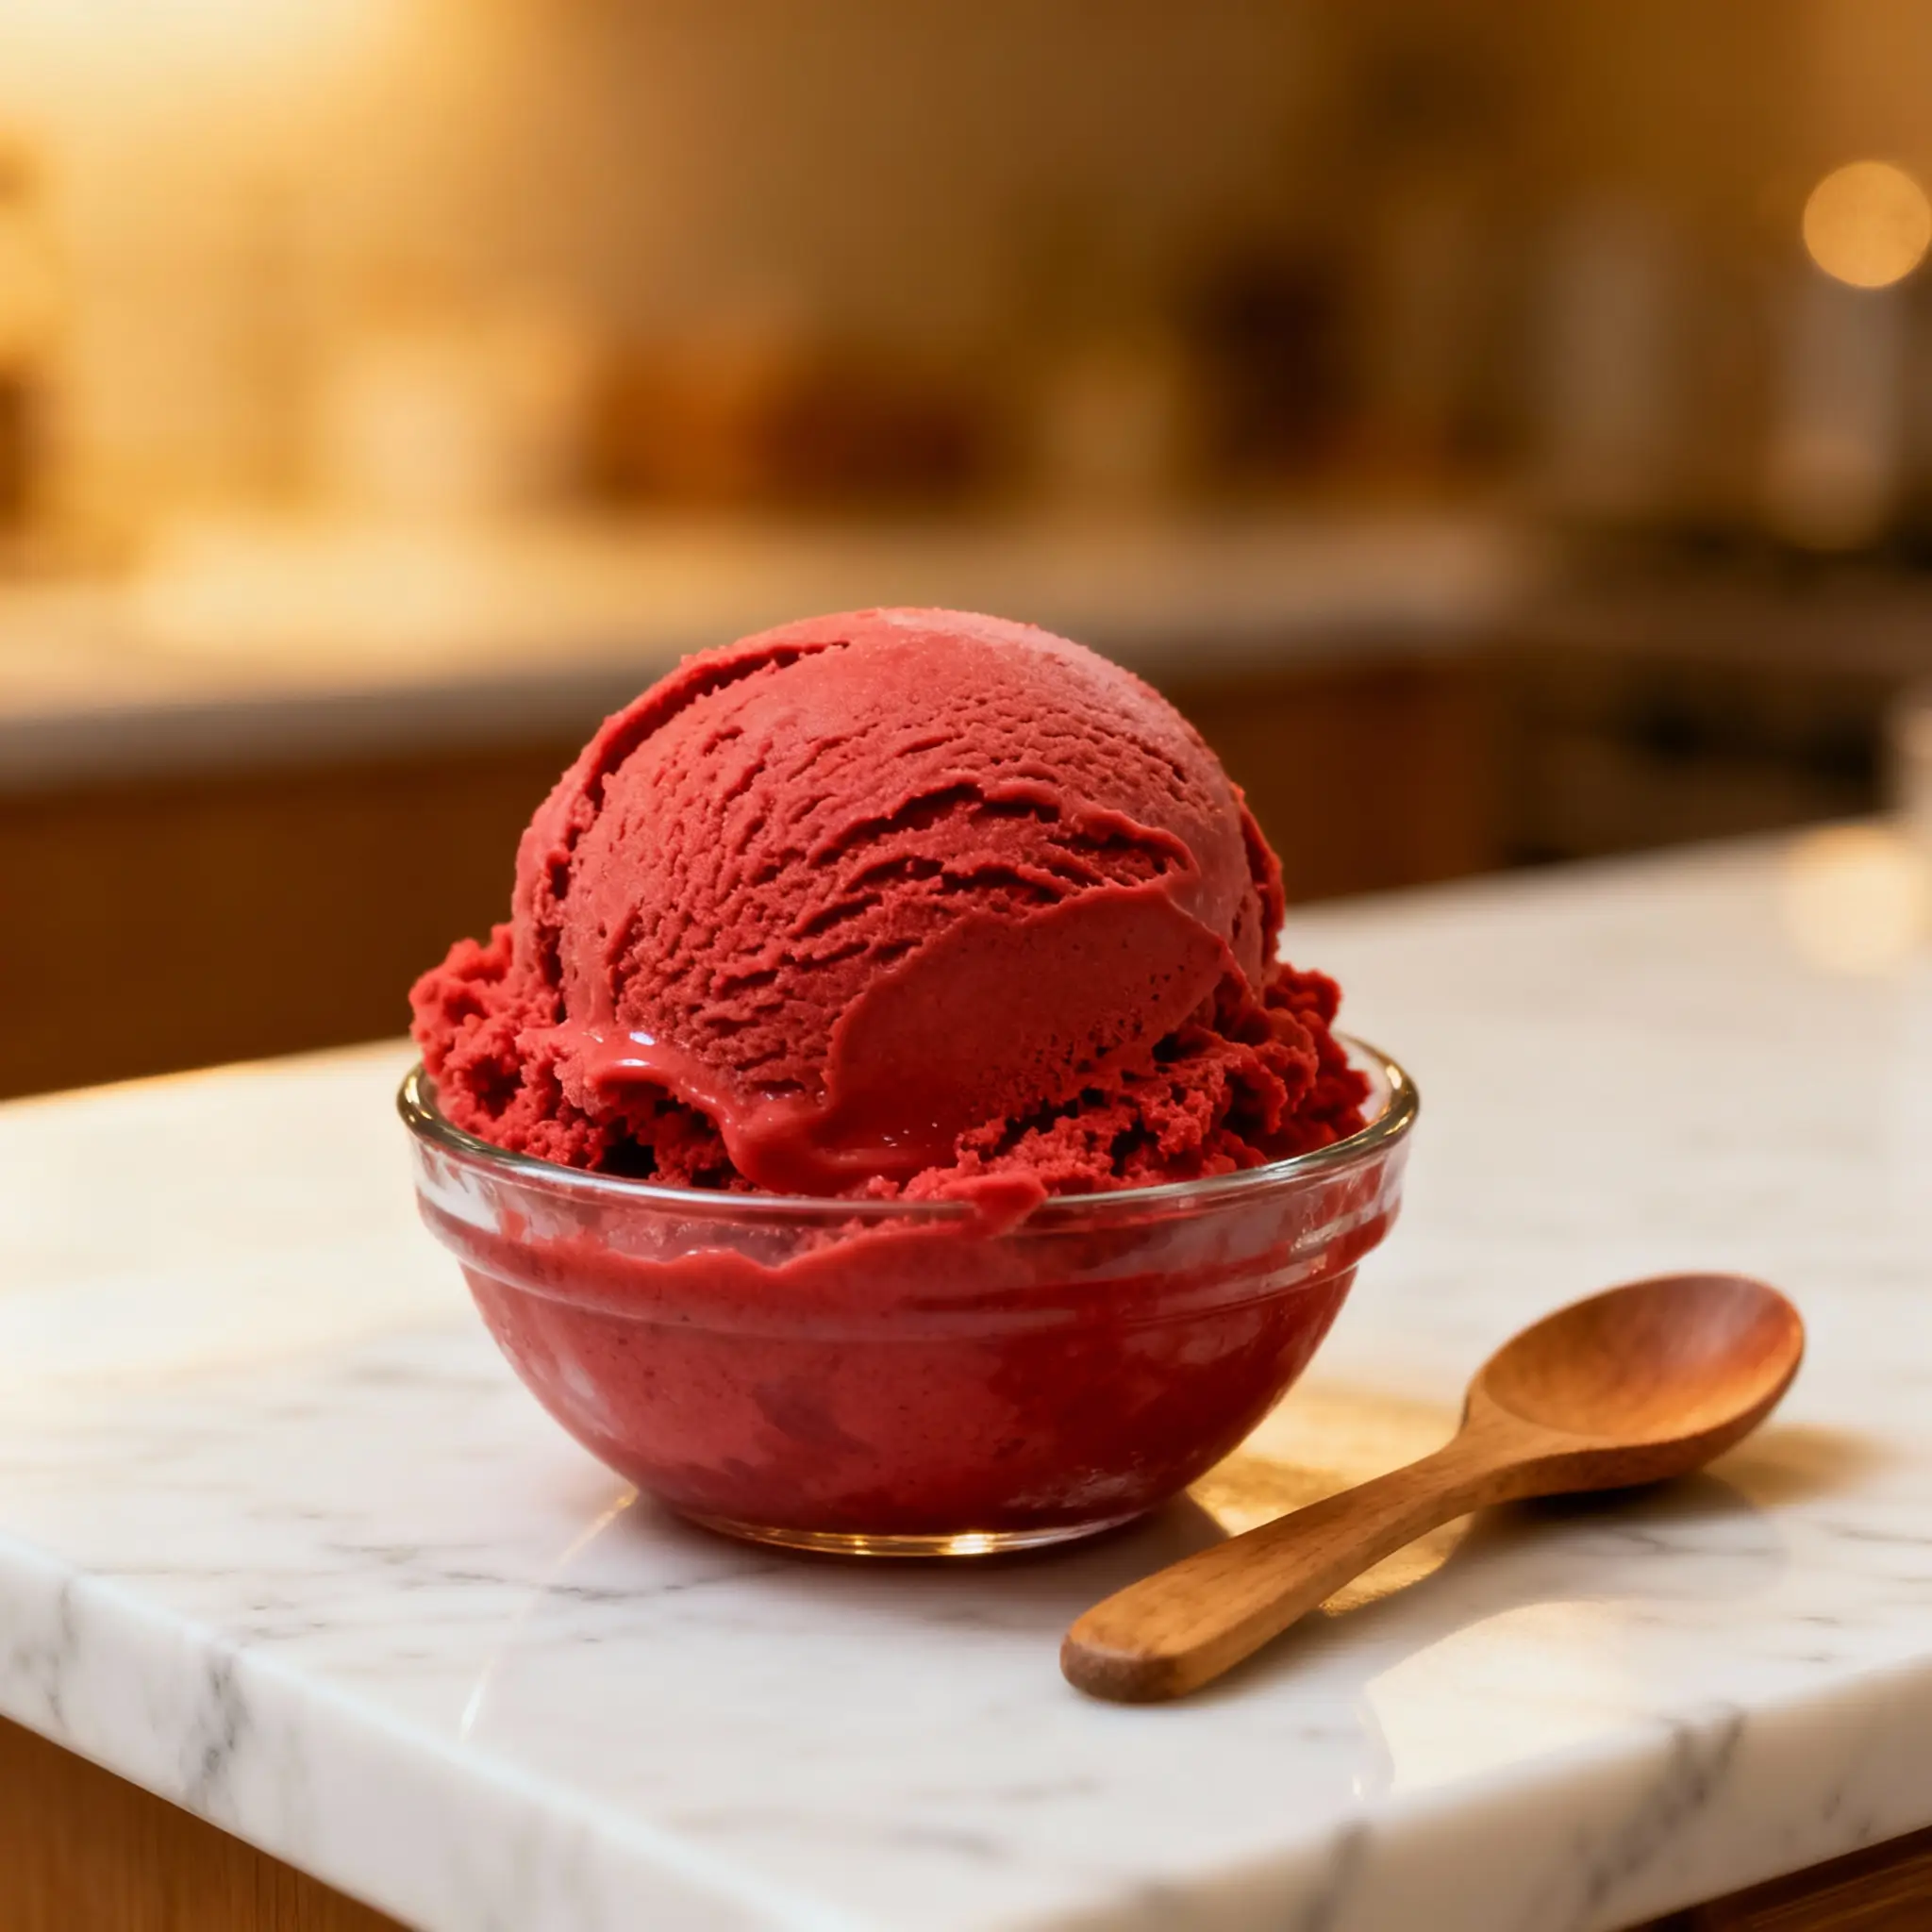
Red Velvet Ice Cream: A Decadent Treat Inspired by Southern Elegance
Indulge in the rich, velvety smoothness of Red Velvet Ice Cream — a luxurious frozen dessert that captures the essence of the beloved red velvet cake in every creamy spoonful. With its vibrant crimson hue, subtle cocoa flavor, and a hint of tanginess from cream cheese, this ice cream is more than just a treat; it’s an experience. Whether you’re serving it at a party, enjoying a quiet evening at home, or surprising your loved ones with a homemade dessert, Red Velvet Ice Cream brings together elegance and comfort in a single scoop. In this comprehensive guide, we’ll explore the origins, ingredients, techniques, variations, health aspects, and everything you need to know to craft the perfect batch of this delightful frozen confection.
The History Behind Red Velvet Ice Cream
The story of Red Velvet Ice Cream begins with its famous ancestor — Red Velvet Cake. Originating in the early 20th century, particularly gaining popularity in the American South, Red Velvet Cake was known for its soft texture, mild chocolate flavor, and striking red color. The original red tint came from a chemical reaction between natural cocoa powder (which is acidic) and baking soda, enhanced by buttermilk. However, during World War II, food shortages and ingredient substitutions led to the use of beet juice to preserve the red color. Eventually, red food coloring became the standard, especially after brands like Adams Extract began promoting it as part of their marketing campaigns.
As culinary creativity evolved, so did the desire to transform beloved baked goods into other dessert forms. Enter Red Velvet Ice Cream — a modern twist on the classic cake, popularized in the late 20th and early 21st centuries. Ice cream shops, gourmet dessert brands, and home cooks began experimenting with incorporating the flavors of red velvet cake into frozen treats. The result? A creamy, dreamy dessert that maintains the cake’s signature taste while introducing a cool, refreshing texture. Today, Red Velvet Ice Cream is a staple in many artisanal ice cream parlors and holiday dessert menus, especially around Valentine’s Day, Christmas, and birthdays.
Ingredients Breakdown: What Makes It Special?
The magic of Red Velvet Ice Cream lies in its carefully balanced blend of ingredients that replicate the flavor and appearance of red velvet cake while ensuring a rich, creamy texture ideal for churning. Let’s break down each component:
- Cream and Milk: Heavy cream and whole milk form the base of any premium ice cream, providing richness and a smooth mouthfeel. The high fat content prevents ice crystals and ensures a velvety texture.
- Sugar: Granulated sugar not only sweetens but also lowers the freezing point, contributing to a softer, more scoopable consistency.
- Cocoa Powder: Unsweetened natural cocoa powder adds the subtle chocolate note characteristic of red velvet, without overpowering the other flavors.
- Red Food Coloring: While traditional recipes used beets or anthocyanin reactions, today’s vibrant red hue comes primarily from liquid or gel food coloring. Gel coloring is preferred for its intensity without adding excess liquid.
- Buttermilk or Sour Cream: These provide the slight tanginess reminiscent of red velvet cake. Buttermilk adds acidity and moisture, while sour cream enhances creaminess.
- Cream Cheese: A key ingredient in replicating the frosting element of red velvet cake. It adds richness, tang, and depth, making the ice cream taste like a frozen slice of cake.
- Vanilla Extract: Enhances overall flavor and complements both the cocoa and cream cheese notes.
- Salt: A pinch of salt balances sweetness and heightens all other flavors.
- Optional Add-ins: White chocolate chips, crushed cookies, or red velvet cake crumbles can elevate texture and authenticity.
Each ingredient plays a vital role in creating a harmonious balance between sweetness, tang, chocolate, and visual appeal — turning a simple ice cream into a celebration of flavor and color.
Step-by-Step Recipe: How to Make Red Velvet Ice Cream at Home
Creating Red Velvet Ice Cream at home is easier than you might think, especially if you have an ice cream maker. Follow this detailed recipe to achieve professional-quality results right in your kitchen.
Ingredients
- 2 cups heavy cream
- 1 cup whole milk
- ¾ cup granulated sugar
- ⅓ cup unsweetened natural cocoa powder (not Dutch-processed)
- 4 oz cream cheese, softened
- ¼ cup buttermilk (or substitute with sour cream)
- 1–2 teaspoons red gel food coloring (adjust to desired vibrancy)
- 1 teaspoon pure vanilla extract
- ¼ teaspoon fine sea salt
- ½ cup white chocolate chips (optional)
- ¼ cup chopped pecans or walnuts (optional)
- Crumbled red velvet cake (optional, for swirl)
Directions
- Prepare the Base: In a medium saucepan, combine the heavy cream, whole milk, and half of the sugar. Heat over medium heat until warm (do not boil), stirring occasionally to dissolve the sugar.
- Incorporate Cocoa: Sift the cocoa powder into the warm cream mixture to prevent lumps. Whisk continuously until fully dissolved and smooth. Remove from heat.
- Add Cream Cheese: In a separate bowl, beat the softened cream cheese until smooth. Gradually add a small amount of the warm cream mixture to the cream cheese, whisking constantly to temper it and avoid clumping. Once blended, pour the cream cheese mixture back into the saucepan and stir until fully combined.
- Mix in Remaining Ingredients: Stir in the remaining sugar, buttermilk, red food coloring, vanilla extract, and salt. Mix thoroughly until the color is even and no streaks remain.
- Chill the Mixture: Transfer the mixture to a clean container and cover with plastic wrap, pressing it directly onto the surface to prevent a skin from forming. Refrigerate for at least 4 hours, preferably overnight, to ensure the mixture is completely cold before churning.
- Churn the Ice Cream: Pour the chilled mixture into your ice cream maker and churn according to the manufacturer’s instructions, usually 20–30 minutes, until it reaches a soft-serve consistency.
- Add Mix-ins: During the last 2–3 minutes of churning, add white chocolate chips, nuts, or crumbled red velvet cake. Alternatively, layer them in during freezing for visible swirls.
- Freeze to Set: Transfer the churned ice cream to an airtight container. If desired, create a ripple effect by drizzling cream cheese frosting or cake pieces between layers. Cover and freeze for at least 4–6 hours, or until firm.
- Serve and Enjoy: Let the ice cream sit at room temperature for 5–7 minutes before scooping. Serve in waffle cones, bowls, or with garnishes like whipped cream, cherries, or sprinkles.
Tips for Perfect Red Velvet Ice Cream Every Time
- Use Gel Food Coloring: Gel provides intense color without altering the texture. Liquid coloring may require larger amounts, which can affect consistency.
- Don’t Skip Chilling: A thoroughly chilled base ensures faster churning and smaller ice crystals, resulting in smoother ice cream.
- Temper the Cream Cheese: Always warm a portion of the base before mixing it into the cream cheese to avoid lumps.
- Avoid Over-churning: Stop the machine once the ice cream reaches soft-serve stage. Over-churning can lead to buttery separation.
- Prevent Freezer Burn: Press plastic wrap on the surface before sealing the container. Use within 2 weeks for best flavor and texture.
- Enhance Flavor with Cake Swirl: For an authentic red velvet cake experience, fold in crumbled pieces of homemade or store-bought red velvet cake.
- Balance Sweetness: Taste the base before chilling. If too sweet, a splash of lemon juice can add brightness and cut through richness.
Variations and Customizations
One of the joys of homemade ice cream is the ability to personalize it. Here are some creative twists on the classic Red Velvet Ice Cream:
- Swirled Cream Cheese Frosting: After churning, layer the ice cream with ribbons of sweetened cream cheese frosting for a “frosted cake” effect.
- Gluten-Free Version: Use gluten-free red velvet cake crumbs or omit cake mix-ins entirely. Ensure all ingredients (especially cocoa and food coloring) are certified GF.
- Dairy-Free/Vegan Option: Substitute heavy cream and milk with full-fat coconut milk and almond milk. Use vegan cream cheese and skip buttermilk or replace with apple cider vinegar + plant-based milk.
- Lower-Sugar Version: Replace sugar with erythritol or monk fruit sweetener. Note: sugar affects texture, so the ice cream may be icier.
- Alcohol-Infused: Add 1–2 tablespoons of vodka or bourbon to the base — it won’t make the ice cream alcoholic but helps maintain a soft texture.
- Seasonal Twists: Add peppermint extract and crushed candy canes for a holiday version, or pair with strawberries for a Valentine’s Day special.
- Ice Cream Sandwiches: Sandwich scoops between soft chocolate cookies for a handheld delight.
- Soft-Serve Version: Skip the final freeze and serve immediately after churning for a diner-style treat.
Health Considerations and Nutritional Value
While Red Velvet Ice Cream is undeniably delicious, it’s important to enjoy it in moderation due to its rich composition. Here’s a general nutritional breakdown per ½-cup serving (approximate):
- Calories: 280–320
- Fat: 20–25g (mostly saturated from cream and cream cheese)
- Carbohydrates: 22–28g (primarily from sugar)
- Protein: 4–5g (from dairy and cream cheese)
- Sodium: 80–120mg
- Sugars: 20–24g
Considerations:
- High in Saturated Fat: Regular consumption may impact heart health, especially for individuals with cholesterol concerns.
- Sugar Content: This dessert is high in added sugars, which should be limited as part of a balanced diet.
- Lactose Sensitivity: Contains dairy; lactose-intolerant individuals may need alternatives.
- Food Coloring: Some artificial dyes (like Red 40) are controversial. Consider natural alternatives such as beetroot powder, though it yields a less vibrant color.
- Portion Control: Serve in small portions and consider pairing with fresh fruit to balance indulgence.
Despite these considerations, Red Velvet Ice Cream can be part of a mindful eating plan when enjoyed occasionally. Its calcium and protein content from dairy offer minor nutritional benefits, and the joy it brings should not be underestimated!
Frequently Asked Questions (FAQ)
Can I make Red Velvet Ice Cream without an ice cream maker?
Yes! Pour the chilled base into a shallow dish and freeze. Every 30 minutes, stir vigorously with a fork or whisk to break up ice crystals. Repeat for 3–4 hours until creamy. The texture won’t be as smooth but will still be delicious.
Why is my ice cream icy?
This can happen if the base wasn’t chilled long enough, there’s too much water content, or insufficient fat. Using more cream and proper chilling helps prevent this.
Can I use Dutch-processed cocoa?
Not recommended. Natural cocoa is acidic and interacts better with buttermilk and cream cheese. Dutch-processed cocoa is neutral and may dull the flavor profile.
How long does it keep in the freezer?
Up to 2–3 weeks for best quality. Beyond that, ice crystals may form and flavors may degrade.
Can I double the recipe?
Yes, but only if your ice cream maker can handle the volume. Overfilling reduces churning efficiency.
Is Red Velvet Ice Cream the same as chocolate?
No. While it contains cocoa, the flavor is milder, with a distinctive tang from buttermilk and cream cheese, setting it apart from regular chocolate ice cream.
Can I add alcohol?
Yes, a tablespoon of vodka can improve texture without affecting flavor significantly. Avoid excessive amounts as it can inhibit freezing.
Summary
Red Velvet Ice Cream blends the iconic flavor of red velvet cake with the luxurious texture of homemade ice cream, creating a visually stunning and deeply satisfying dessert. With the right balance of cocoa, cream cheese, and vibrant color, it’s a show-stopping treat perfect for celebrations or cozy nights in.