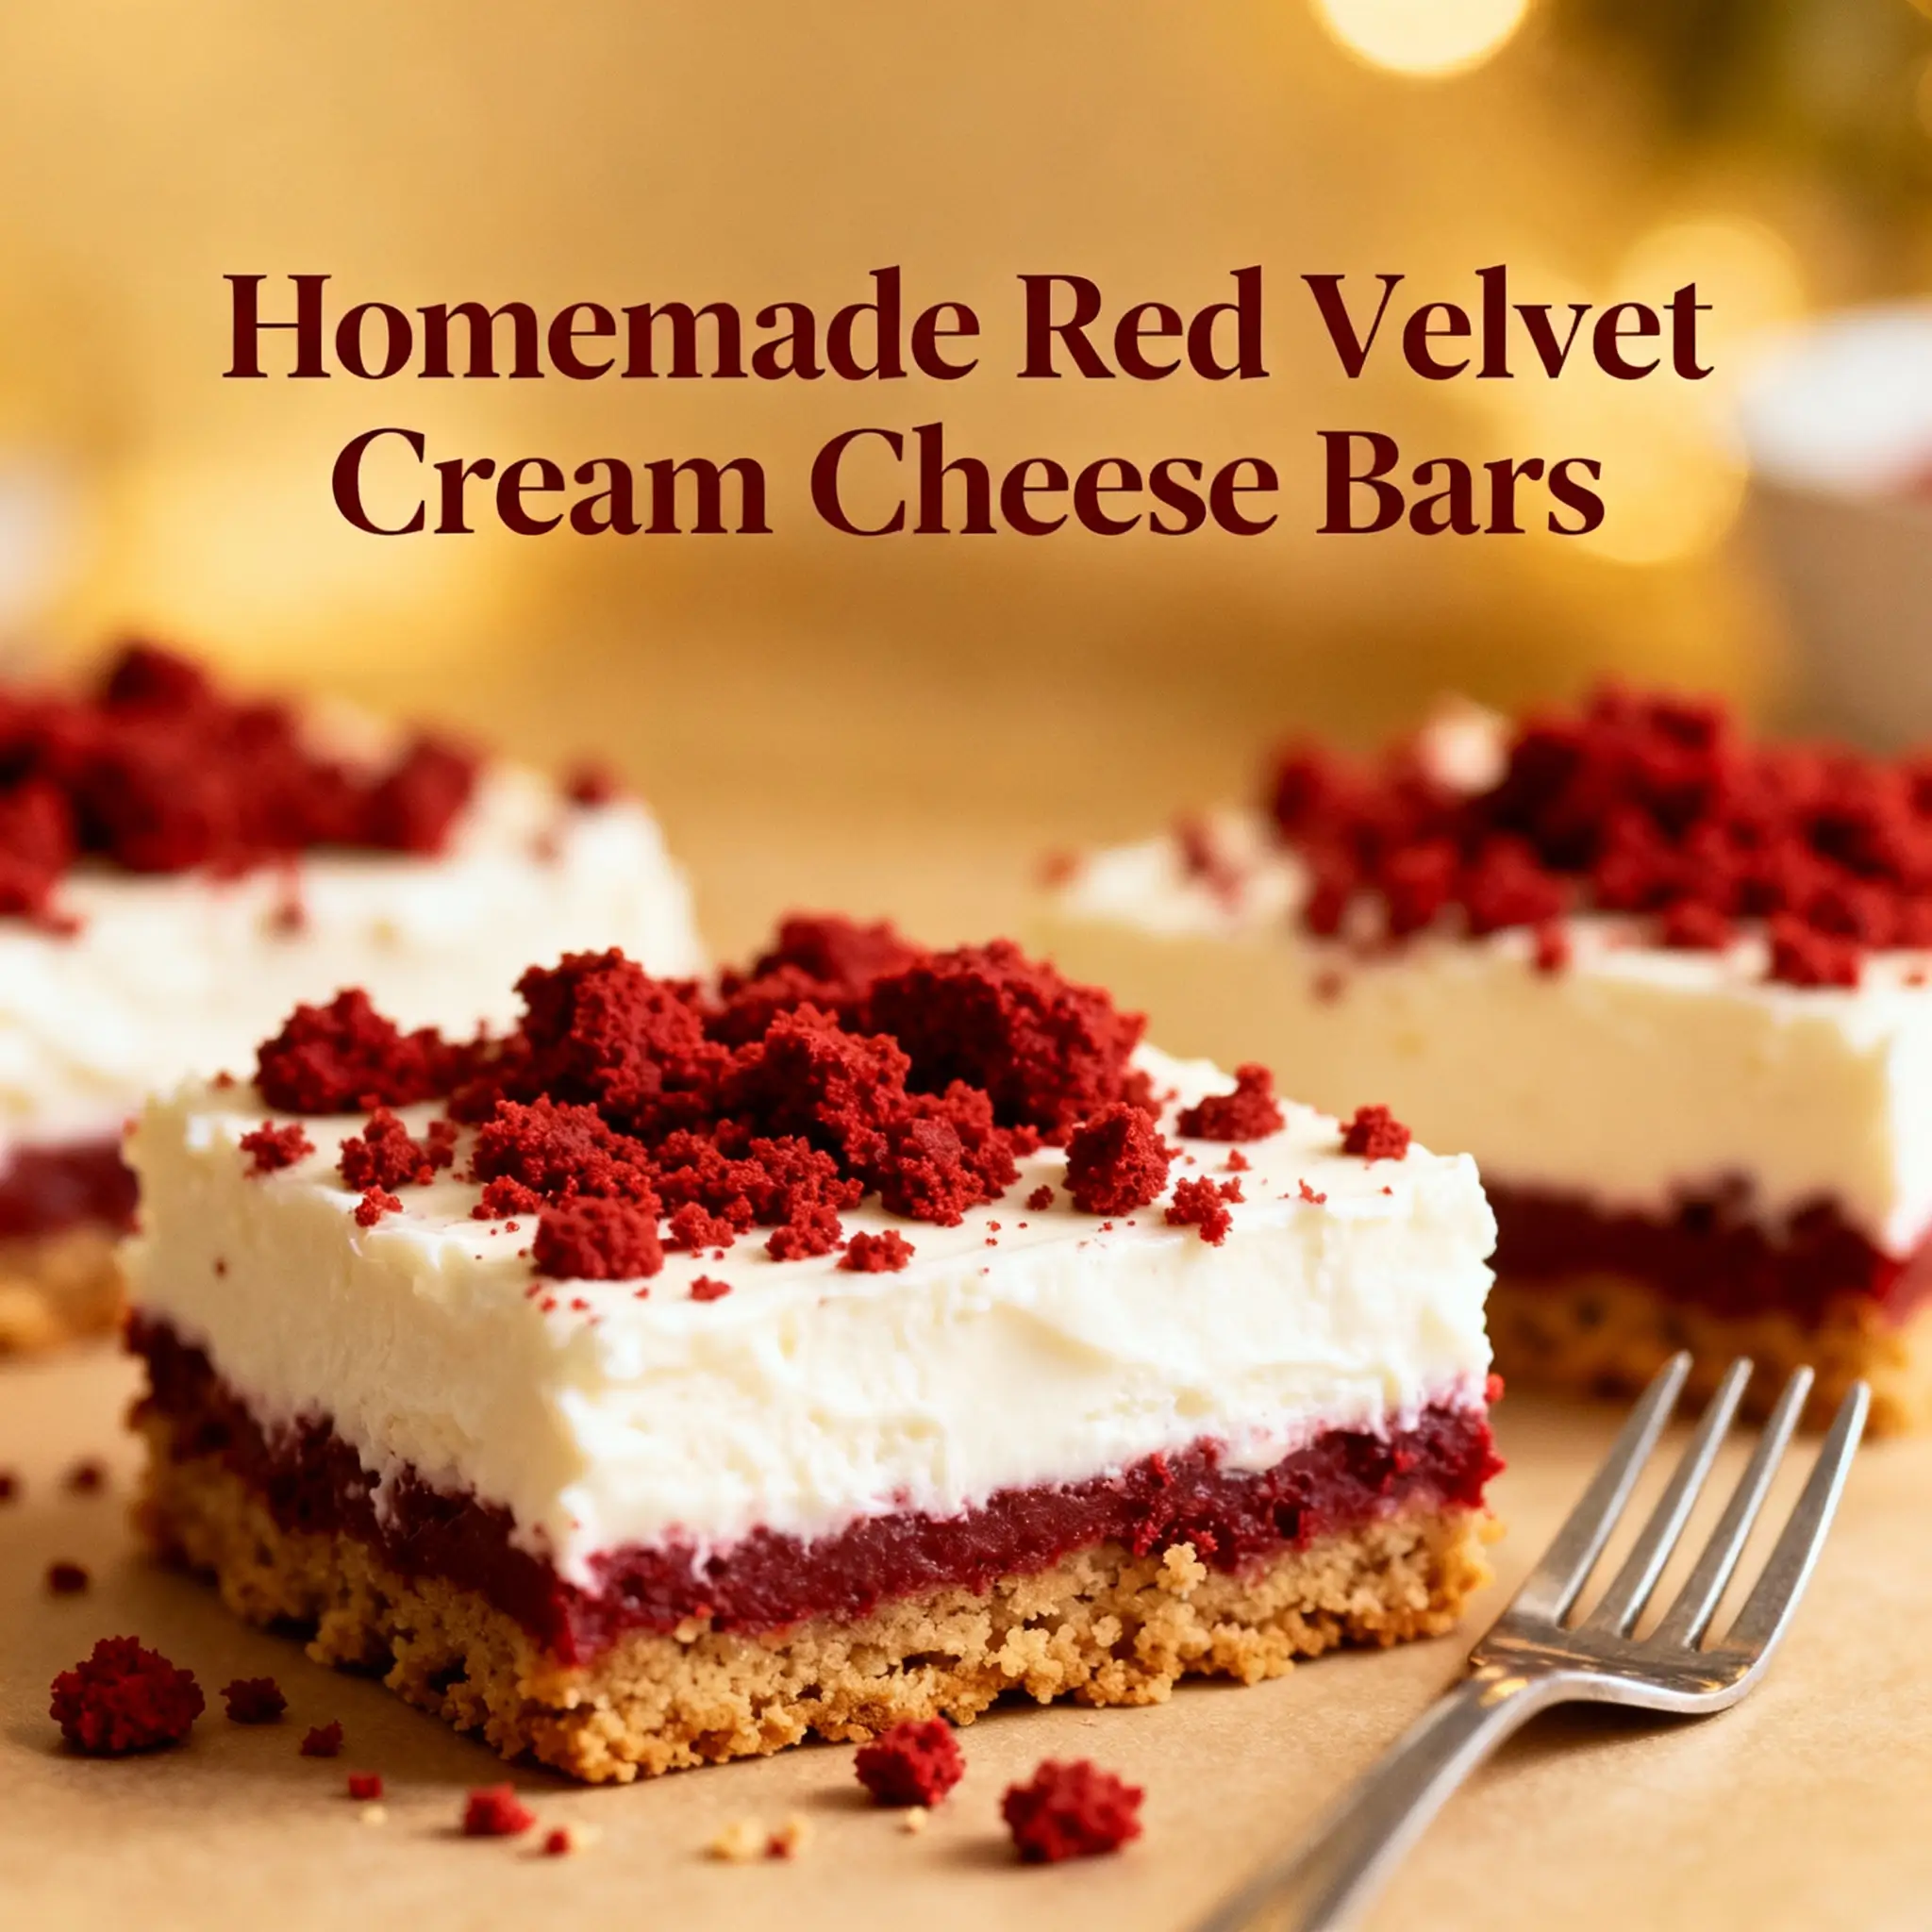
Red Velvet Cream Cheese Bars: A Decadent Delight
Indulge in the rich, velvety world of Red Velvet Cream Cheese Bars—a dessert that combines the moist tenderness of red velvet cake with the tangy lusciousness of cream cheese swirls. These bars are a showstopper at any gathering, from holiday parties to Sunday brunches. With their vibrant red hue and creamy texture, they’re as pleasing to the eye as they are to the palate. Whether you’re a seasoned baker or a novice in the kitchen, this recipe promises delicious results every time.
The History of Red Velvet and Its Evolution into Bar Form
The origins of red velvet cake can be traced back to the early 20th century, particularly gaining popularity during the Great Depression when bakers used ingredients like buttermilk, cocoa, and vinegar to enhance the texture and flavor of cakes made with limited resources. The signature red color originally came from a natural chemical reaction between acidic ingredients (like buttermilk and vinegar) and untreated cocoa powder—though over time, food coloring became more commonly used to intensify the crimson shade.
The Waldorf-Astoria Hotel in New York is often credited with popularizing red velvet cake, though much of its fame also stems from Southern American cuisine traditions. Over the decades, this beloved dessert evolved beyond traditional layer cakes into cupcakes, cookies, pancakes—and eventually, bars. Red Velvet Cream Cheese Bars emerged as a convenient, sliceable alternative to layered cakes, combining the best of both worlds: a soft red velvet base and a luxurious cream cheese topping. They quickly gained favor for their ease of preparation, stunning presentation, and irresistible taste.
Ingredients Breakdown: What Makes These Bars Irresistible?
The magic of Red Velvet Cream Cheese Bars lies in the harmony between two distinct components: the red velvet base and the cream cheese layer. Let’s break down each ingredient and understand its role:
- All-Purpose Flour: Provides structure to the bar, giving it a tender crumb without being too dense.
- Cocoa Powder (Unsweetened): Adds depth of chocolate flavor while contributing to the reddish tint when combined with acid.
- Baking Soda & Baking Powder: Work together to leaven the batter, ensuring a light and airy texture.
- Salt: Enhances all other flavors and balances sweetness.
- Granulated Sugar: Sweetens the red velvet layer and helps create a moist texture.
- Vegetable Oil: Keeps the bars incredibly moist; oil retains moisture better than butter over time.
- Eggs: Bind the ingredients and add richness and structure.
- Buttermilk: Reacts with baking soda for rise and tenderness, plus adds slight tanginess that complements the sweetness.
- Vanilla Extract: Elevates the overall aroma and flavor profile.
- Red Food Coloring (Liquid or Gel): Gives the iconic vibrant red color. Gel coloring is preferred for intense hue without altering consistency.
- Cream Cheese (Full-Fat): Forms the smooth, tangy swirl on top—essential for contrast and creaminess.
- Powdered Sugar: Sweetens the cream cheese layer without adding excess liquid.
- Butter (for cream cheese layer): Adds silkiness and helps bind the topping.
- Additional Egg (for cream cheese layer): Stabilizes the mixture so it doesn’t crack or separate during baking.
Each ingredient plays a crucial role in creating the perfect balance of sweetness, acidity, texture, and visual appeal.
Step-by-Step Recipe: How to Make Perfect Red Velvet Cream Cheese Bars
Follow these detailed steps to bake flawless Red Velvet Cream Cheese Bars every time:
- Preheat Oven & Prepare Pan: Preheat your oven to 350°F (175°C). Line a 9×13-inch baking pan with parchment paper, leaving an overhang on two sides for easy removal. Lightly grease the parchment and exposed pan edges.
- Mix Dry Ingredients: In a medium bowl, whisk together 2 cups all-purpose flour, 2 tablespoons unsweetened cocoa powder, 1 teaspoon baking soda, ½ teaspoon baking powder, and ½ teaspoon salt. Set aside.
- Cream Wet Ingredients – Red Velvet Layer: In a large mixing bowl, beat 1 ½ cups granulated sugar and ½ cup vegetable oil until well combined. Add 2 large eggs one at a time, beating after each addition. Stir in 1 teaspoon vanilla extract.
- Incorporate Buttermilk & Color: Gradually mix in 1 cup buttermilk. Then stir in 1–2 tablespoons red food coloring (adjust based on desired intensity).
- Combine Wet & Dry Mixtures: Slowly add the dry ingredients to the wet mixture, mixing just until no flour streaks remain. Do not overmix. Pour the thick red velvet batter into the prepared pan and spread evenly using a spatula.
- Prepare Cream Cheese Layer: In another bowl, beat 16 oz (2 packages) full-fat cream cheese until smooth and creamy. Add ⅓ cup granulated sugar and ¼ cup powdered sugar, beating until incorporated. Mix in 2 tablespoons melted butter, 1 teaspoon vanilla extract, and 1 large egg. Beat until completely smooth and lump-free.
- Add Cream Cheese Topping: Spoon the cream cheese mixture over the red velvet base. Use a knife or offset spatula to gently swirl the layers together. Create patterns by dragging the knife through both layers—do not fully mix.
- Bake: Place the pan in the preheated oven and bake for 40–45 minutes, or until the center is set and a toothpick inserted near the middle comes out with moist crumbs (not wet batter).
- Cool Completely: Remove from oven and let cool in the pan on a wire rack for at least 1 hour. Then transfer to the refrigerator and chill for 2–3 hours before slicing. This ensures clean cuts and firm texture.
- Serve: Lift the bars out using the parchment overhang. Cut into squares with a sharp, clean knife (wiping between cuts for neat edges).
Pro Tips for Success
- Use Room Temperature Ingredients: Especially important for eggs and cream cheese—they blend more smoothly and prevent curdling.
- Don’t Overbake: The bars will continue to set as they cool. Overbaking leads to dryness.
- Gel Food Coloring Preferred: It delivers bold color without thinning the batter. Liquid coloring may require more volume, affecting texture.
- Chill Before Cutting: Cold bars slice cleanly. Warm bars tend to crumble or smear.
- Swirling Technique: Use a skewer or butter knife in figure-eight motions for an elegant marbled effect.
- Line the Pan Properly: Parchment paper makes removal effortless and prevents sticking.
- Avoid Overmixing: Once flour is added, mix only until combined to avoid developing gluten, which can make bars tough.
Variations and Customizations
While classic Red Velvet Cream Cheese Bars are divine on their own, feel free to experiment with creative twists:
- White Chocolate Drizzle: Melt white chocolate and drizzle over cooled bars for elegance and extra sweetness.
- Chocolate Chips: Fold mini chocolate chips into the red velvet batter for added texture.
- Gluten-Free Version: Substitute all-purpose flour with a 1:1 gluten-free baking blend (ensure it contains xanthan gum).
- Dairy-Free Option: Use dairy-free cream cheese alternative and coconut milk-based buttermilk (1 cup coconut milk + 1 tbsp lemon juice, rested 5 minutes).
- Low-Sugar Adaptation: Replace sugars with erythritol or monk fruit blends suitable for baking. Note: texture may vary slightly.
- Mini Bars: Bake in a muffin tin for individual servings—line cups with liners and bake 20–25 minutes.
- Seasonal Themes: Add peppermint extract and crushed candy canes during holidays, or use natural beet juice for a food-coloring-free version in spring.
- Nutty Crunch: Sprinkle chopped pecans or walnuts on top before baking for a delightful crunch.
- Layered Look: Double the cream cheese layer for a cheesecake-forward version.
- Fruity Twist: Top with fresh berries or a raspberry coulis for a tart contrast.
Health Considerations and Nutritional Value
Red Velvet Cream Cheese Bars are undeniably decadent and should be enjoyed in moderation. Here’s a general nutritional breakdown per serving (based on 12 servings):
| Nutrient | Amount Per Serving |
|---|---|
| Calories | 380–420 kcal |
| Total Fat | 22–26 g |
| Saturated Fat | 10–12 g |
| Cholesterol | 85–100 mg |
| Sodium | 280–350 mg |
| Total Carbohydrates | 45–50 g |
| Dietary Fiber | 1–2 g |
| Sugars | 30–35 g |
| Protein | 5–6 g |
Considerations:
- High in sugar and saturated fat due to cream cheese, butter, and refined sugars.
- Contains gluten and dairy—may not be suitable for those with allergies or intolerances unless modified.
- Lacks significant fiber or micronutrients, so pair with fresh fruit or tea/coffee for balanced enjoyment.
- Ideal for special occasions rather than daily consumption.
Full Ingredients List
For the Red Velvet Layer:
- 2 cups all-purpose flour
- 2 tablespoons unsweetened cocoa powder
- 1 teaspoon baking soda
- ½ teaspoon baking powder
- ½ teaspoon salt
- 1 ½ cups granulated sugar
- ½ cup vegetable oil (or melted coconut oil)
- 2 large eggs (room temperature)
- 1 teaspoon pure vanilla extract
- 1 cup buttermilk (room temperature)
- 1–2 tablespoons red food coloring (gel recommended)
For the Cream Cheese Layer:
- 16 oz (2 packages) full-fat cream cheese (softened)
- ⅓ cup granulated sugar
- ¼ cup powdered sugar
- 2 tablespoons unsalted butter, melted
- 1 teaspoon vanilla extract
- 1 large egg (room temperature)
Directions
- Preheat oven to 350°F (175°C). Line a 9×13-inch baking dish with parchment paper and lightly grease.
- In a medium bowl, whisk together flour, cocoa powder, baking soda, baking powder, and salt. Set aside.
- In a large bowl, beat sugar and oil until blended. Add eggs one at a time, mixing well after each. Stir in vanilla.
- Pour in buttermilk and red food coloring. Mix until uniform in color.
- Gradually add dry ingredients to wet, stirring just until combined. Do not overmix. Transfer batter to prepared pan and spread evenly.
- In another bowl, beat softened cream cheese until smooth. Add both sugars and beat until fluffy.
- Mix in melted butter and vanilla. Add egg and beat until silky and no lumps remain.
- Spoon cream cheese mixture over red velvet base. Swirl gently with a knife to create a marbled effect.
- Bake for 40–45 minutes until the center is set and springs back lightly when touched.
- Cool completely on a wire rack (about 1 hour), then refrigerate for 2–3 hours before slicing.
- Use parchment overhang to lift bars out. Cut into 12–16 pieces depending on size preference.
- Serve chilled or at room temperature. Store leftovers covered in the fridge for up to 5 days.
FAQ (Frequently Asked Questions)
Can I make these bars ahead of time?
Yes! These bars actually taste better the next day. Prepare them a day in advance and store covered in the refrigerator.
Can I freeze Red Velvet Cream Cheese Bars?
Absolutely. Wrap individual bars tightly in plastic wrap and place in an airtight container. Freeze for up to 2 months. Thaw in the fridge overnight before serving.
Why did my cream cheese layer crack?
Overbaking or rapid cooling can cause cracking. Ensure you don’t bake too long and allow gradual cooling at room temperature before refrigerating.
Can I use low-fat cream cheese?
It’s not recommended. Low-fat versions contain more water and can result in a runny or soggy layer. Full-fat cream cheese gives the best texture.
Is buttermilk necessary?
Yes—it reacts with cocoa and baking soda for optimal rise and tenderness. If unavailable, make a substitute: 1 cup milk + 1 tbsp vinegar or lemon juice, let sit 5–10 minutes.
Can I make these without food coloring?
You can, but they won’t have the signature red hue. Natural alternatives include beet juice or puree, though results may vary in color and moisture content.
How do I get clean cuts?
Chill thoroughly, use a sharp knife, and wipe the blade with a damp cloth between slices.
Can I double the recipe?
Yes, but use a larger pan (e.g., half-sheet pan) and adjust baking time accordingly. Watch closely to avoid overbaking.
Summary
Red Velvet Cream Cheese Bars combine the moist, chocolatey richness of red velvet cake with a luxuriously tangy cream cheese swirl, baked into easy-to-serve squares. Perfect for celebrations or cozy treats, they offer bold flavor, stunning appearance, and unforgettable texture.
With simple ingredients, clear instructions, and endless customization options, these bars are a must-have in every dessert lover’s repertoire—delicious, impressive, and utterly addictive.