Introduction
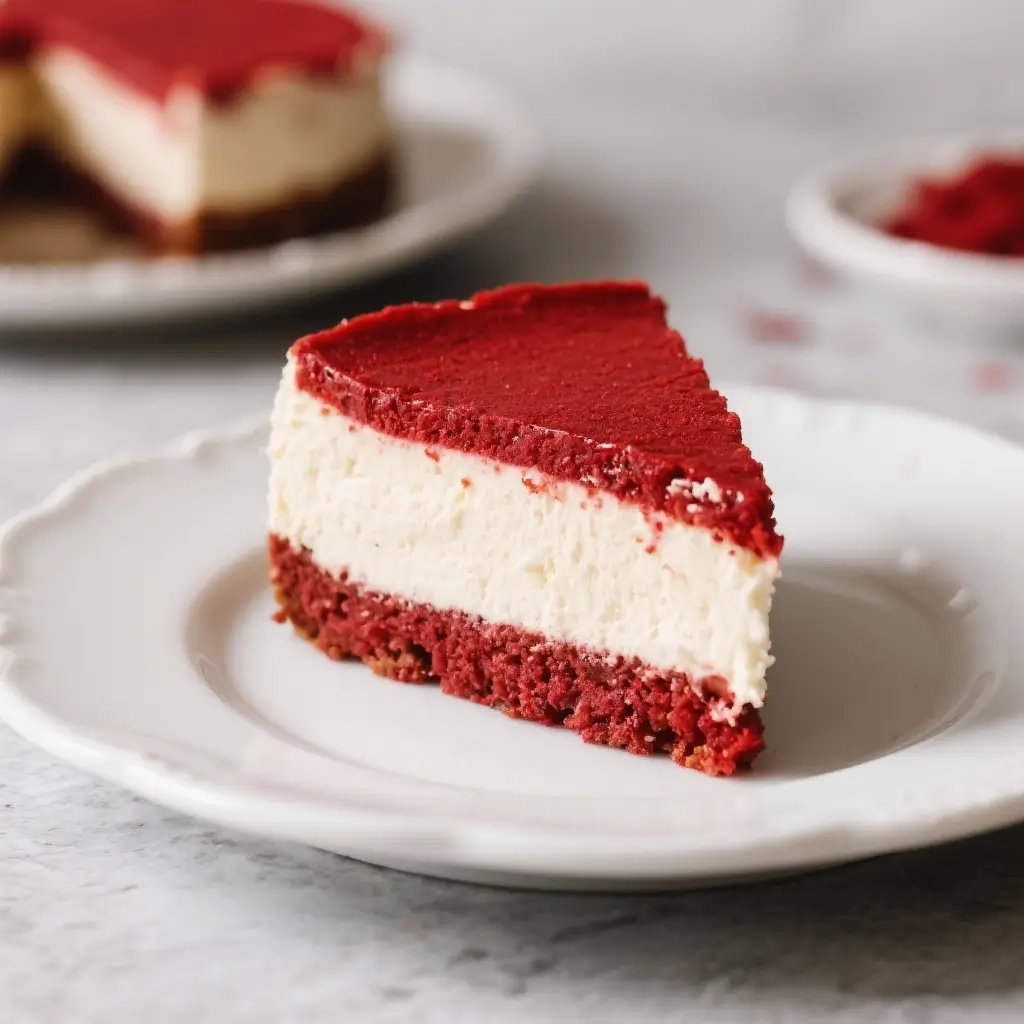
Indulge in the luxurious fusion of two beloved desserts—Red Velvet Cake and Cheesecake—with this decadent Red Velvet Cheesecake. This show-stopping dessert combines the rich, creamy texture of a classic cheesecake with the vibrant red hue and subtle cocoa flavor of red velvet cake, creating an irresistible treat perfect for celebrations, holidays, or simply satisfying your sweet tooth. With its velvety smooth filling, tender chocolate crust, and luscious cream cheese topping, every bite offers a symphony of flavors and textures that will leave you craving more.
The History
The origins of Red Velvet Cheesecake are rooted in the rich culinary traditions of American baking. While cheesecake itself dates back to ancient Greece, it was popularized in the United States during the 20th century, particularly through New York-style and Philadelphia-style versions. Red velvet cake, on the other hand, gained prominence in the early 1900s, with its signature red color originally coming from a reaction between natural cocoa powder and acidic ingredients like buttermilk and vinegar. The legend goes that red velvet cake became a symbol of luxury and exclusivity when it was served at the Waldorf-Astoria Hotel in New York City.
The marriage of these two iconic desserts—Red Velvet Cheesecake—emerged as a creative twist in the late 20th century, likely inspired by the growing popularity of fusion desserts. Home bakers and pastry chefs alike began experimenting with layering or swirling red velvet batter into cheesecake, capitalizing on the visual drama and complementary flavors. Over time, this dessert evolved into a staple for Valentine’s Day, Christmas, birthdays, and other festive occasions, admired not only for its stunning appearance but also for its sophisticated taste profile. Today, Red Velvet Cheesecake stands as a testament to innovation in dessert-making, blending tradition with modern flair.
Ingredients Breakdown
The magic of Red Velvet Cheesecake lies in the careful selection and balance of its ingredients. Each component plays a crucial role in achieving the perfect texture, flavor, and appearance:
- Cream Cheese: The foundation of any great cheesecake, full-fat cream cheese ensures a rich, creamy consistency. It should be softened to room temperature before use to avoid lumps.
- Sugar: Granulated sugar adds sweetness and helps create a smooth, glossy texture when combined with eggs.
- Eggs: Provide structure and help the cheesecake set properly. They should be added one at a time and mixed gently to prevent over-aeration, which can cause cracking.
- Sour Cream: Adds tanginess and moisture, contributing to a silkier texture and helping prevent dryness.
- Vanilla Extract: Enhances the overall flavor profile, adding warmth and depth.
- All-Purpose Flour: A small amount is used to stabilize the filling and give it a slightly firmer texture without making it dense.
- Cocoa Powder: High-quality unsweetened cocoa powder imparts the signature chocolate undertone of red velvet, even in small quantities.
- Red Food Coloring: Traditionally liquid or gel-based, this gives the cheesecake its vibrant crimson hue. Gel coloring is preferred for a more intense color without altering the batter’s consistency.
- Buttermilk: Adds acidity, tenderness, and moisture while enhancing the chemical reaction that brings out the red tones in traditional red velvet recipes.
- Chocolate Cookie Crumbs (for crust): Often made from crushed Oreos or chocolate graham crackers, these form a firm yet tender base that complements the sweet-tangy filling.
- Butter (for crust): Melted butter binds the crumbs together and adds richness, ensuring the crust holds its shape when sliced.
- Salt: A pinch enhances all the flavors and balances the sweetness.
Optional garnishes include whipped cream, chocolate shavings, fresh berries, or a drizzle of white chocolate for an elegant finish.
Step-by-Step Recipe
- Prepare the Crust: Preheat your oven to 325°F (163°C). In a food processor, pulse 2 cups of chocolate cookie crumbs until fine. Add 6 tablespoons of melted unsalted butter and 2 tablespoons of granulated sugar, pulsing until the mixture resembles wet sand. Press firmly into the bottom and slightly up the sides of a 9-inch springform pan using the back of a spoon or flat-bottomed glass. Bake for 10 minutes, then remove and let cool while preparing the filling.
- Make the Filling: In a large mixing bowl, beat 4 packages (32 oz total) of softened cream cheese on medium speed until smooth and creamy, about 2–3 minutes. Gradually add 1½ cups of granulated sugar and continue beating until fully incorporated and fluffy.
- Add Eggs One at a Time: Crack in 4 large eggs, one at a time, mixing just until each is blended. Scrape down the sides of the bowl frequently to ensure even mixing. Overmixing can introduce too much air, leading to cracks during baking.
- Incorporate Wet Ingredients: Mix in 1 cup of full-fat sour cream, 1 teaspoon of pure vanilla extract, and ¼ cup of buttermilk. Blend until smooth and uniform in texture.
- Combine Dry Ingredients: In a separate bowl, whisk together 2 tablespoons of all-purpose flour, 2 teaspoons of unsweetened cocoa powder, and a pinch of salt. Sift this mixture into the wet ingredients to prevent clumping.
- Add Color: Stir in 1–2 tablespoons of red gel food coloring (adjust based on desired intensity). Mix thoroughly until the batter achieves a consistent, deep red color.
- Pour Into Pan: Carefully pour the filling over the cooled crust. Gently tap the pan on the counter a few times to release any trapped air bubbles.
- Water Bath Technique: Wrap the outside of the springform pan tightly with aluminum foil to prevent water leakage. Place the pan inside a larger roasting pan and fill the outer pan with hot water halfway up the sides of the springform. This creates a gentle, even heat environment that prevents cracking and ensures a creamy texture.
- Bake: Transfer to the preheated oven and bake for 60–75 minutes, or until the edges are set but the center still has a slight jiggle—like jello—when nudged. Avoid opening the oven door during baking to maintain steady temperature.
- Cool Gradually: Turn off the oven, crack the door open slightly, and allow the cheesecake to cool inside for 1 hour. This gradual cooling process minimizes thermal shock and reduces the risk of surface cracks.
- Chill: Remove from the water bath, take off the foil, and refrigerate for at least 6 hours—or preferably overnight—to allow the cheesecake to fully set and develop its flavor.
- Unmold and Serve: Run a thin knife around the edge of the pan before releasing the springform. Garnish as desired and slice with a warm, clean knife for neat portions.
Tips
- Room Temperature Ingredients: Always bring cream cheese, eggs, sour cream, and buttermilk to room temperature before mixing. Cold ingredients lead to lumpy batter and uneven texture.
- Avoid Overmixing: Once eggs are added, mix only until just combined. Excess air incorporation can cause the cheesecake to rise and collapse, resulting in cracks.
- Use Gel Food Coloring: Liquid food coloring can alter the consistency of the batter; gel provides vibrant color with minimal volume.
- Don’t Skip the Water Bath: Essential for even cooking and preventing cracks, especially in dense, custard-based desserts like cheesecake.
- Check Doneness Properly: The center should wobble slightly when shaken gently—it will continue to set as it cools.
- Chill Thoroughly: Patience pays off. A minimum of 6 hours chilling time ensures clean slices and optimal texture.
- Clean Knife Cuts: Dip a sharp knife in hot water and wipe dry between each slice for smooth, professional-looking cuts.
- Prevent Sticking: Lightly grease the sides of the springform pan if you’re concerned about sticking, though most modern pans don’t require this.
Variations and Customizations
While the classic Red Velvet Cheesecake is a masterpiece on its own, there are countless ways to personalize and elevate this dessert:
- Crust Options: Swap chocolate cookies for graham crackers, shortbread, or even a brownie base for extra indulgence. Add chopped pecans or walnuts for crunch.
- Swirled Effect: Instead of coloring the entire batter, reserve some plain cheesecake mixture and swirl in dollops of red velvet batter for a marbled look.
- Layered Version: Create a true hybrid by placing a thin layer of baked red velvet cake at the bottom of the springform before adding the cheesecake filling.
- Mini Cheesecakes: Make individual servings using muffin tins lined with cupcake liners. Reduce baking time to 20–25 minutes and chill accordingly.
- Flavored Toppings: Top with a bourbon-infused cream cheese frosting, maple whipped cream, or a tangy raspberry coulis for contrast.
- Dairy-Free/Vegan Option: Use plant-based cream cheese, coconut milk, flax eggs, and vegan chocolate cookies to make a dairy-free version. Note: texture may vary slightly.
- Gluten-Free Adaptation: Substitute gluten-free chocolate cookies for the crust and use certified gluten-free flour in the filling.
- Alcohol Infusion: Add 1–2 tablespoons of vodka or bourbon to the filling—alcohol enhances flavor and can reduce cracking by lowering surface tension.
- Festive Themes: Adjust colors seasonally—pink for Valentine’s Day, green for St. Patrick’s Day, or orange and black for Halloween—while keeping the same recipe base.
Health Considerations and Nutritional Value
Red Velvet Cheesecake is undeniably rich and calorie-dense, best enjoyed in moderation as part of a balanced diet. A typical slice (1/12th of a 9-inch cake) contains approximately:
- Calories: 450–550 kcal
- Total Fat: 30–40g (including 18–22g saturated fat)
- Carbohydrates: 40–50g
- Sugars: 30–35g
- Protein: 7–9g
- Cholesterol: ~100mg
- Sodium: 300–400mg
The primary sources of fat and cholesterol come from cream cheese, butter, eggs, and sour cream. The high sugar content contributes to its decadent sweetness but may be a concern for individuals managing diabetes or insulin sensitivity.
To make a lighter version:
- Use reduced-fat cream cheese and sour cream (though texture may become less creamy).
- Replace some sugar with a natural alternative like erythritol or monk fruit (ensure compatibility with baking).
- Reduce portion size and serve with fresh strawberries or raspberries to add fiber and antioxidants.
- Avoid high-sugar toppings like chocolate ganache or sweetened whipped creams.
Those with lactose intolerance or dairy allergies should consider plant-based alternatives, though results may vary. Gluten-sensitive individuals can opt for gluten-free crust options. As always, consult a healthcare provider or nutritionist for personalized dietary advice.
Ingredients
- 2 cups chocolate cookie crumbs (about 24 Oreo cookies, filling removed and discarded or kept for flavor)
- 6 tablespoons unsalted butter, melted
- 2 tablespoons granulated sugar (for crust)
- 4 (8 oz) packages full-fat cream cheese, softened
- 1½ cups granulated sugar
- 4 large eggs, room temperature
- 1 cup full-fat sour cream, room temperature
- ¼ cup buttermilk, room temperature
- 1 teaspoon pure vanilla extract
- 2 tablespoons all-purpose flour
- 2 teaspoons unsweetened cocoa powder
- Pinch of salt
- 1–2 tablespoons red gel food coloring (or more for deeper color)
- Additional butter for greasing (optional)
- Aluminum foil for water bath
Directions
- Preheat oven to 325°F (163°C). Grease the sides of a 9-inch springform pan lightly if desired.
- For the crust: Combine chocolate cookie crumbs, melted butter, and 2 tablespoons sugar in a bowl. Press evenly into the bottom and 1 inch up the sides of the pan. Bake for 10 minutes, then cool completely.
- In a large bowl, beat cream cheese on medium speed until smooth (~3 minutes). Add 1½ cups sugar and beat until light and fluffy.
- Add eggs one at a time, mixing just until blended after each addition. Scrape down the bowl as needed.
- Mix in sour cream, buttermilk, and vanilla extract until smooth.
- In a small bowl, whisk together flour, cocoa powder, and salt. Sift into the batter and mix until just incorporated.
- Stir in red gel food coloring until uniformly red.
- Pour batter over cooled crust. Tap pan gently on counter to eliminate air bubbles.
- Wrap the bottom and sides of the springform pan securely with 2–3 layers of heavy-duty aluminum foil.
- Place the wrapped pan into a large roasting pan. Fill the roasting pan with hot water until it reaches halfway up the sides of the springform.
- Bake for 60–75 minutes, or until edges are set and center is slightly jiggly.
- Turn off oven, open door slightly, and let cheesecake cool inside for 1 hour.
- Remove from water bath, discard foil, and refrigerate for at least 6 hours or overnight.
- Release springform ring, garnish as desired, and slice with a warm knife for clean cuts.
FAQ
Can I make Red Velvet Cheesecake without a water bath?
No, it’s highly recommended to use a water bath (bain-marie) to ensure even baking and prevent cracking. Without it, the cheesecake may cook too quickly on the outside while remaining underdone inside.
Why did my cheesecake crack?
Cracking can result from overmixing, sudden temperature changes, or overbaking. Using room-temperature ingredients, avoiding overbeating, cooling slowly in the oven, and using a water bath significantly reduce this risk.
Can I freeze Red Velvet Cheesecake?
Yes! Wrap the chilled, unwrapped cheesecake tightly in plastic wrap and foil, then freeze for up to 2 months. Thaw overnight in the refrigerator before serving.
How long does it last in the fridge?
Stored covered in plastic wrap or in an airtight container, it will keep for 5–7 days.
Can I use liquid food coloring instead of gel?
You can, but you’ll need more, which may affect the batter’s consistency and dilute the flavor. Gel coloring is concentrated and doesn’t add extra liquid.
Is Red Velvet Cheesecake the same as regular red velvet cake?
No. This dessert features a cheesecake-style filling infused with red velvet flavor, whereas traditional red velvet cake is a layered sponge cake with cream cheese frosting.
Can I add chocolate chips or chunks?
It’s not typical, but you can fold in mini chocolate chips for added texture. Be cautious not to overload the batter.
What’s the best way to get a vibrant red color?
Use high-quality red gel food coloring. Some brands offer “no-taste” varieties specifically for baking. You can also combine red with a touch of burgundy or pink gel for richer depth.
Summary
Red Velvet Cheesecake blends the creamy richness of cheesecake with the bold color and subtle cocoa flavor of red velvet cake, creating a visually stunning and irresistibly delicious dessert. Perfect for special occasions or as a luxurious homemade treat, this recipe delivers a perfectly balanced, silky-smooth experience with every bite.