Introduction
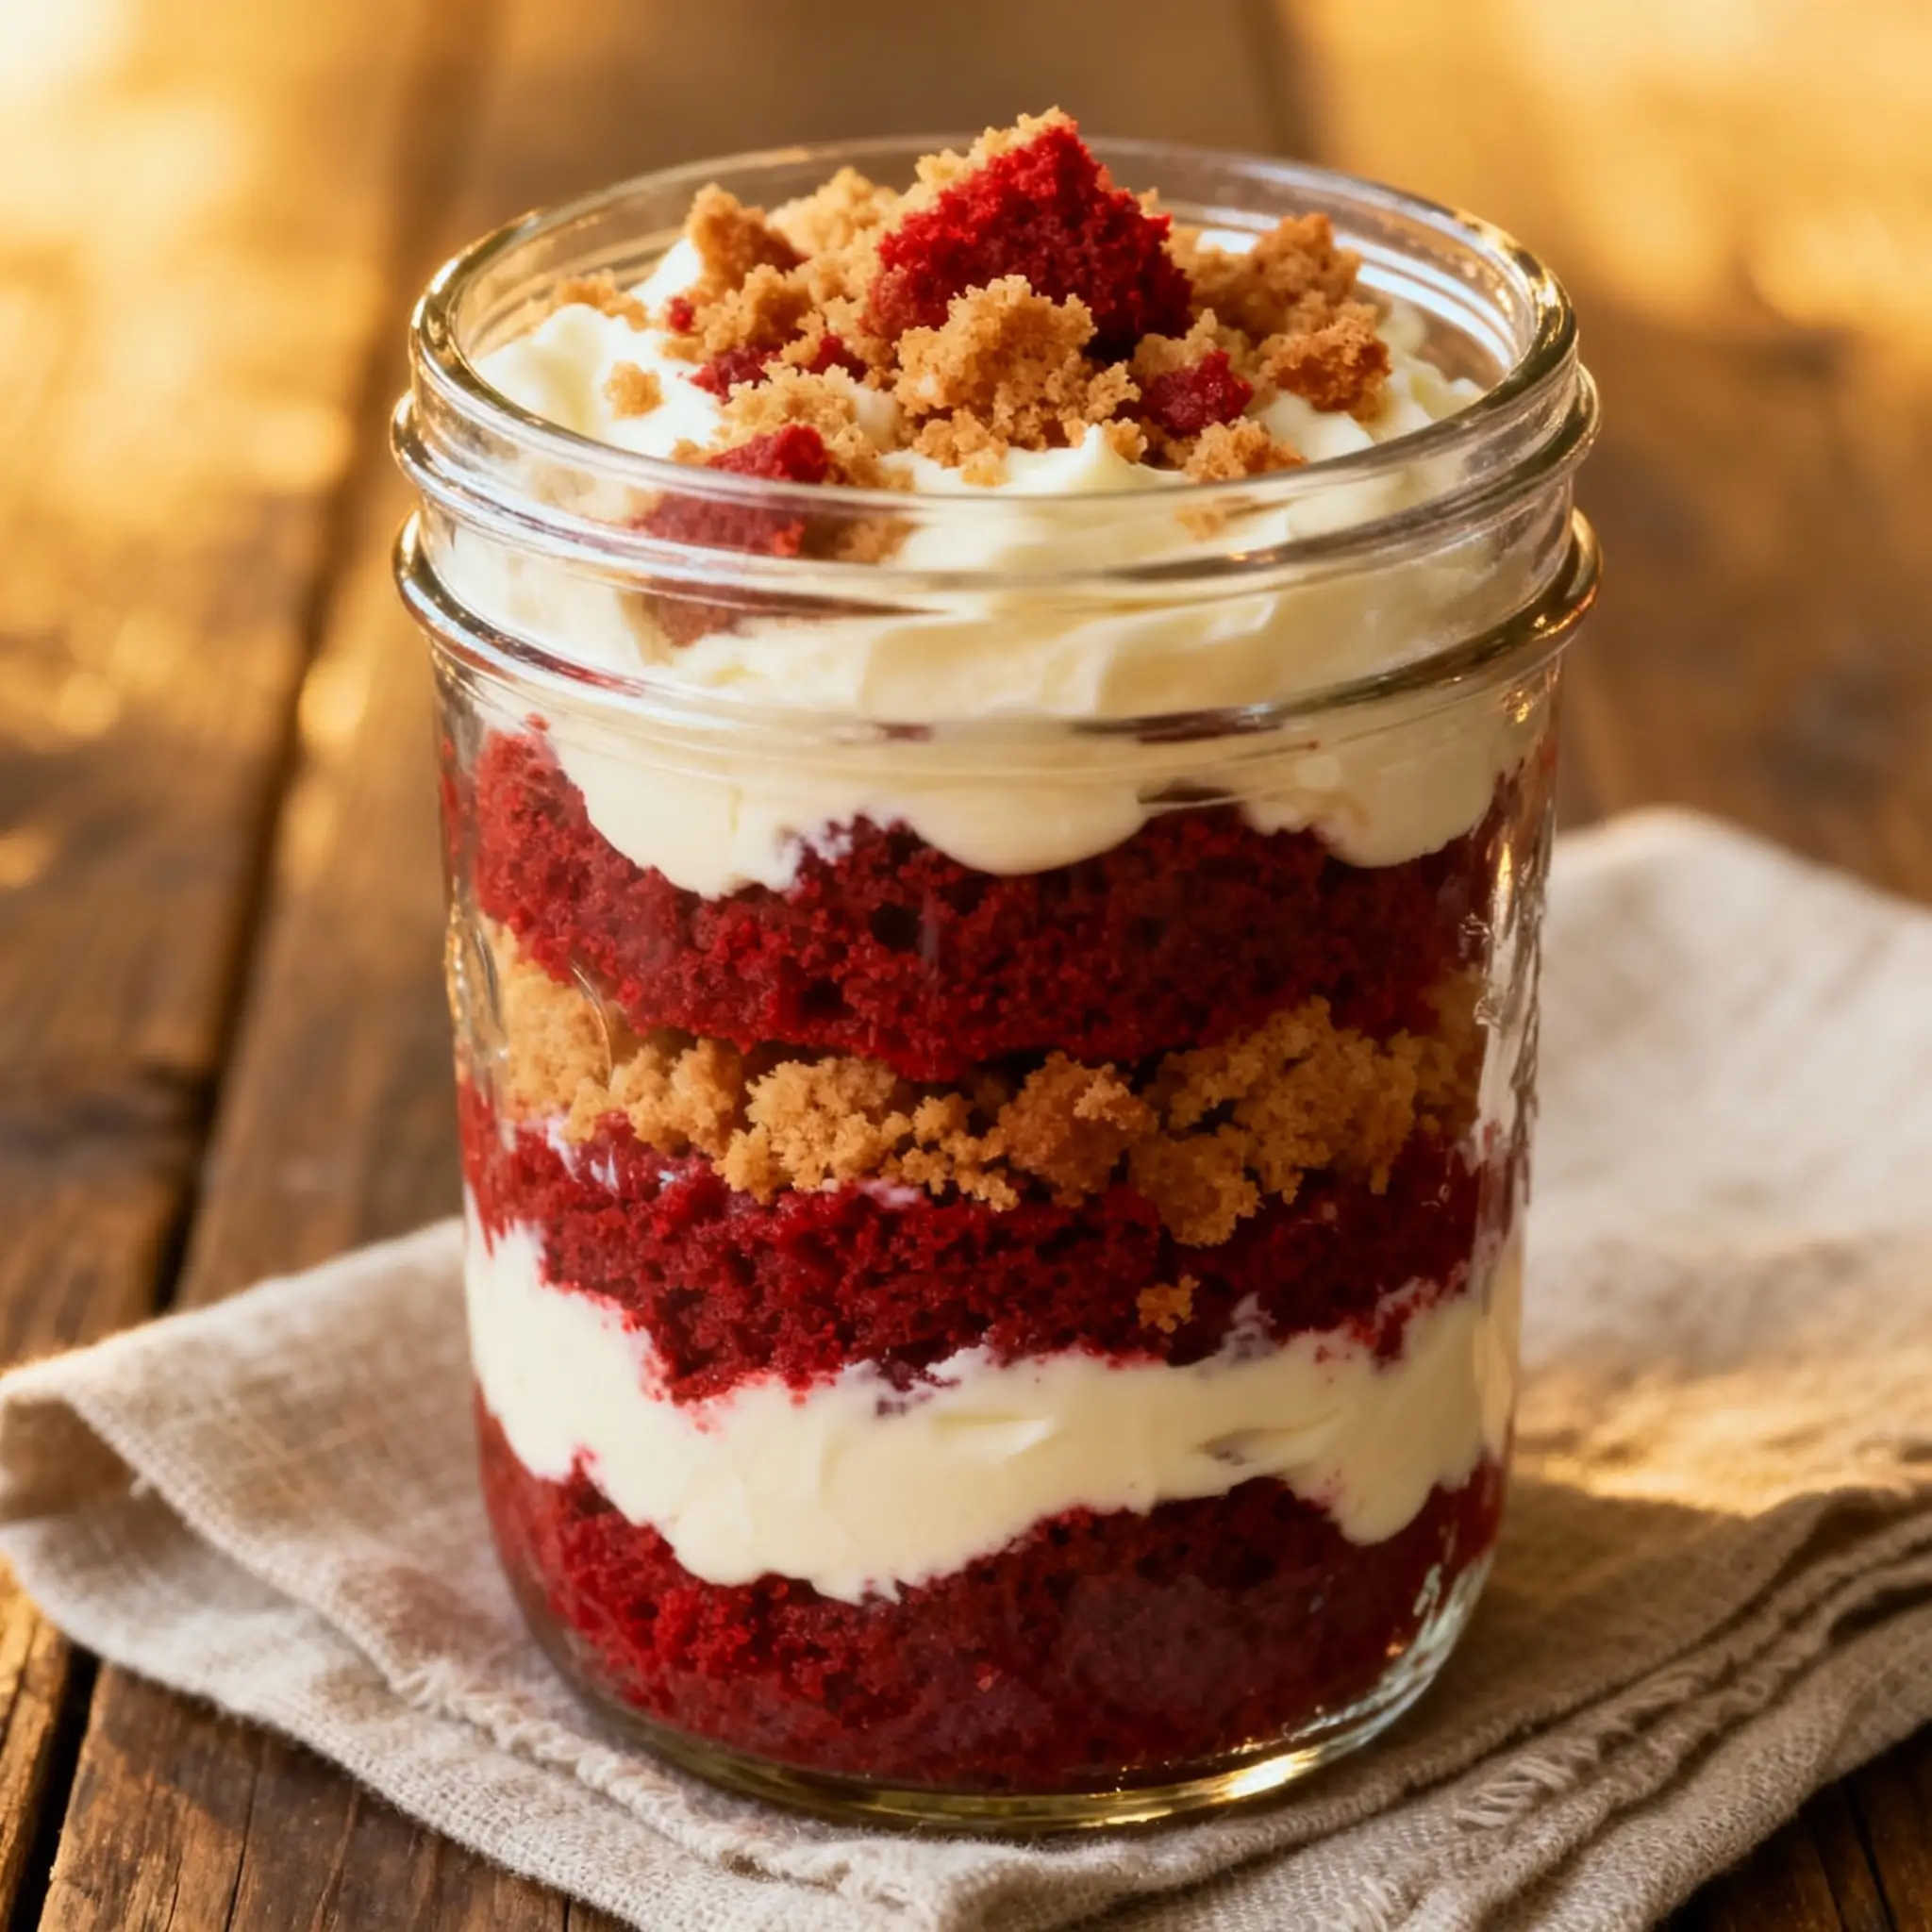
Red Velvet Cake Jars are the elegant, portable, and portion-perfect evolution of a beloved American classic—reimagined for modern lifestyles without sacrificing tradition, texture, or taste. These individual servings transform the iconic crimson-hued, velvety-crumbed, cream cheese-frosted cake into charming, layered mason jars or reusable glass containers that double as both vessel and serving dish. Whether destined for bridal showers, office potlucks, wedding dessert tables, school fundraisers, or cozy at-home treats, Red Velvet Cake Jars marry nostalgia with convenience, visual appeal with culinary craftsmanship. Their compact format invites creativity in layering, garnishing, and presentation—making each jar a miniature edible work of art that delights the eyes before it satisfies the palate.
The History
The origins of red velvet cake are steeped in folklore, regional pride, and evolving baking science. While its precise birth remains debated, most food historians trace its roots to the early 20th century in the American South—particularly linked to the Waldorf Astoria Hotel in New York (circa 1930s), where a luxurious, crimson-tinted cake allegedly earned legendary status after a guest requested the recipe and was sent a bill for $100 (a staggering sum then). However, earlier iterations appear in Southern community cookbooks, where “velvet” referred not to cocoa’s presence but to the cake’s exceptionally fine, tender crumb—achieved through the use of buttermilk, vinegar, and sometimes cornstarch or cake flour. The signature red hue originally came from natural anthocyanins in non-Dutched (natural) cocoa reacting with acidic ingredients like buttermilk and vinegar—a subtle rosy tint amplified over time by beet juice, pomegranate syrup, and eventually, FDA-approved red food coloring. By the 1940s–50s, red food dye became standard, cementing the cake’s dramatic visual identity. The rise of home canning culture, mason jar aesthetics in the 2010s farmhouse trend, and demand for single-serve, Instagram-worthy desserts collectively paved the way for Red Velvet Cake Jars—an innovative fusion of heritage and contemporary food presentation.
Ingredients Breakdown
Every exceptional Red Velvet Cake Jar begins with intentionality—not just in measurement, but in ingredient selection and function. Below is a meticulous breakdown of each component’s role:
- Unbleached All-Purpose Flour: Provides structure and gluten development; bleached flour is avoided as it may mute color vibrancy and alter pH balance critical for the red reaction.
- Natural (Non-Dutched) Cocoa Powder: Essential for authentic red velvet chemistry—its acidity interacts with vinegar and baking soda to enhance both lift and reddening. Dutch-processed cocoa is alkalized and neutral, inhibiting this reaction and dulling color.
- Granulated Sugar: Sweetens, tenderizes, and aids in creaming to trap air—contributing to volume and moistness.
- Brown Sugar (optional, but recommended): Adds molasses-derived moisture, depth, and subtle caramel notes; improves shelf life and crumb softness.
- Vegetable Oil (or high-oleic sunflower oil): Ensures superior moisture retention over butter alone—key for the signature “velvet” mouthfeel and extended freshness in jar storage.
- Buttermilk (full-fat, cultured): The cornerstone acidulant—provides tang, tenderness, and activates leaveners. Shelf-stable buttermilk powder reconstituted with whole milk is an acceptable alternative, but fresh buttermilk yields optimal flavor and texture.
- White Vinegar or Apple Cider Vinegar: Boosts acidity to further activate baking soda and intensify the red pigment reaction. Never omit—even small amounts make a measurable difference in color saturation and rise.
- Eggs (large, room temperature): Emulsify fat and liquid, contribute structure via proteins, and add richness. Extra yolks (1–2) deepen color and improve crumb density.
- Red Food Coloring (gel-based, high-pigment): Not optional for true vibrancy—liquid dyes dilute batter and require excessive volume, compromising texture. Gel dyes (e.g., Americolor Super Red, Chefmaster Red) deliver intense, stable color with minimal liquid addition. For natural alternatives: concentrated beet powder (1–2 tsp), freeze-dried raspberry powder (1 tsp), or pomegranate molasses (½ tsp + reduce other liquids) may be used—but expect muted, earthier tones and potential flavor shifts.
- Baking Soda: Reacts instantly with acids (buttermilk + vinegar) to create carbon dioxide bubbles—producing a light, airy, yet dense crumb. Baking powder is omitted to avoid metallic aftertaste and preserve authentic texture.
- Salt (fine sea salt or kosher): Enhances all flavors and balances sweetness—never skip, even in small quantities (¼ tsp).
- Vanilla Extract (pure, not imitation): Adds aromatic complexity and rounds out cocoa and acidity.
- Cream Cheese Frosting Ingredients: Full-fat brick-style cream cheese (not spreadable tubs), unsalted butter (European-style, 82% fat preferred), confectioners’ sugar (sifted), heavy cream or clear vanilla bean paste for polish, and a pinch of salt to cut sweetness. Mascarpone may be blended in (up to 25%) for silkier texture and subtle tang.
- Layering & Garnish Components: Crushed red velvet cake crumbs (baked & cooled), fresh raspberries or blackberries, white chocolate curls, edible gold flakes, freeze-dried strawberry dust, candied pecans, or mint sprigs—each adding contrast in texture, temperature, and visual dimension.
Step-by-Step Recipe
This detailed, fail-safe method ensures consistent, restaurant-quality Red Velvet Cake Jars—designed for scalability, food safety, and visual precision:
- Prep & Equipment: Line a standard muffin tin with parchment cupcake liners (for easy unmolding). Preheat oven to 350°F (177°C). Gather eight 12-oz wide-mouth mason jars (or equivalent glass dessert cups) and ensure they’re clean, dry, and heat-safe if planning warm assembly. Chill mixing bowls and beaters for frosting prep.
- Bake the Cake Layers: Whisk together 1¾ cups (210g) flour, ¾ cup (65g) natural cocoa, 1½ tsp baking soda, 1 tsp fine sea salt, and 1 tbsp instant espresso powder (enhances cocoa depth—optional but recommended). In a separate bowl, whisk 1¼ cups (250g) granulated sugar, ½ cup (100g) light brown sugar, 1 cup (240ml) full-fat buttermilk, ⅓ cup (80ml) vegetable oil, 2 large eggs + 1 yolk, 2 tsp pure vanilla, and 1 tbsp white vinegar until smooth. Gradually fold dry ingredients into wet until *just* combined—do not overmix. Stir in 2 tbsp (30ml) high-pigment red gel food coloring until uniform burgundy. Portion evenly into lined muffin cups (~¼ cup per liner). Bake 18–22 minutes, until a toothpick inserted comes out with moist crumbs (not wet batter). Cool completely in pans 10 min, then transfer to wire racks. Once fully cool, trim domes flat and cut each cake round into 4 equal wedges (yields 32 wedges total).
- Prepare Cream Cheese Frosting: Beat 16 oz (454g) full-fat cream cheese and ½ cup (113g) unsalted butter (both at 65°F/18°C) on medium-low 2 minutes until homogenous. Sift in 4 cups (480g) confectioners’ sugar + ¼ tsp salt. Beat on low 1 minute, then medium 3 minutes until ultra-smooth and glossy. Add 1 tsp clear vanilla bean paste and 1 tbsp heavy cream only if needed for spreadability. Refrigerate uncovered 30 min to firm slightly before piping.
- Assemble Jars (Cold Assembly Method – Recommended): Sterilize jars if storing >48 hours (submerge in boiling water 10 min, air-dry upside-down on clean towel). Begin layering from bottom up:
– Base Layer (½ inch): Press 1 tbsp finely crushed red velvet cake (from trimmings) into jar bottom using a small spoon or tamper.
– Second Layer (¾ inch): Pipe or spoon 3 tbsp chilled frosting in a swirl, smoothing gently with offset spatula.
– Third Layer (½ inch): Place one wedge of cake (cut side down) centered in jar. Lightly press.
– Fourth Layer (½ inch): Pipe another 2½ tbsp frosting over cake wedge, spreading to edges.
– Fifth Layer (¼ inch): Sprinkle 1 tsp cake crumbs.
– Final Touch: Top with 1 fresh raspberry, 2 white chocolate shavings, and a delicate mint leaf. Repeat for all jars. - Chill & Set: Refrigerate assembled jars minimum 2 hours (ideally overnight) to allow flavors to meld, textures to harmonize, and frosting to stabilize. This step is non-negotiable for clean slicing and structural integrity.
- Serving: Serve chilled. For best experience, let sit at room temperature 10–15 minutes before enjoying—softens frosting slightly while preserving cake structure.
Tips
- Color Consistency: Always use gel food coloring—and add it *after* combining wet and dry ingredients. Adding it to wet ingredients alone causes uneven dispersion and streaking.
- Acid Balance: If substituting buttermilk, use 1 cup milk + 1 tbsp vinegar, but let it curdle 5 minutes first. Do not use lemon juice—it imparts off-flavors at scale.
- Room Temperature Matters: Eggs, buttermilk, and butter for frosting must be truly room temp (65–70°F). Cold ingredients cause frosting to break or curdle.
- No Overmixing: Stir batter until no dry pockets remain—then stop. Overmixed batter = tough, gummy layers that won’t hold shape in jars.
- Frosting Texture Control: If frosting is too soft, chill bowl 15 min and re-beat. If too stiff, add cream ½ tsp at a time. Never add milk—it introduces water and causes separation.
- Jar Selection: Use wide-mouth jars (≥3″ diameter) for easy assembly and spooning. Narrow-mouth jars frustrate layering and compromise presentation.
- Storage Precision: Store covered (with lids or plastic wrap pressed directly on surface) in refrigerator up to 5 days. Freeze unfrosted cake wedges up to 3 months; thaw overnight in fridge before assembling.
- Food Safety First: Never assemble jars with warm cake or frosting. All components must be fully cooled to prevent condensation, sogginess, and bacterial growth.
- Visual Pro Tip: Use a piping bag with a ½-inch round tip for frosting layers—creates clean, professional bands. Wipe jar rims with damp paper towel between layers for pristine edges.
- Batch Efficiency: Bake cake layers 1–2 days ahead. Store wrapped at room temp. Frosting can be made 3 days ahead and refrigerated; bring to room temp and re-whip before assembling.
Variations and Customizations
Red Velvet Cake Jars are a canvas for seasonal, dietary, and cultural innovation—each variation honoring the core identity while expanding accessibility and excitement:
- Vegan Red Velvet Jars: Replace eggs with flax eggs (2 tbsp ground flax + 6 tbsp water), buttermilk with almond milk + 1 tbsp apple cider vinegar, butter with refined coconut oil, and cream cheese with cashew-based cultured vegan cream cheese (e.g., Kite Hill or Miyoko’s). Use beet powder instead of red dye.
- Gluten-Free Version: Substitute flour blend (Bob’s Red Mill 1:1 or King Arthur Measure for Measure) + ½ tsp xanthan gum. Ensure cocoa and food coloring are GF-certified. Add 1 tbsp psyllium husk powder to improve crumb cohesion.
- Boozy Luxe Edition: Infuse frosting with 1 tbsp bourbon or Chambord raspberry liqueur. Soak cake wedges lightly in simple syrup spiked with same spirit (1 tsp per wedge) before layering.
- Spiced Holiday Variant: Add 1 tsp ground cinnamon, ¼ tsp ground ginger, and a pinch of cloves to dry ingredients. Top with candied ginger pieces and dark chocolate shavings.
- Matcha-Red Velvet Fusion: Reduce cocoa to ¼ cup and add 1 tbsp ceremonial-grade matcha. Frosting includes 1 tsp matcha + 1 tsp honey. Garnish with black sesame crunch.
- Tropical Twist: Fold ¼ cup toasted coconut and 2 tbsp diced dried pineapple into cake batter. Frosting includes toasted coconut and lime zest. Garnish with mango coulis drizzle and passionfruit seeds.
- Chocolate-Covered Cherry: Layer in homemade cherry compote (simmered tart cherries + kirsch + cornstarch) between cake and frosting. Finish with dark chocolate ganache drizzle and maraschino cherry.
- Kid-Friendly “Funfetti” Jar: Fold ⅓ cup rainbow jimmies into batter (add after coloring). Use vanilla buttercream instead of cream cheese. Top with sprinkles and a mini fondant heart.
- Protein-Powered Fitness Jar: Add 2 scoops unflavored whey or plant protein to dry ingredients. Use Greek yogurt in place of half the buttermilk. Frosting includes protein powder and almond butter.
- Deconstructed “Naked” Jar: Skip the base crumb layer. Alternate thin slices of cake and dollops of frosting, leaving visible seams. Garnish with edible flowers and micro mint.
Health Considerations and Nutritional Value
While inherently indulgent, Red Velvet Cake Jars can be thoughtfully adapted to align with diverse wellness goals—without compromising joy or authenticity. A standard 12-oz jar (1 serving) contains approximately:
- Calories: 480–560 kcal (varies by frosting ratio and add-ins)
- Total Fat: 24–29g (14–17g saturated; primarily from cream cheese, butter, and oil)
- Carbohydrates: 62–71g (52–58g sugars; mostly added from frosting and cake)
- Protein: 5–7g (naturally occurring; increases to 12–15g with protein-enriched versions)
- Fiber: 1.5–2g (low unless GF oat fiber or psyllium added)
- Sodium: 320–410mg (moderate; controlled by salt and cream cheese content)
Key Health Notes:
- Food Coloring Concerns: While FDA-approved red dyes (Red #40) are deemed safe for most, sensitive individuals (especially children with ADHD) may prefer natural alternatives like beet or raspberry powders—even if color is less vivid.
- Cream Cheese Consideration: Full-fat cream cheese provides satiety and calcium but contributes saturated fat. Lower-fat versions destabilize frosting texture and introduce gums/stabilizers—opt for moderation rather than substitution unless medically indicated.
- Sugar Reduction Strategies: Reduce granulated sugar in cake by ¼ cup (adds moisture risk); better options include erythritol-blend sweeteners in frosting (tested brands: Swerve Confectioners or Lakanto), or using monk fruit-sweetened cream cheese spreads.
- Allergen Awareness: Naturally nut-free and soy-free (if using soy-free shortening/oil), but always verify labels on food coloring, cocoa, and frosting ingredients. Vegan versions often contain coconut or almonds—clear labeling is essential.
- Digestive Sensitivity: Buttermilk’s lactic acid and live cultures may aid digestion for many—but those with lactose intolerance should opt for lactose-free buttermilk or fermented coconut milk alternatives.
- Balanced Enjoyment: Position Red Velvet Cake Jars as mindful treats—not daily staples. Pair with herbal tea or sparkling water. One jar satisfies cravings with portion control built-in—eliminating second-helping temptation.
Ingredients
For the Red Velvet Cake (makes 32 wedges for 8 jars):
- 1¾ cups (210g) unbleached all-purpose flour
- ¾ cup (65g) natural (non-Dutched) unsweetened cocoa powder
- 1½ tsp aluminum-free baking soda
- 1 tsp fine sea salt
- 1 tbsp instant espresso powder (optional, for depth)
- 1¼ cups (250g) granulated sugar
- ½ cup (100g) light brown sugar, packed
- 1 cup (240ml) full-fat cultured buttermilk, cold
- ⅓ cup (80ml) neutral oil (vegetable, grapeseed, or high-oleic sunflower)
- 2 large eggs + 1 large egg yolk, room temperature
- 2 tsp pure vanilla extract
- 1 tbsp white vinegar or apple cider vinegar
- 2 tbsp (30ml) high-pigment red gel food coloring (e.g., Americolor Super Red)
For the Classic Cream Cheese Frosting:
- 16 oz (454g) full-fat brick-style cream cheese, room temperature
- ½ cup (113g) unsalted butter, room temperature
- 4 cups (480g) confectioners’ sugar, sifted
- ¼ tsp fine sea salt
- 1 tsp pure vanilla bean paste or extract
- 1 tbsp heavy cream or whole milk (only if needed)
For Assembly & Garnish (per jar):
- 1 tbsp finely crushed red velvet cake (from trimmings)
- 1 red velvet cake wedge (approx. 2.5″ x 1.5″)
- 1 fresh raspberry or blackberry
- 1 tsp white chocolate shavings or curls
- 1 small mint leaf (optional)
- Pinch of edible gold dust (optional)
Directions
- Preheat & Prep: Preheat oven to 350°F (177°C). Line 12 standard muffin cups with parchment liners. Lightly grease liners for easy release.
- Mix Dry Ingredients: In a medium bowl, whisk together flour, cocoa, baking soda, salt, and espresso powder (if using) until no lumps remain. Set aside.
- Mix Wet Ingredients: In a large bowl, whisk sugars, buttermilk, oil, eggs + yolk, vanilla, and vinegar until fully emulsified and smooth—about 1 minute. No streaks of oil or egg should remain.
- Combine Batter: Gradually add dry ingredients to wet, stirring with a silicone spatula in a folding motion—just until no dry flour is visible. Scrape bowl thoroughly. Batter will be thick and glossy.
- Add Color: Add red gel food coloring in two additions, folding gently after each until uniformly deep red. Avoid overmixing.
- Bake: Divide batter evenly among lined muffin cups (≈¼ cup per cup). Bake 18–22 minutes, rotating pan halfway. Cake is done when top springs back and toothpick shows moist crumbs (not wet batter). Cool in pan 10 minutes, then transfer to wire rack. Cool completely—minimum 2 hours.
- Trim & Cut: Once cool, level cake tops with serrated knife. Cut each round into 4 equal triangular wedges. Wrap tightly and store at room temperature up to 2 days—or freeze up to 3 months.
- Make Frosting: Using stand mixer with paddle attachment, beat cream cheese and butter on medium-low 2 minutes until creamy and lump-free. Gradually add sifted confectioners’ sugar and salt on low speed. Increase to medium-high; beat 3–4 minutes until light, fluffy, and glossy. Add vanilla and cream only if too stiff. Chill 30 minutes.
- Assemble Jars: Sterilize 8 wide-mouth 12-oz mason jars (boil 10 min, air-dry). Working with one jar at a time: press 1 tbsp cake crumbs into bottom. Pipe or spoon 3 tbsp frosting, smoothing flat. Center 1 cake wedge, cut-side down. Pipe or spread 2½ tbsp frosting over wedge, sealing edges. Sprinkle 1 tsp crumbs. Top with raspberry, chocolate, and mint.
- Chill & Serve: Refrigerate jars uncovered 2 hours minimum (overnight ideal). Serve chilled. Let rest 10–15 minutes at room temperature before enjoying for optimal texture.
FAQ
- Can I make Red Velvet Cake Jars without food coloring?
- Yes—but expect a muted mahogany or russet hue instead of vibrant red. Natural alternatives include 2 tbsp beet powder (adds earthy sweetness), 1 tbsp freeze-dried raspberry powder (adds tartness), or 2 tsp pomegranate molasses (reduce buttermilk by 1 tsp). Color intensity varies by brand and freshness.
- Why does my cake taste bitter or metallic?
- Most commonly caused by excess baking soda (not balanced by enough acid) or using Dutch-processed cocoa. Always measure baking soda precisely (½ tsp per cup of flour) and verify cocoa is labeled “natural” or “non-alkalized.” Also check expiration dates—old baking soda loses potency and leaves residue.
- My frosting is runny/grainy/cracked—what went wrong?
- Runny = too-warm ingredients or overbeating; grainy = confectioners’ sugar not sifted or butter too cold; cracked = overchilled frosting beaten too long. Fix: Chill bowl 15 min and re-beat slowly. For graininess, add 1 tsp hot milk and beat on low until dissolved.
- Can I prepare jars in advance for an event?
- Absolutely. Assemble up to 48 hours ahead and refrigerate covered. For longer storage, freeze *unfrosted* cake wedges and make frosting day-of. Fully assembled jars should not be frozen—the texture degrades upon thawing.
- What’s the best way to transport Red Velvet Cake Jars?
- Use a sturdy cardboard box with non-slip liner (like rubber matting or silicone tray). Place jars upright with lids secured. Keep chilled with ice packs in insulated cooler for events >1 hour away. Never stack jars.
- Are Red Velvet Cake Jars safe for pregnant people or young children?
- Yes—provided all dairy is pasteurized (standard in U.S. cream cheese, buttermilk, and eggs) and no raw eggs are used. Avoid alcohol-infused variations for these groups. Always confirm food coloring safety with pediatrician if concerned about sensitivities.
- Can I use a different frosting?
- Yes—though cream cheese is traditional. Ermine frosting (cooked flour-milk roux) offers lighter sweetness and stability. Swiss meringue buttercream adds elegance and shelf life. Avoid whipped cream or mascarpone-only frostings—they lack structural integrity for layering.
- Why did my layers sink or become dense?
- Overmixing, expired leaveners, opening oven too early, or incorrect oven temperature. Calibrate your oven thermometer. Always use fresh baking soda (replace every 3 months). Never open oven before 18-minute mark.
- How do I prevent the cake from sticking to the jar?
- Never assemble with warm cake or frosting. Always use fully cooled components. For extra security, lightly brush jar interior with neutral oil before crumb layer—but this is rarely needed with proper chilling.
- Can I make mini versions for bite-sized favors?
- Yes! Use 4-oz jelly jars. Scale cake wedges to 1.5″ triangles and frosting layers to 1 tbsp each. Bake in mini muffin tin 12–15 minutes. Yields 16 mini jars per batch.
Summary
Red Velvet Cake Jars are a masterful marriage of Southern baking heritage, modern portion control, and artisanal presentation—transforming a century-old favorite into an elegantly layered, visually captivating, and deeply satisfying single-serve experience. With meticulous attention to ingredient chemistry, precise temperature management, and customizable layers, each jar delivers velvety crumb, tangy-sweet balance, and luxurious cream cheese richness—perfectly preserved, beautifully plated, and endlessly adaptable for any occasion or dietary need.