Introduction
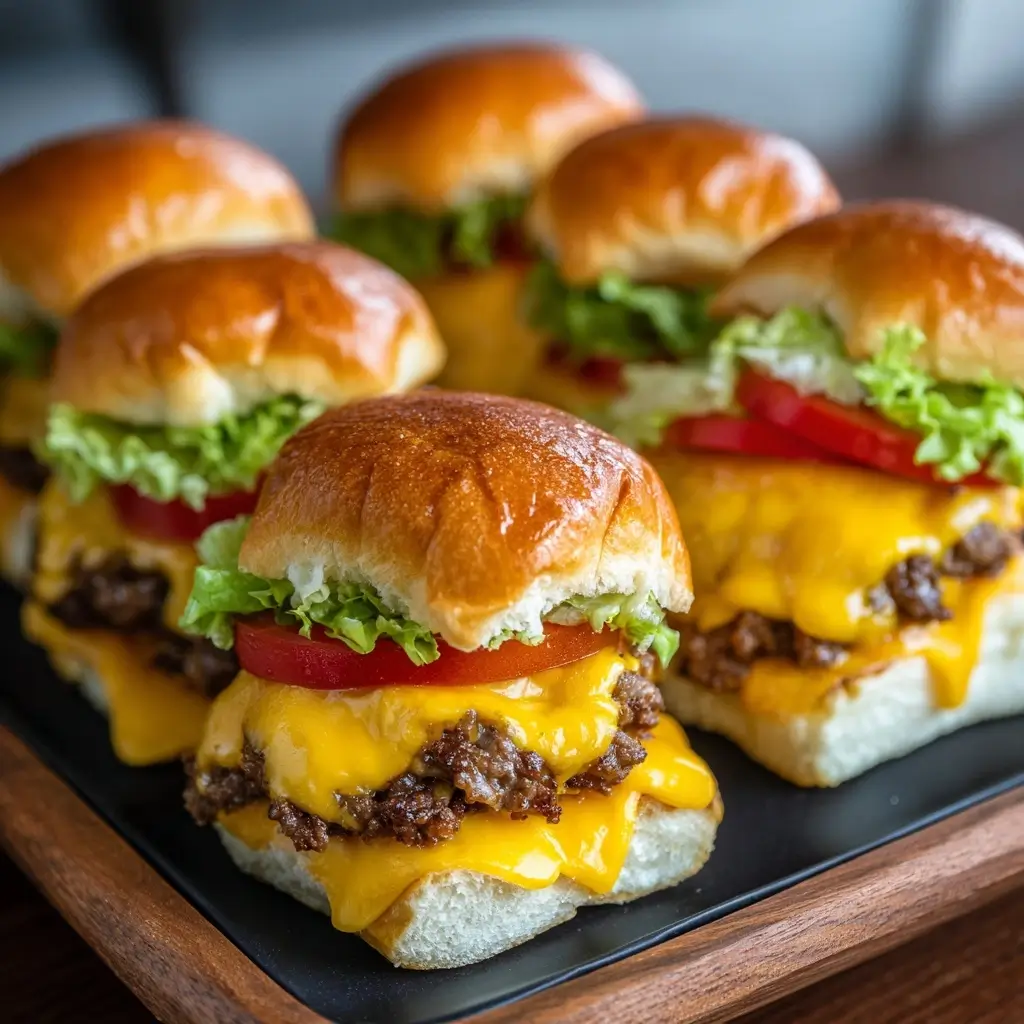
Loaded Cheeseburger Sliders are the ultimate crowd-pleasing comfort food—bite-sized, juicy, and packed with all the classic flavors of a gourmet cheeseburger, but in a fun, shareable format. Whether you’re hosting a backyard barbecue, game-day party, or just craving something indulgent, these sliders deliver big flavor in every bite. Imagine tender beef patties, melted cheese, crispy bacon, fresh lettuce, tangy pickles, and creamy sauces all nestled in soft, buttery slider buns. They’re easy to customize, simple to assemble, and guaranteed to disappear fast. In this comprehensive guide, we’ll dive into everything you need to know about making perfect Loaded Cheesebuger Sliders—from their culinary roots to step-by-step instructions, health considerations, variations, and pro tips for elevating your recipe game.
The History
The concept of the “slider” dates back to early 20th-century American diners and railroad dining cars. The name “slider” is believed to have originated from the way these small burgers would “slide” across the grill or the greasy diner countertops. White Castle, founded in 1921, popularized the idea of tiny square hamburgers served in sets of five, which were affordable, portable, and delicious. Over time, the term “slider” evolved beyond the original steamed mini-burgers to include any small sandwich, often served as appetizers or party food.
Cheeseburger sliders gained popularity mid-century as home cooks and restaurants began experimenting with bite-sized versions of classic dishes. By the 1980s and 1990s, sliders became staples at family gatherings and sports events. The modern “loaded” variation emerged in the 2000s, fueled by social media food trends and restaurant menus featuring over-the-top creations drenched in cheese, bacon, onions, and special sauces. Today’s Loaded Cheeseburger Sliders represent the pinnacle of American comfort cuisine—a fusion of nostalgia, convenience, and bold flavors that continue to captivate taste buds across the nation.
Ingredients Breakdown
The magic of Loaded Cheeseburger Sliders lies in the harmony of high-quality ingredients that come together to create layers of flavor and texture. Here’s a detailed breakdown:
- Ground Beef (80/20 lean-to-fat ratio): Provides juiciness and rich flavor. The fat content ensures moisture and helps form a perfect sear.
- Slider Buns: Soft Hawaiian rolls, potato rolls, or dinner rolls work best—they’re slightly sweet and sturdy enough to hold fillings without falling apart.
- Cheese Slices: Classic American cheese offers meltability and creaminess, but cheddar, pepper jack, or provolone can be used for more complexity.
- Bacon: Adds smoky crunch. Pre-cooked or freshly crisped strips elevate the richness.
- Lettuce: Crisp varieties like iceberg or romaine add freshness and crunch.
- Tomatoes: Ripe but firm slices bring acidity and juiciness.
- Pickles: Dill or bread-and-butter pickles contribute tangy brightness that cuts through the richness.
- Onions: Thinly sliced raw red onion adds bite, while caramelized onions offer sweetness.
- Sauces: A blend of mayonnaise, ketchup, mustard, relish, garlic powder, and Worcestershire sauce creates a signature burger spread.
- Butter and Garlic: Used to toast buns, enhancing aroma and texture.
- Salt and Pepper: Essential seasonings for balancing flavors.
- Optional Add-ins: Jalapeños, fried eggs, sautéed mushrooms, avocado, or BBQ sauce for extra flair.
Step-by-Step Recipe
- Prepare the Ingredients: Slice the slider buns in half horizontally. Separate the ground beef into 12 equal portions (about 1.5 oz each). Dice onions, slice tomatoes and pickles, shred lettuce, and cook bacon until crisp. Set aside.
- Season and Form Patties: Gently shape each portion of beef into a round patty slightly wider than the bun (they’ll shrink when cooked). Season both sides with salt and pepper. Avoid overworking the meat to keep it tender.
- Cook the Patties: Heat a skillet or griddle over medium-high heat. Cook patties for 2–3 minutes per side for medium doneness. During the last minute of cooking, place a cheese slice on each patty to melt.
- Toast the Buns: Melt butter in a pan and sauté minced garlic briefly. Brush this mixture onto the cut sides of the buns and toast them in the same pan until golden brown.
- Make the Sauce: In a small bowl, mix 1/2 cup mayonnaise, 2 tbsp ketchup, 1 tbsp yellow mustard, 1 tsp pickle relish, 1/2 tsp garlic powder, and a dash of Worcestershire sauce. Adjust seasoning to taste.
- Assemble the Sliders: Spread the sauce on the bottom buns. Layer with a cheeseburger patty, a strip of bacon, a slice of tomato, a leaf of lettuce, a few pickle chips, and a sprinkle of onions. Top with the upper bun.
- Serve Immediately: Arrange sliders on a platter. For parties, secure each with a decorative toothpick or cocktail fork for easy handling.
Tips
- Don’t Overmix the Meat: Overhandling ground beef can make patties tough. Use a light touch when forming.
- Chill the Patties: For better shape retention, refrigerate formed patties for 15–20 minutes before cooking.
- Uniform Size: Use a kitchen scale or measuring cup to ensure all patties are consistent for even cooking.
- Use a Slider Tray: Specialized slider trays or baking pans with slots help keep assembled sliders upright and warm.
- Pre-Cook Bacon: Bake bacon on a sheet pan at 400°F for 15–18 minutes for even crispness without splatter.
- Toasting Buns: Lightly buttering and toasting buns prevents sogginess and enhances flavor.
- Keep Warm: Place finished sliders in a 200°F oven covered with foil to stay warm without drying out.
- Double Up Sauces: Offer additional dipping sauces like ranch, thousand island, or spicy mayo on the side.
- Prep Ahead: Form patties, chop veggies, and make sauce a day in advance. Store separately in the fridge.
- Kitchen Tools: A small offset spatula helps flip delicate mini patties without breaking them.
Variations and Customizations
One of the best things about Loaded Cheeseburger Sliders is their versatility. Here are some creative twists to suit different tastes and dietary needs:
- Texas-Style BBQ Sliders: Top with pulled smoked brisket, cheddar cheese, coleslaw, and BBQ sauce on brioche buns.
- Blue Cheese & Bacon Ranch: Swap American cheese for crumbled blue cheese and drizzle with ranch dressing.
- Buffalo Chicken Sliders: Use seasoned ground chicken mixed with buffalo sauce, top with bleu cheese crumbles and celery.
- Veggie Sliders: Replace beef with black bean patties, portobello mushrooms, or plant-based burger blends.
- Hawaiian Luau Sliders: Add grilled pineapple slices and teriyaki glaze for a sweet-tangy twist.
- Breakfast Sliders: Use sausage or bacon patties, add a fried egg, and cheddar on English muffins.
- Gourmet Truffle Sliders: Drizzle truffle aioli and top with arugula and shaved Parmesan.
- Spicy Jalapeño Cheddar: Mix diced jalapeños into the beef and use pepper jack cheese.
- Deli Style: Use pastrami or corned beef, Swiss cheese, sauerkraut, and Thousand Island on rye-style mini buns.
- Keto-Friendly Version: Skip the buns and serve the loaded burger toppings in lettuce cups.
Health Considerations and Nutritional Value
While undeniably delicious, Loaded Cheeseburger Sliders are high in calories, saturated fat, and sodium. A single slider (approx. 3.5 oz) typically contains:
- Calories: 220–280
- Protein: 12–16g
- Fat: 14–18g (including 6–8g saturated fat)
- Carbohydrates: 10–15g
- Sodium: 400–600mg
Healthier Modifications:
- Use lean ground beef (90/10 or 93/7) or ground turkey/chicken to reduce fat.
- Opt for low-fat cheese or reduce the amount used.
- Choose whole grain or protein-enriched slider buns for added fiber.
- Increase vegetable content with spinach, sprouts, grilled onions, or roasted peppers.
- Make a lighter sauce using Greek yogurt instead of mayonnaise.
- Grill the patties instead of frying to allow fat to drip off.
- Serve with a side salad or fruit instead of fries for balance.
These adjustments allow you to enjoy the decadent experience while making mindful choices for heart health, weight management, and overall wellness.
Ingredients
- 1.5 lbs (680g) ground beef (80% lean, 20% fat)
- 12 slider buns (Hawaiian, potato, or dinner rolls)
- 12 slices American cheese (or preferred cheese)
- 12 strips bacon, cooked and drained
- 1 cup shredded lettuce
- 1 large tomato, thinly sliced
- 12 dill pickle chips
- 1/2 red onion, thinly sliced
- 4 tbsp unsalted butter, softened
- 2 cloves garlic, minced
- 1/2 cup mayonnaise
- 2 tbsp ketchup
- 1 tbsp yellow mustard
- 1 tsp sweet pickle relish
- 1/2 tsp garlic powder
- 1/2 tsp Worcestershire sauce
- Salt and freshly ground black pepper, to taste
- Toothpicks or small skewers (for serving)
Directions
- In a small bowl, combine mayonnaise, ketchup, mustard, relish, garlic powder, and Worcestershire sauce. Mix well, cover, and refrigerate until ready to use.
- Divide ground beef into 12 equal portions (about 1.5 oz each). Gently shape into patties, about 3 inches wide and 1/2 inch thick. Season both sides with salt and pepper. Refrigerate if not cooking immediately.
- Heat a large skillet or griddle over medium-high heat. Add patties and cook for 2–3 minutes per side, or until desired doneness. In the last minute, place a cheese slice on each patty to melt. Remove and set aside.
- While patties cook, slice buns in half. In a small pan, melt butter and sauté garlic for 30 seconds. Brush mixture on cut sides of buns and toast in the pan until golden. Be careful not to burn.
- Assemble sliders: Spread sauce on bottom buns. Place a cheesy patty on each, followed by a bacon strip, tomato slice, lettuce, pickles, and onion slices. Top with the bun lid.
- Insert a toothpick into each slider to hold together. Serve immediately on a platter with napkins—these are messy and delicious!
FAQ
Can I make Loaded Cheeseburger Sliders ahead of time?
Yes! You can prep components in advance. Form patties and store in the fridge up to 24 hours before. Chop veggies, make sauce, and pre-toast buns (lightly) the day before. Assemble right before serving for best texture.
How do I reheat leftover sliders?
Reheat in a 350°F oven for 10–12 minutes or in a toaster oven until warmed through. Avoid microwaving, as it makes buns soggy. If possible, disassemble and reheat patties separately.
Can I freeze these sliders?
Yes, but best results come from freezing uncooked patties or fully assembled sliders without lettuce and tomato. Wrap tightly in foil and plastic. Thaw in fridge before reheating. Add fresh toppings after warming.
What’s the best cheese for melting?
American cheese is ideal due to its emulsifiers that create a smooth melt. Cheddar, provolone, and mozzarella also melt well. Avoid hard cheeses like Parmesan for topping unless shredded finely.
Are there gluten-free options?
Absolutely. Use gluten-free slider buns or lettuce wraps. Ensure all other ingredients (like Worcestershire sauce) are certified gluten-free.
How many sliders per person?
Plan for 2–3 sliders per guest as an appetizer, or 4–6 if it’s the main course, depending on appetite.
Can I cook these in the oven?
Yes! Place assembled sliders in a baking dish, cover with foil, and warm at 350°F for 10–15 minutes. Great for feeding a crowd.
Summary
Loaded Cheeseburger Sliders are irresistible mini masterpieces combining juicy beef, melty cheese, crispy bacon, fresh veggies, and zesty sauce in soft, buttery buns. Perfect for parties, game days, or family dinners, they’re customizable, fun to eat, and always a hit.