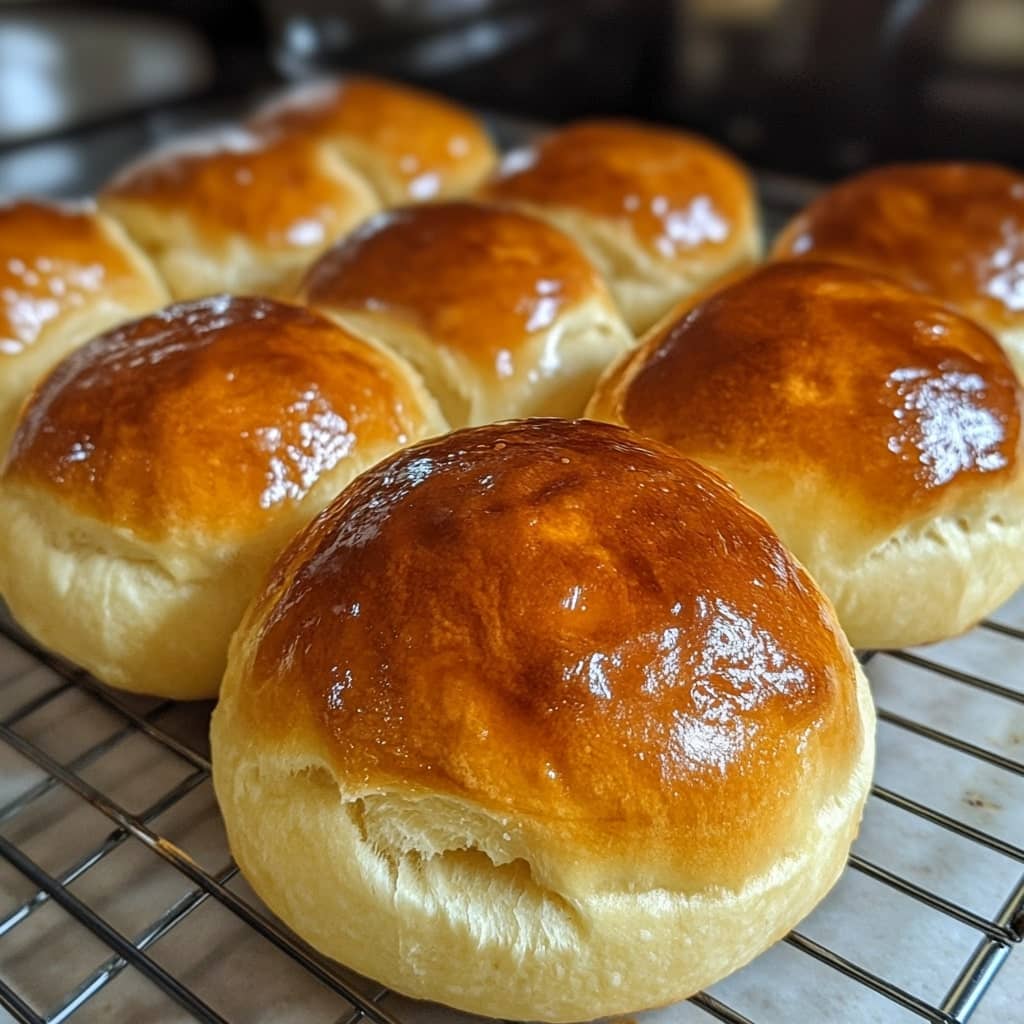
Homemade honey buns are a delicious, warm, and sweet treat that perfectly combines soft dough with a rich, honey-glazed finish. These buns have become a beloved pastry, enjoyed by many for their pillowy texture and indulgent flavor. Whether you bake them as breakfast, dessert, or a snack, honey buns can bring a comforting sweetness to any time of day. Their origin traces back to the classic American bakery tradition, where sweet rolls became a popular choice for their moist, tender texture and versatility. Over the years, they’ve evolved from a simple honey-sweetened dough into countless variations, each with unique twists and regional influences, but the basic recipe has remained a staple in many homes and bakeries.
The history of honey buns can be tied to the American South, where they were originally made as part of a larger tradition of sweet, yeasted dough-based pastries. Though the exact origins of honey buns are unclear, it is believed they were influenced by European baking traditions brought over by settlers, combined with local ingredients like honey and sugar to create a uniquely American pastry. Over the years, the simple yet flavorful honey bun has become a popular item in bakeries, convenience stores, and homemade kitchens. Honey buns have made their way into pop culture, often associated with nostalgic memories of childhood mornings or road trips. They were commonly sold in packaging that kept them fresh for longer periods, making them a perfect grab-and-go snack. Now, they are not only found in convenience stores but also made from scratch in kitchens around the world, often with a personal touch added by bakers.
Ingredients Breakdown
To create the perfect homemade honey buns, the ingredients play a crucial role in achieving that soft, fluffy texture and sweet, sticky glaze. The base of the dough includes all-purpose flour, yeast, and a touch of salt to create structure, while sugar and butter provide the sweetness and richness that make honey buns irresistible. Milk and eggs are used to enrich the dough, giving it a soft, tender crumb. For the glaze, honey is the star ingredient, providing a natural sweetness and moisture that pairs beautifully with the dough’s subtle flavor. You’ll also need cinnamon and nutmeg, which add warmth and spice to the buns, making them taste even more indulgent. A dash of vanilla extract enhances the overall aroma and flavor profile. These simple ingredients combine to create a pastry that’s both soft on the inside and golden brown on the outside, with a touch of honey that glazes over the top for extra sweetness.
Step-by-Step Recipe
- Prepare the Dough: Start by warming the milk until it’s just lukewarm (about 110°F/45°C). In a bowl, combine the warm milk, sugar, and yeast. Let it sit for about 5 minutes until the yeast is activated and foamy. Add the melted butter, eggs, and salt to the mixture, then gradually add in the flour until a dough forms. Knead the dough on a floured surface for about 8–10 minutes until it becomes smooth and elastic. If the dough is too sticky, add a little more flour. Once kneaded, place the dough in a greased bowl, cover it with a clean towel, and let it rise for 1–1.5 hours, or until it doubles in size.
- Shape the Buns: Preheat your oven to 350°F (175°C). Once the dough has risen, punch it down to release the air. Roll the dough out on a lightly floured surface into a rectangle about 1/2 inch thick. Spread a generous amount of softened butter over the dough, then sprinkle the cinnamon and sugar mixture evenly across the surface. Starting from one edge, roll the dough tightly into a log, then slice it into 12–15 equal-sized buns. Place the buns into a greased baking dish, ensuring they’re close enough to touch each other. Let them rise again for 30 minutes while the oven continues to preheat.
- Bake the Buns: Once the buns have risen, place the dish in the oven and bake for 25–30 minutes, or until the tops are golden brown. While they bake, prepare the honey glaze by heating honey and butter in a small saucepan over medium heat until melted and smooth.
- Glaze and Serve: When the buns are done baking, remove them from the oven and immediately pour the warm honey glaze over them. Allow the buns to cool slightly before serving. Enjoy them warm for the best experience, but they’re also delicious at room temperature!
Tips for the Perfect Honey Buns
To get the most out of your homemade honey buns, there are a few tips that can make the difference between good and great. First, ensure that your yeast is fresh and active—expired yeast won’t help the dough rise properly. If you don’t have a thermometer, test the milk’s temperature by touching it; it should feel warm but not hot to the touch. Overheating it can kill the yeast. When kneading the dough, don’t rush the process—take your time to ensure the dough is smooth and elastic, which is key to getting soft, fluffy buns. Additionally, letting the dough rise in a warm environment will help it rise faster and create a better texture. If your kitchen is cool, try placing the bowl of dough near a warm oven or in a sunny spot.
Another great tip is to not skip the second rise for the buns once they’ve been shaped. This step helps create a light, airy texture in the buns. When glazing, don’t wait too long after the buns come out of the oven to add the honey mixture—glaze them while they’re still hot so the syrup soaks in. For a rich flavor, use a good-quality honey and opt for unsalted butter for the glaze. Lastly, if you want the buns to have a slightly crunchy exterior, you can brush them with a little egg wash before baking.
Variations and Customizations
Homemade honey buns are incredibly versatile, and there are many ways to make them your own. For a fun twist, you can add chocolate chips or chopped fruit like apples, berries, or bananas to the dough before rolling it up. You could also experiment with different types of sweeteners in the glaze, such as maple syrup or agave nectar, for a unique flavor profile. For a spicier version, consider adding ground ginger or cardamom to the dough or filling. If you’re looking for a more decadent treat, you could top your honey buns with a cream cheese glaze or even drizzle with a bit of caramel sauce for added richness. Some bakers prefer to add a dash of lemon zest or orange zest to the dough for a citrusy touch that brightens up the sweetness of the honey.
For those who want to make the recipe a little healthier, you could try using whole wheat flour in place of some or all of the all-purpose flour. This will give the buns a nuttier flavor and increase their fiber content. If you’re looking to reduce sugar, try using a sugar substitute like stevia or monk fruit sweetener, but keep in mind this could affect the texture slightly. Adding in nuts like pecans or walnuts into the cinnamon-sugar filling is another way to create a more hearty and crunchy variation. Vegan honey buns can be made by substituting non-dairy milk, vegan butter, and a plant-based egg substitute.
Health Considerations and Nutritional Value
While honey buns are undeniably delicious, they are also a treat that should be enjoyed in moderation. The nutritional value of a typical honey bun will depend on its size and ingredients, but most honey buns are high in sugar, refined flour, and fats, making them relatively calorie-dense. A single honey bun can contain around 300–400 calories, with a significant portion of those coming from sugar and fats. They also provide a fair amount of carbohydrates, making them a quick source of energy but not necessarily the healthiest option for regular consumption. If you’re trying to make a more health-conscious version of honey buns, consider reducing the amount of sugar in the glaze, opting for whole wheat flour, or adding healthier fats like coconut oil. While these adjustments won’t make the buns “healthy,” they can offer a more balanced version of the classic treat. Additionally, if you’re watching your sugar intake, you might want to limit how much glaze you add or look for alternatives like sugar-free honey or low-calorie sweeteners. If you have dietary restrictions, it’s easy to adapt the recipe for gluten-free, dairy-free, or vegan diets by using appropriate substitutes.
FAQ
- Can I make honey buns ahead of time? Yes, you can prepare the dough in advance and let it rise in the fridge overnight. The next day, just shape the buns, let them rise again, and bake as usual.
- Can I freeze honey buns? Absolutely! After baking, allow the buns to cool completely, then wrap them tightly in plastic wrap and aluminum foil. You can freeze them for up to 3 months. To reheat, simply pop them in the oven at 350°F for about 10 minutes.
- Why didn’t my honey buns rise? This could be due to expired yeast or if the milk was too hot or too cold. Make sure the yeast is fresh and that the milk is lukewarm (about 110°F) when mixed with the yeast.
- How do I make the buns fluffier? To ensure fluffier buns, let the dough rise in a warm place for both rises. Also, be careful not to overwork the dough, as this can result in denser buns.
- Can I add fillings to the honey buns? Yes, you can add fillings like chocolate chips, fruit, or even cream cheese. Just spread the filling over the dough before rolling it up.

Homemade Honey Buns
Ingredients
For the Dough:
- ½ cup warm water
- 3 tablespoons granulated sugar
- 1 tablespoon active yeast
- 2 ⅔ cups all-purpose flour
- ⅓ cup honey
- ¼ cup melted shortening
- 3 large egg yolks
- 1 teaspoon vanilla extract
- ½ teaspoon salt
Vegetable oil for frying
- For the Cinnamon Sugar:
- ¼ cup granulated sugar
- 1 ½ teaspoons cinnamon
For the Glaze:
- 4 ⅔ cups powdered sugar
- 2 ½ tablespoons honey
- 1 tablespoon melted butter
- ½ teaspoon vanilla extract
- ¼ teaspoon salt
- Warm water as needed
Instructions
- In the bowl of a stand mixer fitted with the whisk attachment, combine warm water, 2 teaspoons of sugar, and yeast. Whisk until just combined, then let sit for 5 minutes until frothy.
- Switch to the dough hook attachment and add the remaining sugar, flour, honey, melted shortening, egg yolks, vanilla extract, and salt. Knead on medium speed for 8 minutes. The dough will be sticky but should stretch and become transparent when pulled.
- Transfer the dough to a clean bowl lightly sprayed with baking spray, then cover it with plastic wrap or a clean kitchen towel. Let it rise for 1 hour, or until it has doubled in size.
- While the dough rises, make the cinnamon sugar by whisking together the cinnamon and sugar in a small bowl.
- Once the dough has risen, turn it out onto a lightly floured surface. Roll it into a rectangle about 12” long and 8” wide, then dust with the cinnamon sugar and gently press it into the dough.
- Roll the dough from the long side and turn the roll diagonally. Use a knife to score the dough into 8 equal 1” pieces. Trim the ends of the roll by about 1 1⁄2” and then cut along the scored lines. Place the pieces onto a parchment-lined baking sheet, making sure they are spaced at least 2” apart. Shape each piece gently with your fingers and let rise for about 45 minutes, until puffy but not doubled in size.
- While the dough rises, pour oil into a large pan or stockpot and heat it over medium heat until it reaches 365°F. Once the rolls have risen, press them down lightly again with your fingers, then fry a few at a time in the hot oil, making sure not to overcrowd the pan. Fry each side for 90 seconds, until golden brown.
- While the honey buns are frying, prepare the glaze by whisking together powdered sugar, honey, melted butter, vanilla, and salt in a medium bowl. Add warm water, a little at a time, until the desired consistency is reached.
- Once the buns are golden brown on both sides, remove them from the oil and place them on a wire cooling rack set over a paper towel-lined baking sheet. Gently flatten each bun, then immediately dip them into the glaze for a crispy coating.
- Repeat the frying and glazing process for the remaining honey buns.