Introduction
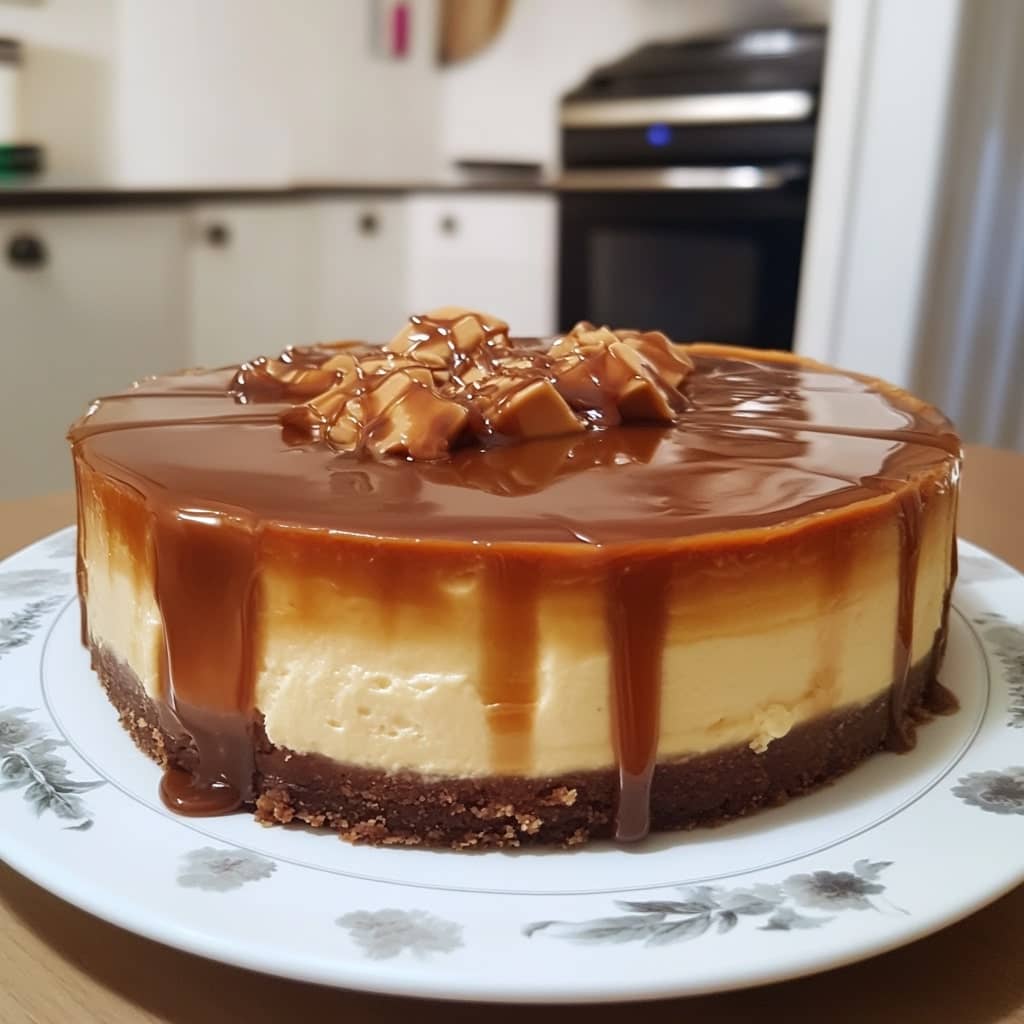
Cheesecake is a classic dessert that has captured hearts worldwide with its creamy texture and rich flavor. This easy salted caramel cheesecake elevates the classic by adding a layer of decadent salted caramel, making it even more indulgent. Combining the richness of the cheesecake with the sweet and salty flavor of caramel creates an irresistible treat. Whether for a special occasion or a weekend dessert, this cheesecake is sure to impress your family and friends. The combination of flavors, simplicity, and indulgence makes this dessert a perfect choice for any celebration.
The History of Salted Caramel Cheesecake
Salted caramel has a history that dates back to ancient times, particularly in Europe where caramel itself was first made by heating sugar. Over time, the combination of salt with caramel became popular, first appearing in French desserts and eventually making its way into a variety of dishes worldwide. Cheesecake, a dessert that originates from ancient Greece, evolved over the years, taking on many forms and flavors. The salted caramel variation of cheesecake became a trend in the early 2000s as the salty-sweet flavor combination grew in popularity. This salted caramel cheesecake, a modern twist on traditional recipes, has become a favorite in bakeries and homes alike, offering a perfect blend of flavors.
Ingredients Breakdown
To make this delicious salted caramel cheesecake, you’ll need simple ingredients that come together to create a luxurious dessert. The crust typically consists of graham crackers or digestive biscuits, butter, and a little sugar for sweetness. The cheesecake filling is made with cream cheese, sugar, eggs, and vanilla extract, giving it a rich, smooth, and creamy texture. For the salted caramel, sugar, butter, heavy cream, and a pinch of sea salt are combined to create that sweet-salty essence. The saltiness enhances the sweetness of the caramel and balances the richness of the cheesecake. With these few ingredients, you can make a dessert that looks like it’s straight from a professional bakery.
Step-by-Step Recipe:
- Prepare the Crust: Start by preheating your oven to 325°F (160°C). In a food processor, crush the graham crackers or digestive biscuits into fine crumbs. Mix the crumbs with melted butter and sugar, then press this mixture into the bottom of a springform pan. Bake for about 10 minutes, then let it cool.
- Make the Caramel Sauce: In a saucepan over medium heat, melt the sugar until it turns into a golden amber color. Add the butter and stir until it’s completely melted. Carefully pour in the heavy cream (it will bubble up), then add a pinch of sea salt. Stir until smooth, then set aside to cool.
- Prepare the Cheesecake Filling: Beat the cream cheese with sugar until smooth and creamy. Add the eggs one at a time, beating well after each addition. Add vanilla extract and mix until combined.
- Assemble the Cheesecake: Pour the cheesecake filling over the cooled crust in the springform pan. Place the pan on a baking sheet and bake for 50-60 minutes, or until the edges are set and the center is slightly jiggly. Let the cheesecake cool completely, then chill it in the fridge for at least 4 hours or overnight.
- Finish with Salted Caramel: Once the cheesecake has chilled, drizzle the salted caramel sauce over the top, allowing it to run down the sides. You can add a little extra sea salt on top for that final touch. Slice and serve.
Tips for the Perfect Salted Caramel Cheesecake
- Avoid Overmixing the Filling: When making the cheesecake filling, be careful not to overmix the batter. This can incorporate too much air and result in cracks on the surface of the cheesecake as it bakes.
- Room Temperature Ingredients: Ensure that the cream cheese, eggs, and butter are at room temperature before using them. This helps them blend together smoothly and avoids lumps in the filling.
- Chill the Cheesecake: Patience is key when making cheesecake. Allow the cheesecake to chill in the fridge for a few hours or overnight to let the flavors set and the texture firm up.
- Homemade Caramel: When making the caramel sauce, be sure to cook the sugar until it’s a deep amber color but not burnt. Burnt sugar can lead to a bitter taste, so keep a close eye on it.
- Use Quality Sea Salt: The type of salt used in the caramel sauce can impact the final flavor. Opt for a high-quality sea salt for the best taste, as it enhances the sweetness of the caramel and balances the richness of the cheesecake.
Variations and Customizations
While salted caramel cheesecake is delicious on its own, there are plenty of variations you can try to make it your own. For a different flavor profile, try adding a swirl of chocolate ganache on top of the caramel, or fold some melted chocolate into the cheesecake filling for a rich chocolate twist. You could also try adding crushed nuts, such as pecans or almonds, to the crust for added crunch. For a fruity variation, consider adding a berry compote or fresh fruit on top of the caramel to create a balance between the sweet and tangy flavors. If you’re looking for a more indulgent touch, serve the cheesecake with a dollop of whipped cream or a scoop of vanilla ice cream.
Health Considerations and Nutritional Value
While this salted caramel cheesecake is a delightful treat, it’s important to keep in mind that it’s a high-calorie dessert due to the cream cheese, sugar, and butter. A standard slice of this cheesecake can have upwards of 400-500 calories, depending on the size and the amount of caramel sauce used. If you’re looking for a healthier version, consider substituting some of the ingredients with lighter alternatives, such as low-fat cream cheese or a sugar substitute. However, even with these substitutions, this dessert should still be enjoyed in moderation. The caramel sauce is rich in fat and sugar, so it’s best as an occasional indulgence rather than a regular treat. If you’re following a specific diet, such as keto or low-carb, there are recipes that modify the ingredients to make them more suitable for your needs.
FAQ
- Can I make this cheesecake ahead of time?
Yes, this cheesecake is perfect for making ahead of time. It needs to be chilled for at least 4 hours or overnight, so it’s a great make-ahead dessert for parties or special events. - How can I store leftover cheesecake?
Store leftover cheesecake in the fridge in an airtight container for up to 4-5 days. You can also freeze it for up to a month if you want to keep it longer. - Can I use a different crust for the cheesecake?
Yes, you can use any type of cookie crust or even a nut-based crust if you prefer. Chocolate cookies or even graham cracker crumbs mixed with nuts are delicious alternatives. - Can I make this cheesecake without the caramel?
Absolutely! The cheesecake itself is creamy and rich, and you can leave out the salted caramel for a classic cheesecake flavor. You can also try other toppings like fruit compote or chocolate sauce.

easy Salted Caramel Cheesecake
Ingredients
For the Crust
- ▢1 package of Graham Crackers 9 crackers, crushed or about 1 1/2 cups of crumbs
- ▢⅓ cup Melted Butter
- ▢2 tablespoons Granulated Sugar
For the Cheesecake Filling
- ▢4 8 oz. packages of Cream Cheese at room temperature
- ▢1 cup Granulated Sugar
- ▢1 cup Sour Cream at room temperature
- ▢4 large Eggs
- ▢½ cup Half & Half
- ▢2 teaspoons Vanilla Extract
- ▢⅓ cup All-Purpose Flour
- ▢¾ cup Caramel Sauce divided (can be homemade or store-bought)
Instructions
For the Crust
- Preheat your oven to 375°F.
- In a medium-sized bowl, combine 1 ½ cups of graham cracker crumbs with 2 tablespoons of sugar and ⅓ cup of melted butter. Stir until the mixture resembles wet sand.
- Spray a 9-inch springform pan with baking spray, then press the graham cracker mixture into the bottom and sides of the pan. You can use the bottom of a measuring cup to press it down evenly and firmly.
- Bake for 8-10 minutes, or until the crust turns golden brown and fills the kitchen with a delicious aroma.
For the Cheesecake Filling
- After pre-baking the crust, lower the oven temperature to 350°F.
- In the bowl of a stand mixer fitted with the paddle attachment, add the 4 blocks of cream cheese. Mix on low-medium speed for about 1 minute, then add in 1 cup of sugar and 1 cup of sour cream.
- Continue mixing on low-medium speed and add the eggs one at a time, mixing for a few seconds between each addition. Stop the mixer and scrape down the sides of the bowl.
- Start the mixer again on low speed and add in ½ cup of half-and-half and 2 teaspoons of vanilla extract. Mix for another 30 seconds. Slowly add ⅓ cup of flour, then increase the speed to medium and mix for 2-3 minutes.
- Scrape down the sides and bottom of the bowl to ensure everything is well incorporated. Pour the cheesecake batter into the prepared graham cracker crust.
- Dollop ¼ cup of caramel sauce all over the cheesecake and swirl it with a knife to distribute the caramel throughout the batter.
- Place a sheet tray or a 9×13-inch pan on the lower rack of your oven and fill it with about an inch of water to create steam. Put the cheesecake on the upper rack and bake for 45-55 minutes.
- The cheesecake is done when the edges are golden brown and slightly pulling away from the sides of the pan, but the center is still jiggly. Turn off the oven and crack the oven door slightly. Let the cheesecake cool for 1 hour in the oven, then remove it and allow it to cool on the counter.
- Once cooled, chill the cheesecake in the refrigerator for at least 4 hours or overnight. Once chilled, pour the remaining ½ cup of caramel sauce over the top and serve!
Notes
It’s crucial to let the cheesecake cool completely before removing it from the pan. To make this easier, use a knife or offset spatula to gently run along the edges of the pan to loosen the cheesecake, then release the springform pan’s edges. If You’re Giving the Cheesecake as a Gift:
Place a cardboard cake board in the bottom of your springform pan before making the crust. After the cheesecake has cooled, you can easily slide it onto a decorative cake board and package it in a cute box for baked goods – this will surely make you someone’s favorite person! To Prevent the Cheesecake from Cracking:
Once the cheesecake has finished baking, turn off the oven and leave the door slightly ajar. Do not remove the cheesecake. Allow it to cool in the oven for at least one hour before moving it to the counter to cool further. Afterward, refrigerate it to chill for at least 4 hours or overnight. Cutting into it before it’s fully chilled will result in a gooey mess. Use a Water Bath:
Don’t skip this important step in making the perfect cheesecake! The steam from the water bath helps ensure that your cheesecake comes out extra smooth and creamy. Use Flour in the Batter:
You may notice some cheesecake recipes include a small amount of flour in the batter. This addition helps firm up the batter and also prevents cracking, resulting in a more stable and creamy cheesecake.