Introduction
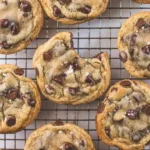
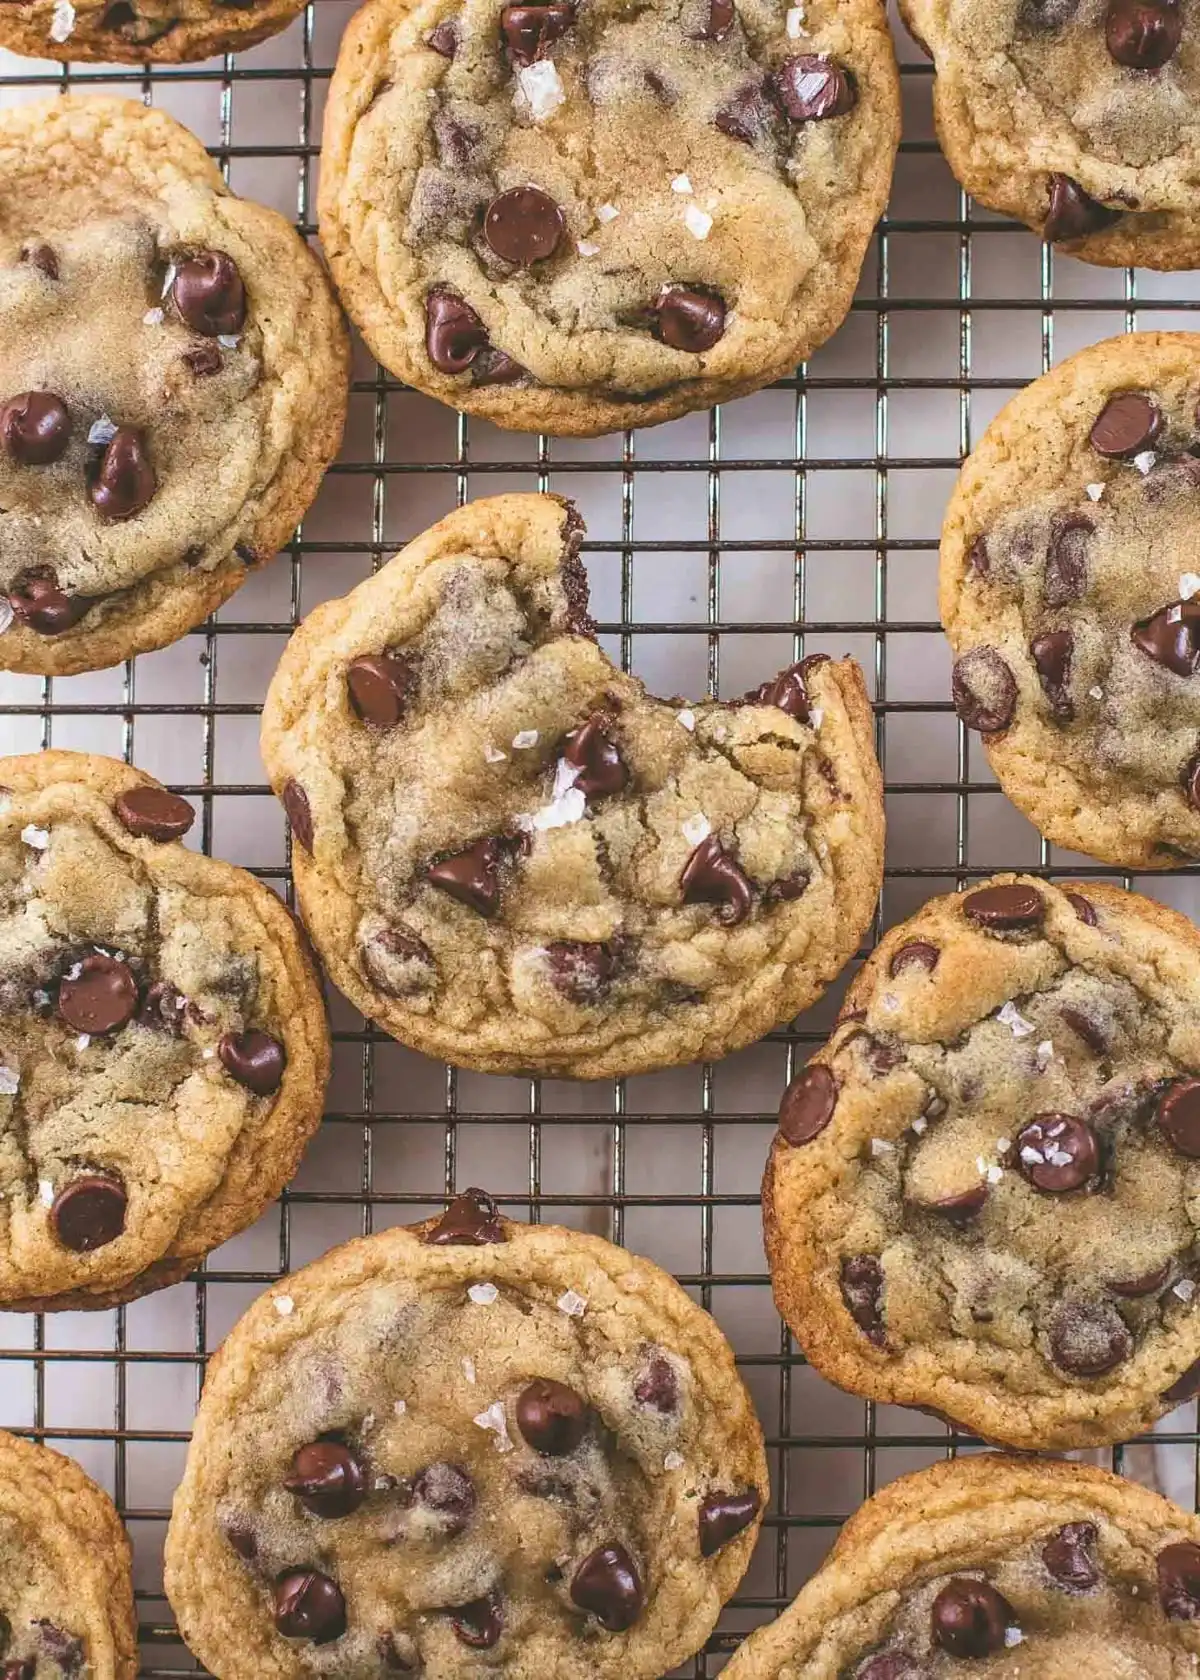
There’s a timeless magic in the humble chocolate chip cookie—a perfect paradox of textures and flavors that has captivated home bakers and dessert lovers for nearly a century. The Crispy and Chewy Chocolate Chip Cookie isn’t just a treat—it’s an intentional balancing act: golden, lacy edges that shatter with delicate crispness, giving way to a tender, moist, slightly gooey center that yields with satisfying resistance. This isn’t about compromise; it’s about mastery—achieving that elusive duality where every bite delivers both crunch and chew, richness and restraint, nostalgia and nuance. Whether you’re baking for a school fundraiser, a quiet Sunday afternoon ritual, or a last-minute dessert emergency, this recipe is engineered from the ground up to deliver consistent, restaurant-quality results—batch after batch.
The History
The story of the chocolate chip cookie begins not with a grand culinary vision, but with a happy accident—and a dash of New England practicality. In 1938, Ruth Wakefield, owner of the Toll House Inn in Whitman, Massachusetts, was preparing her signature Butter Drop Do cookies for guests. Running low on baker’s chocolate, she chopped up a Nestlé semi-sweet chocolate bar, expecting it to melt and disperse evenly into the dough. To her surprise—and delight—the morsels held their shape, creating pockets of rich, melty chocolate embedded in a buttery, crisp-chewy base. Recognizing the appeal, Wakefield struck a landmark deal with Nestlé: in exchange for printing her recipe on their chocolate bar packaging (and later, developing the first standardized “Nestlé Toll House Chocolate Chips”), she secured a lifetime supply of chocolate. The rest is edible history. What began as a pragmatic substitution evolved into America’s most iconic cookie—and over the decades, bakers have endlessly refined the formula. The quest for the crispy-and-chewy ideal gained scientific momentum in the 2000s, thanks to food scientists like Harold McGee and J. Kenji López-Alt, who decoded how variables—brown sugar ratios, chilling time, oven temperature gradients, and even flour protein content—interact to manipulate texture. Today’s iteration honors Wakefield’s ingenuity while embracing modern understanding: this recipe is the culmination of 85+ years of collective experimentation, obsession, and oven-baked evolution.
Ingredients Breakdown
Every ingredient in this recipe serves a precise functional role—not just flavor. Understanding *why* each component matters empowers you to troubleshoot, adapt, and elevate:
- Unsalted Butter (1 cup / 227g, room temperature but cool to the touch): Provides richness, tenderness, and steam for lift. Room temperature (65–68°F) ensures optimal creaming—too warm causes greasiness and spread; too cold prevents proper aeration. Using unsalted butter gives full control over sodium levels.
- Granulated Sugar (¾ cup / 150g): Adds sweetness, promotes spreading, and contributes to crispness via caramelization. Its fine crystals dissolve easily and create air pockets during creaming.
- Packed Dark Brown Sugar (¾ cup / 165g): The *chewiness catalyst*. Molasses content adds moisture, acidity (which strengthens gluten), and deep caramel notes. Packed firmly ensures consistency—loose packing under-measures molasses and compromises chew.
- Large Eggs (2, cold): Cold eggs slow down dough warming during mixing, preserving structure. They provide emulsification, moisture, and leavening (via steam). Egg yolks add fat and richness; whites add structure.
- Pure Vanilla Extract (2 tsp): Not optional. Real vanilla enhances complexity and rounds out chocolate’s bitterness. Imitation extract lacks depth and can taste artificial when baked.
- All-Purpose Flour (2¼ cups / 280g, spooned & leveled): The structural backbone. Spooning (not scooping) prevents compaction and over-measuring—just 10% extra flour can yield dry, crumbly cookies. All-purpose strikes the ideal balance between gluten formation (for chew) and tenderness (for softness).
- Unsweetened Natural Cocoa Powder (2 tbsp / 10g, sifted): A secret weapon for *depth*, not chocolate overload. Natural cocoa (not Dutch-process) adds subtle bitterness and acidity that enhances brown sugar’s molasses notes and balances sweetness without making cookies taste “chocolaty.” It also slightly darkens the cookie, amplifying the visual contrast between crisp edge and chewy center.
- Baking Soda (1 tsp): The sole leavener. It reacts with the acidity in brown sugar and cocoa to create carbon dioxide *immediately* upon heating—causing rapid initial rise and spread before setting. No baking powder here; its double-acting nature would create unwanted puffiness and weaken chew.
- Fine Sea Salt (1 tsp + ¼ tsp for finishing): Enhances all flavors, tempers sweetness, and strengthens gluten network for better chew. The finishing pinch on top intensifies the salty-sweet contrast that defines gourmet cookies.
- High-Quality Semi-Sweet Chocolate Chips or Chunks (2 cups / 340g): Use discs or chopped bars—not chips labeled “baking stable.” Real chocolate contains cocoa butter, which melts luxuriously and pools beautifully. Look for 52–62% cacao. Mixing two types (e.g., 1½ cups chips + ½ cup 60% dark chunks) creates varied melt patterns and textural interest.
Step-by-Step Recipe
- Prep & Weigh: Line two large baking sheets with parchment paper (no greasing—this prevents overspread). Weigh all ingredients using a digital kitchen scale for absolute precision. Set eggs out to chill—yes, keep them cold until mixing.
- Cream Butter & Sugars: In the bowl of a stand mixer fitted with the paddle attachment, beat room-temperature butter, granulated sugar, and brown sugar on medium speed for 3–4 minutes—until light, fluffy, and pale yellow. Scrape down the bowl halfway. *This step incorporates air—critical for lift and crisp edges.*
- Add Wet Ingredients: Add cold eggs one at a time, beating for 30 seconds after each addition until fully incorporated. Beat in vanilla. Mixture should be smooth and cohesive—not curdled or separated.
- Whisk Dry Ingredients: In a separate bowl, whisk together flour, cocoa powder, baking soda, and 1 tsp salt until no streaks remain. Sifting cocoa ensures no lumps.
- Combine Dry & Wet: Reduce mixer speed to low. Gradually add dry ingredients to wet mixture in three additions, mixing *just until no flour streaks remain* after each (about 15–20 seconds). Overmixing develops excess gluten → tough cookies. Dough will be thick, slightly shaggy, and sticky.
- Fold in Chocolate: Using a flexible silicone spatula, gently fold in chocolate chips/chunks until evenly distributed. Some dough may cling to spatula—that’s fine.
- Chill—Non-Negotiable: Cover bowl tightly with plastic wrap and refrigerate for *at least 24 hours, ideally 36–48 hours*. This is the single most important step for achieving crispy edges and chewy centers. Chilling solidifies butter, slows spread, allows flour to fully hydrate (reducing grittiness), and concentrates flavors. Dough will firm up significantly but remain scoopable.
- Preheat & Portion: Position oven racks in upper and lower thirds. Preheat oven to 375°F (190°C). Remove dough from fridge. Use a 3-tablespoon ice cream scoop (or #20 scoop) to portion 12–14 rounded mounds onto prepared sheets, spaced 3 inches apart. Gently press down each mound to ~¾-inch thickness—this ensures even baking and defined edges. Sprinkle each with a tiny pinch (⅛ tsp) of flaky sea salt.
- Bake Strategically: Bake for 11–13 minutes *total*, rotating sheets front-to-back and top-to-bottom halfway through. Cookies are done when edges are deeply golden brown and set, centers look *slightly underbaked* (soft, puffed, with faint cracks), and tops appear matte—not shiny. They will continue to set as they cool. Avoid overbaking—even 30 extra seconds sacrifices chew.
- Cool Completely on Sheets: Let cookies cool on baking sheets for 12 minutes. This allows residual heat to finish cooking centers while edges crisp further. Then, carefully transfer to a wire rack to cool completely (20+ minutes). Patience is rewarded: warm cookies are fragile and chewy; cooled ones reveal their full textural duality.
Tips
- Butter Temperature is Everything: Test with your finger—if it leaves a clean, cool indentation without sinking in, it’s perfect. If it feels greasy or leaves a puddle, it’s too warm. Chill briefly if needed.
- Weigh, Don’t Scoop: Volume measurements for flour vary wildly (up to 30% more per cup!). A scale eliminates guesswork and guarantees repeatable texture.
- Chill Time Cannot Be Rushed: 24 hours minimum. If short on time, freeze dough balls for 1 hour—but refrigeration is superior for flavor development.
- Oven Thermometer Required: Most ovens run hot or cold. An inexpensive oven thermometer ensures your 375°F is truly 375°F—critical for controlled spread and browning.
- Rotate Sheets Mid-Bake: Home ovens have hot spots. Rotating ensures even browning and prevents one side from crisping while the other stays pale.
- Underbake Intentionally: Pull cookies when centers look soft and just-set. They firm up dramatically during cooling. The “barely done” look is your chew guarantee.
- Use Parchment, Not Silicone Mats: Parchment allows gentle bottom browning and crispness. Silicone mats insulate and often yield softer, paler bottoms.
- Don’t Skip the Finishing Salt: That tiny sprinkle of flaky sea salt on top cuts sweetness and makes the crispy edge sing.
- Cool on Sheets First: Transferring too soon causes breakage and loses the crisp edge. Let physics do the work.
- Store Smart: Keep cooled cookies in an airtight container at room temperature for up to 5 days. For longer storage, freeze baked cookies (up to 3 months) or dough balls (up to 3 months—bake frozen, adding 1–2 minutes).
Variations and Customizations
This foundational recipe is a canvas—easily adapted for dietary needs, seasonal flavors, or textural adventures:
- Gluten-Free: Substitute 280g King Arthur Gluten-Free Measure-for-Measure Flour. Add ½ tsp xanthan gum if not included. Chill dough 48 hours for best structure.
- Chewier Focus: Increase brown sugar to 1 cup (220g) and reduce granulated to ½ cup (100g). Add 1 tbsp corn syrup for extra moisture retention.
- Crispier Focus: Use 1 cup granulated sugar and omit brown sugar entirely. Replace 2 tbsp flour with 2 tbsp cornstarch for ultra-tender, lacy spread.
- Nutty Crunch: Fold in 1 cup toasted walnuts or pecans with chocolate. Toasting deepens flavor and adds textural contrast to the chew.
- Sea Salt & Dark Chocolate: Use 70% dark chocolate chunks and increase finishing salt to ½ tsp flaky sea salt per cookie.
- Oatmeal-Chocolate Chip Hybrid: Replace ¾ cup (95g) flour with ¾ cup old-fashioned rolled oats (not instant). Add ½ tsp cinnamon for warmth.
- Peanut Butter Swirl: After portioning, press ½ tsp creamy peanut butter into center of each dough mound and swirl gently with a toothpick.
- Espresso-Infused: Dissolve 1 tbsp instant espresso powder in vanilla extract before adding to batter. Deepens chocolate notes without adding coffee flavor.
- Vegan Version: Use vegan butter (Miyoko’s or Earth Balance), flax eggs (2 tbsp ground flax + 6 tbsp water, rested 10 mins), and dairy-free chocolate. Chill 48 hours.
- Mini Cookies: Scoop with a #60 (½-tsp) scoop. Bake at 375°F for 7–9 minutes. Perfect for parties or portion control.
Health Considerations and Nutritional Value
While undeniably indulgent, these cookies can be enjoyed mindfully within a balanced diet. Here’s a realistic, science-informed perspective:
- Nutrition Snapshot (per cookie, based on 14 cookies per batch): ~220 calories, 12g total fat (7g saturated), 28g carbohydrates (20g sugars), 2g protein, 1g fiber. Sodium: ~150mg (without finishing salt) / ~200mg (with).
- Sugar Context: The brown sugar’s molasses provides trace minerals (calcium, potassium, iron), though amounts are minimal. Pairing cookies with a glass of milk adds protein and calcium, slowing sugar absorption.
- Chocolate Benefits: High-cocoa chocolate (60%+) contains flavonoids linked to antioxidant activity and potential cardiovascular support—though baking reduces some compounds. Prioritize quality over quantity.
- Portion Awareness: Baking in larger, restaurant-style portions (3 tbsp dough) naturally limits intake compared to smaller, snack-sized cookies. Savor one slowly—it’s more satisfying than three hastily eaten.
- Ingredient Swaps for Modest Adjustments:
- Reduce granulated sugar by 2 tbsp (adds ~15g less sugar per batch) without sacrificing crispness.
- Substitute ¼ cup (30g) flour with almond flour for added healthy fats and subtle nuttiness (no need to adjust other liquids).
- Use organic, non-GMO chocolate and unbleached flour for cleaner sourcing.
- Not a Health Food—But Not “Junk” Either: Made with real butter, eggs, and minimally processed chocolate, these contain no artificial preservatives, colors, or hydrogenated oils. Enjoy them as part of joyful, intentional eating—not guilt-driven restriction.
Ingredients
- 1 cup (227g) unsalted butter, room temperature (65–68°F)
- ¾ cup (150g) granulated sugar
- ¾ cup (165g) packed dark brown sugar
- 2 large eggs, cold
- 2 teaspoons pure vanilla extract
- 2¼ cups (280g) all-purpose flour, spooned & leveled
- 2 tablespoons (10g) unsweetened natural cocoa powder, sifted
- 1 teaspoon baking soda
- 1 teaspoon fine sea salt
- 2 cups (340g) high-quality semi-sweet chocolate chips or chopped chocolate (52–62% cacao)
- ¼ teaspoon flaky sea salt, for finishing
Directions
- Line two large baking sheets with parchment paper. Weigh all ingredients precisely.
- In a stand mixer with paddle attachment, beat butter, granulated sugar, and brown sugar on medium speed for 3–4 minutes until light, fluffy, and pale. Scrape bowl.
- Add cold eggs one at a time, beating 30 seconds after each. Beat in vanilla until combined.
- In a separate bowl, whisk flour, cocoa powder, baking soda, and 1 tsp salt until uniform.
- With mixer on low, gradually add dry ingredients in three parts, mixing just until no flour streaks remain (15–20 sec per addition).
- Fold in chocolate chips/chunks with a spatula until evenly distributed.
- Cover bowl tightly and refrigerate dough for 24–48 hours.
- Preheat oven to 375°F (190°C) with racks in upper and lower thirds.
- Scoop 12–14 mounds of dough (3 tbsp each) onto sheets, spaced 3″ apart. Press each to ¾” thick. Sprinkle lightly with flaky sea salt.
- Bake 11–13 minutes, rotating sheets halfway, until edges are deeply golden and set, centers soft and puffed.
- Cool cookies on sheets for 12 minutes, then transfer to wire rack to cool completely (20+ minutes).
FAQ
- Why do my cookies spread too much?
- Likely causes: butter too warm, insufficient chilling time, under-measured flour, or oven too cool. Ensure butter is cool-room-temp, chill ≥24 hours, weigh flour, and verify oven temp.
- Can I use melted butter?
- No. Melted butter creates greasy, flat, cakey cookies lacking structure. Creaming is essential for aeration and crisp edges.
- What if I don’t have brown sugar?
- You can make your own: mix 1 cup granulated sugar + 1 tbsp molasses. But true chew relies on brown sugar’s moisture and acidity—don’t skip it.
- Why did my cookies turn out cakey instead of chewy?
- Overmixing after adding flour develops gluten; using too much baking powder (instead of soda); or substituting cake flour (too low protein). Stick to AP flour and gentle mixing.
- Can I bake frozen dough?
- Yes! Place frozen dough balls on parchment and bake at 375°F for 13–15 minutes—no thawing needed. Edges will crisp beautifully.
- How do I keep cookies chewy for days?
- Store in an airtight container with a slice of plain white bread. The cookies absorb moisture from the bread, staying soft. Replace bread every 2 days.
- My oven only has one rack. Can I still bake two sheets?
- Absolutely. Bake one sheet at a time on the center rack. Or, if using convection, rotate sheets top-to-bottom every 4 minutes for even results.
- Can I double the batch?
- Yes—but chill dough in two separate containers to ensure even, rapid chilling. Mixing >3 cups flour by hand or in standard mixers may strain equipment.
- Why add cocoa powder if it’s not a chocolate cookie?
- It’s not for chocolate flavor—it’s a “flavor amplifier” and texture enhancer. Cocoa’s acidity boosts brown sugar’s molasses notes and strengthens gluten for superior chew without tasting chocolaty.
- Are these cookies suitable for mailing?
- Yes! Fully cooled, they ship well in rigid tins layered with parchment. Include a small silica gel packet to prevent moisture buildup.
Summary
These Crispy and Chewy Chocolate Chip Cookies achieve legendary texture through science-backed techniques: a 24–48 hour chill for flavor concentration and controlled spread, precise creaming for airy crispness, brown sugar’s molasses for deep chew, and strategic underbaking for a soft, yielding center.
Every element—from weighed ingredients and oven calibration to finishing salt and parchment-lined sheets—is calibrated to deliver golden, lacy edges that snap with delicate crispness, giving way to a tender, moist, slightly gooey heart that satisfies with rich, complex sweetness and nostalgic comfort.