Chocolate Lush Dessert: A Decadent Delight for Every Occasion
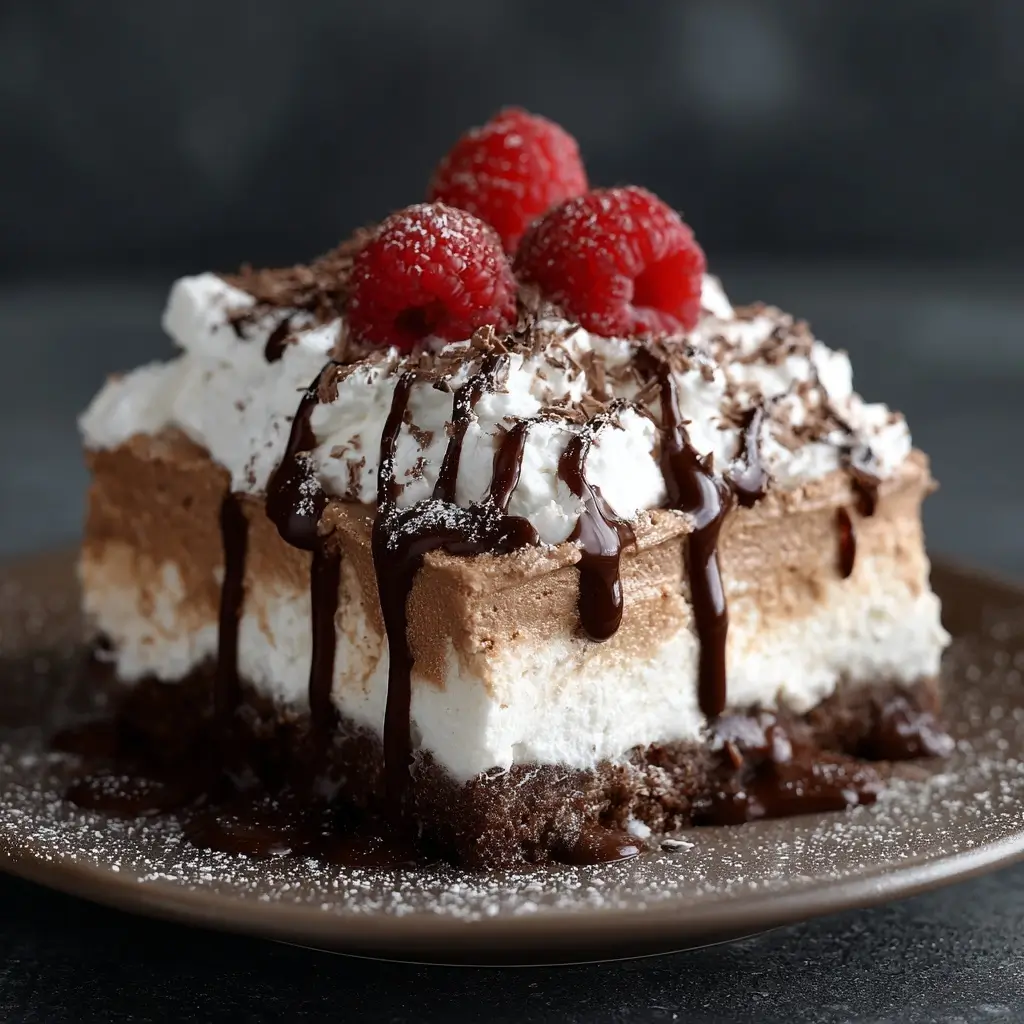
The Chocolate Lush Dessert is not just a treat—it’s an experience. Rich, creamy, and indulgent, this dessert combines layers of velvety chocolate, buttery cookie crust, and a luscious whipped topping to create a symphony of flavor and texture that melts in your mouth. Whether you’re preparing it for a holiday gathering, a family dinner, or simply as a weekend indulgence, this no-bake masterpiece consistently earns rave reviews. With its elegant appearance and effortless preparation, the Chocolate Lush Dessert stands as a testament to how simple ingredients can come together to form something truly extraordinary.
The History of the Chocolate Lush Dessert
The origins of the Chocolate Lush Dessert trace back to American home cooking traditions of the mid-20th century, particularly within the Midwest. It emerged during an era when convenience foods—such as instant pudding mixes, canned whipped toppings, and pre-made cookies—became staples in American kitchens. The term “lush” in the name likely refers to its rich, decadent nature, evoking a sense of luxury and indulgence.
This dessert gained popularity through community cookbooks, church potlucks, and family recipe exchanges. Its simplicity made it ideal for busy homemakers who wanted to serve something impressive without spending hours in the kitchen. Over time, variations began to emerge, incorporating different types of chocolate, crusts, and mix-ins. Despite evolving culinary trends, the Chocolate Lush has maintained its nostalgic charm and continues to be a beloved classic across generations.
Ingredients Breakdown: What Makes This Dessert So Irresistible?
The magic of the Chocolate Lush Dessert lies in its carefully balanced combination of textures and flavors. Each ingredient plays a crucial role in building the final product:
- Chocolate Wafer Cookies (or Graham Crackers): These form the base of the crust, providing a crisp, slightly sweet foundation that contrasts beautifully with the creamy layers above. Chocolate wafers enhance the chocolate theme, while graham crackers offer a more neutral, buttery counterpoint.
- Butter: Melted butter binds the crushed cookies together, ensuring the crust holds its shape when sliced. It also adds richness and depth to the overall flavor profile.
- Sugar: A small amount is often added to the crust for extra sweetness, balancing the bitterness of dark chocolate in other layers.
- Cool Whip or Whipped Cream: This light, airy component gives the dessert its signature fluffiness. Cool Whip offers convenience and stability, while homemade whipped cream provides a fresher, less sweet alternative.
- Instant Chocolate Pudding Mix: The heart of the creamy layer, this mix quickly thickens when combined with milk, delivering a smooth, dense chocolate filling with minimal effort.
- Milk: Whole milk is recommended for the richest texture, though alternatives like almond or oat milk can be used for dietary preferences.
- Vanilla Extract: A splash enhances the overall flavor complexity, rounding out the sweetness and bringing warmth to the dessert.
- Chocolate Shavings or Grated Chocolate: Used as a garnish, these add visual appeal and bursts of intense chocolate flavor with every bite.
- Optional Add-ins: Chopped nuts, marshmallows, caramel drizzle, or even a layer of peanut butter pudding can elevate the dessert to new heights.
Step-by-Step Recipe: How to Make Chocolate Lush Dessert at Home
Follow these detailed instructions to create a flawless Chocolate Lush Dessert that will impress your guests and satisfy any sweet tooth.
- Prepare the Crust: In a food processor or sealed plastic bag, crush about 24 chocolate wafer cookies (or 1 ½ cups graham cracker crumbs) into fine crumbs. Transfer to a mixing bowl and stir in ¼ cup granulated sugar and 6 tablespoons melted unsalted butter until the mixture resembles wet sand.
- Press the Crust: Transfer the mixture to a 9×13-inch baking dish. Using the bottom of a glass or your fingers, press the crumbs evenly across the bottom to form a firm, compact layer. Place in the refrigerator to chill for at least 20 minutes.
- Make the Pudding Layer: In a medium bowl, whisk together one 3.9-ounce package of instant chocolate pudding mix and 2 cups of cold whole milk. Stir vigorously for about 2 minutes until the mixture begins to thicken. Allow it to set for 5 minutes.
- Fold in Whipped Topping: In a separate large bowl, gently fold 1 cup of cold heavy cream (whipped to stiff peaks) or one 8-ounce tub of thawed Cool Whip into the pudding mixture. For enhanced flavor, add ½ teaspoon vanilla extract. Mix until smooth and uniformly blended.
- Add the Creamy Layer: Pour the pudding mixture over the chilled crust, spreading it evenly with a spatula to ensure a smooth, level surface.
- Top with Whipped Cream or Cool Whip: Spread an additional 1 cup of whipped cream or Cool Whip over the pudding layer. This creates a cloud-like top that contrasts with the darker layers beneath.
- Garnish and Chill: Sprinkle the top generously with chocolate shavings, grated chocolate, or mini chocolate chips. For extra flair, add chopped pecans or a drizzle of chocolate syrup.
- Refrigerate: Cover the dish with plastic wrap and refrigerate for at least 4 hours, preferably overnight. This allows the layers to set and the flavors to meld together.
- Serve: Cut into squares using a sharp knife dipped in hot water for clean edges. Serve chilled and enjoy!
Tips for Perfect Chocolate Lush Every Time
- Use Cold Ingredients: Ensure your milk, whipped cream, and Cool Whip are well-chilled to help the pudding set quickly and maintain a stable texture.
- Avoid Overmixing: When folding in whipped cream, use a gentle hand to preserve airiness. Overmixing can deflate the mixture and result in a denser dessert.
- Chill the Pan: For cleaner slices, chill the serving dish before assembling and briefly return the dessert to the fridge after cutting each piece.
- Customize Sweetness: If you prefer a less sweet dessert, reduce the sugar in the crust or opt for sugar-free pudding mix and whipped topping.
- Seal Out Air: Press plastic wrap directly onto the surface of the dessert before refrigerating to prevent a skin from forming.
- Let It Rest: Don’t rush the chilling process. Allowing the dessert to rest for at least 4–6 hours ensures clean cuts and optimal texture.
Variations and Customizations
The beauty of the Chocolate Lush Dessert lies in its adaptability. Here are some creative twists to suit different tastes and occasions:
- White Chocolate Lush: Replace the chocolate pudding with white chocolate pudding mix and use graham cracker crust. Top with fresh berries for a fruity contrast.
- Peanut Butter Chocolate Lush: Add a layer of peanut butter pudding or swirl in melted peanut butter before chilling. Garnish with chopped peanuts and Reese’s pieces.
- Oreo Lush: Use crushed Oreo cookies for the crust and mix crushed Oreos into the pudding layer for added crunch and flavor.
- Mint Chocolate Lush: Use chocolate mint pudding mix or add ¼ teaspoon peppermint extract to regular chocolate pudding. Top with Andes mints or green-tinted whipped cream.
- S’mores Lush: Incorporate a graham cracker crust, chocolate pudding, and top with mini marshmallows. Broil briefly for toasted marshmallows (if serving immediately).
- Dairy-Free Version: Use dairy-free chocolate pudding, almond or coconut milk, and a non-dairy whipped topping like Cocowhip. Opt for vegan cookies for the crust.
- Gluten-Free Option: Substitute gluten-free chocolate cookies or certified gluten-free graham crackers for the crust.
- Alcohol-Infused Lush: For adult gatherings, add 1–2 tablespoons of coffee liqueur, Baileys, or Kahlúa to the pudding mix for a sophisticated twist.
- Fruit-Infused Layers: Add a thin layer of raspberry jam or fresh berries between the crust and pudding for a tart contrast.
Health Considerations and Nutritional Value
While undeniably delicious, the Chocolate Lush Dessert is a high-calorie, sugar-rich treat best enjoyed in moderation. Here’s a general nutritional breakdown per serving (based on 12 servings):
- Calories: ~320–380 kcal
- Total Fat: 18–22g (Saturated Fat: 10–13g)
- Carbohydrates: 38–45g (Sugars: 25–30g)
- Protein: 3–5g
- Sodium: 200–280mg
Health Notes:
- The dessert contains significant amounts of added sugars and saturated fats, primarily from butter, pudding mix, and whipped toppings.
- Using low-fat milk, reduced-sugar pudding, and light whipped topping can reduce calories and fat by up to 25%.
- Homemade whipped cream made from heavy cream is preferable to hydrogenated oil-based toppings like traditional Cool Whip, which may contain trans fats and artificial ingredients.
- Those with dietary restrictions (diabetes, lactose intolerance, celiac disease) can adapt the recipe using appropriate substitutions.
- Pairing a small portion with a cup of herbal tea or fresh fruit can balance the indulgence.
Ingredients
- 24 chocolate wafer cookies (or 1 ½ cups graham cracker crumbs)
- 6 tablespoons unsalted butter, melted
- ¼ cup granulated sugar
- 1 package (3.9 oz) instant chocolate pudding mix
- 2 cups cold whole milk (or dairy-free alternative)
- 1 cup heavy whipping cream, whipped to stiff peaks (or 1 tub 8 oz Cool Whip, thawed)
- ½ teaspoon vanilla extract
- ½ cup chocolate shavings or grated chocolate (for garnish)
- Optional: chopped nuts, mini marshmallows, caramel sauce
Directions
- In a food processor or zip-top bag, crush chocolate wafers into fine crumbs. Transfer to a bowl and mix with sugar and melted butter until combined.
- Press mixture firmly into the bottom of a 9×13-inch dish. Refrigerate for 20 minutes.
- In a large bowl, whisk pudding mix and milk for 2 minutes. Let sit for 5 minutes to thicken.
- Gently fold in whipped cream (or Cool Whip) and vanilla extract until smooth.
- Pour over crust and spread evenly. Top with another layer of whipped cream or Cool Whip.
- Sprinkle generously with chocolate shavings and any desired toppings.
- Cover and refrigerate for at least 4 hours, or overnight.
- Cut into squares and serve chilled.
FAQ
Can I make Chocolate Lush ahead of time?
Yes! This dessert is ideal for making 1–2 days in advance. The flavors deepen with time, and it holds well in the refrigerator.
Can I freeze Chocolate Lush?
It can be frozen for up to 1 month. Wrap tightly in plastic and foil. Thaw in the refrigerator before serving. Note: texture may become slightly softer.
Why is my pudding layer runny?
Ensure you use cold milk and allow proper setting time. Overmixing with too much whipped topping can also thin the consistency.
Can I use cooked pudding instead of instant?
Yes, but let it cool completely before folding in whipped cream to avoid melting it. Cooked pudding results in a richer, denser layer.
How do I store leftovers?
Cover tightly and refrigerate for up to 4 days. Keep away from strong-smelling foods to prevent odor absorption.
Can I make individual servings?
Absolutely! Use mason jars or parfait glasses for layered parfaits—perfect for parties or gifts.
Summary
The Chocolate Lush Dessert is a timeless, no-bake masterpiece that blends a crisp chocolate crust with layers of creamy pudding and fluffy whipped topping, all crowned with rich chocolate garnish. Easy to prepare and endlessly customizable, it’s the ultimate crowd-pleasing treat for any occasion.