Introduction
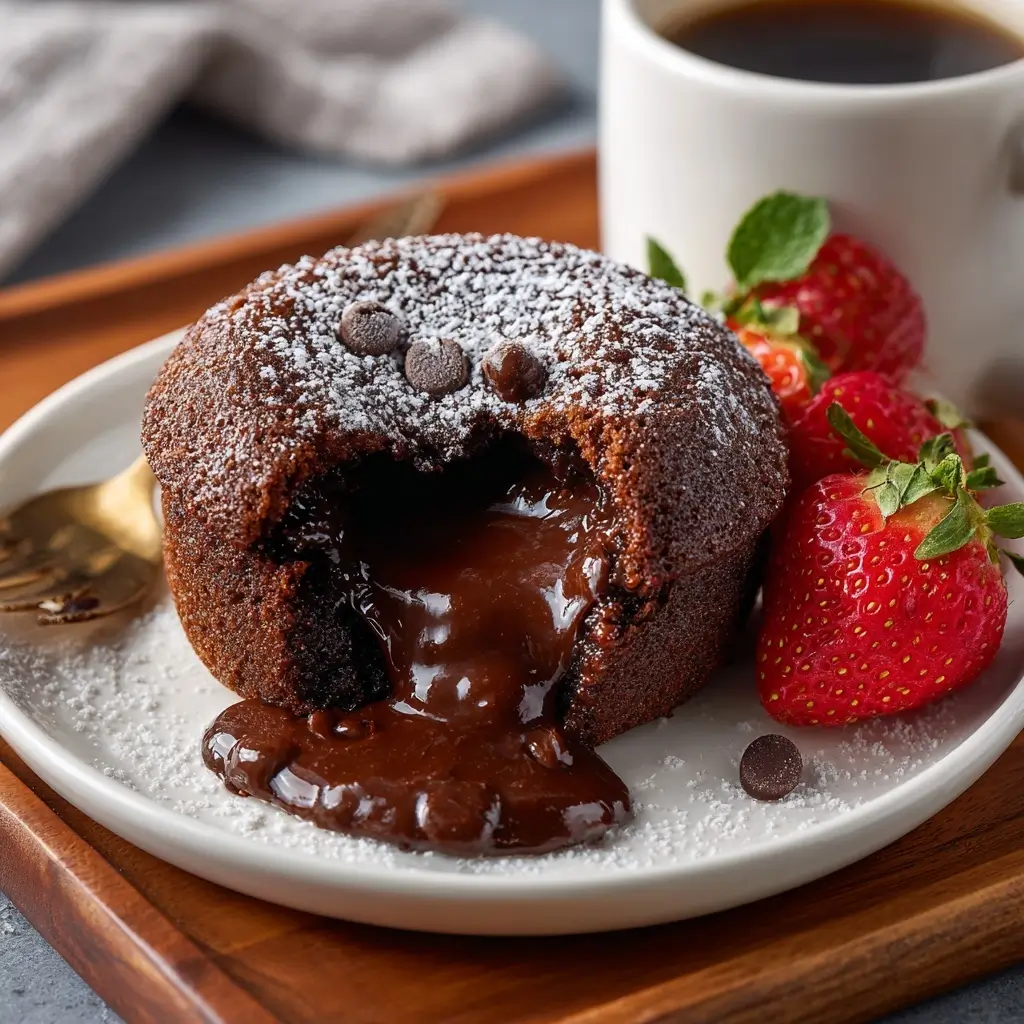
If you’re craving a rich, decadent dessert but don’t want to spend hours in the kitchen or deal with leftovers, the Chocolate Lava Mug Cake is your ultimate go-to treat. This single-serving molten chocolate cake is baked directly in a mug, ready in under 10 minutes, and delivers a warm, gooey center that oozes luxurious chocolate with every spoonful. Perfect for late-night cravings, impromptu guests, or a personal indulgence, this microwave-friendly dessert combines simplicity, speed, and irresistible flavor into one heavenly bite.
The History
The Chocolate Lava Mug Cake, while appearing modern and trendy, has roots in the broader tradition of individual-sized desserts that gained popularity in the late 20th century. The original “molten chocolate cake” was famously created by French chef Jean-Georges Vongerichten in the 1980s when he accidentally underbaked a chocolate sponge cake, discovering the delightful contrast between a firm outer crust and a liquid chocolate center. This creation quickly became a staple in fine dining restaurants worldwide.
As home cooking evolved and convenience became a priority, especially with the rise of microwave usage, chefs and food bloggers began adapting the lava cake concept into quicker, accessible versions. The mug cake variation emerged in the early 2000s as part of the “instant dessert” trend popularized on social media and recipe-sharing platforms. By using a microwave-safe mug and common pantry ingredients, anyone could recreate the restaurant-style experience at home in minutes. Today, the Chocolate Lava Mug Cake symbolizes the perfect marriage of gourmet indulgence and everyday practicality.
Ingredients Breakdown
The magic of the Chocolate Lava Mug Cake lies in its simplicity and the synergy of just a few key ingredients. Each component plays a crucial role in achieving the ideal texture—crisp edges, moist crumb, and a molten core.
- Flour: All-purpose flour provides structure. It’s not meant to be fluffy like a regular cake; instead, it forms a delicate shell that holds the lava center.
- Sugar: Granulated sugar adds sweetness and helps create a slightly crisp exterior when microwaved. You can use brown sugar for a deeper, caramel-like flavor.
- Cocoa Powder: Unsweetened cocoa powder is essential for intense chocolate flavor. Opt for high-quality Dutch-process cocoa for a smoother, richer taste.
- Baking Powder: Just a pinch helps the cake rise slightly, giving it a tender lift without making it cakey.
- Salt: A small amount enhances all the flavors and balances the sweetness.
- Butter: Unsalted butter adds moisture and richness. Melted butter blends easily and contributes to the dense, fudgy texture.
- Egg: A single egg binds the ingredients and adds protein structure, helping the cake hold together while remaining soft inside.
- Milk: Adds moisture and helps achieve the right batter consistency. Whole milk works best, but any milk substitute (almond, oat, soy) can be used.
- Vanilla Extract: A splash of vanilla deepens the overall flavor profile and complements the chocolate beautifully.
- Chocolate Chips or Chunk: This is the secret to the lava center. Placing a chunk of semi-sweet or dark chocolate in the middle melts during cooking, creating the signature molten core. High-cocoa-content chocolate works best for a rich, bittersweet flow.
- Optional Add-ins: Espresso powder (enhances chocolate flavor), chili flakes (for heat), liqueur (like Grand Marnier or Kahlua), or a sprinkle of sea salt on top after baking can elevate the experience.
Step-by-Step Recipe
- Gather Your Equipment: Choose a microwave-safe mug or ramekin with a capacity of at least 12 ounces. A larger mug prevents overflow and allows room for rising. Also have a small whisk or fork handy.
- Preheat (Optional): While not traditional, some prefer microwaving the mug for 15 seconds to warm it slightly, which can help with even cooking.
- Mix Dry Ingredients: In the mug, combine 4 tablespoons all-purpose flour, 3 tablespoons granulated sugar, 2 tablespoons unsweetened cocoa powder, 1/4 teaspoon baking powder, and a pinch of salt. Whisk thoroughly until no lumps remain and the mixture is uniform.
- Add Wet Ingredients: Pour in 3 tablespoons melted unsalted butter, 2 tablespoons milk, 1 large egg, and 1/2 teaspoon vanilla extract. Stir vigorously until the batter is smooth and fully combined, scraping the bottom and sides of the mug.
- Check Consistency: The batter should be thick but pourable—similar to pancake batter. If too thick, add an extra teaspoon of milk. If too runny, sprinkle in a bit more flour.
- Add the Chocolate Center: Push a tablespoon of chocolate chips or a solid chocolate chunk to the very center of the batter. Do not stir—it must stay intact to melt into a lava pool.
- Microwave: Place the mug in the center of the microwave. Cook on high for 75 to 90 seconds. Start with 75 seconds; if the cake looks too wet, add 5–10 second increments. The cake is done when the top appears set, the edges are slightly pulled away, but the center still looks soft and underdone.
- Rest: Let the mug cake sit for 1–2 minutes after microwaving. This allows the internal temperature to stabilize and the lava center to become perfectly fluid without overcooking.
- Serve Immediately: Carefully remove the mug (it will be hot!) and garnish as desired. Use a spoon to crack open the top and watch the chocolate flow out.
Tips
- Use Fresh Baking Powder: Since this cake relies on minimal leavening, expired baking powder may result in a dense texture. Test yours by mixing a pinch with hot water—if it bubbles, it’s active.
- Don’t Overmix: Once the wet and dry ingredients are combined, stop stirring as soon as the batter is smooth. Overmixing can develop gluten, leading to a tough cake.
- Choose the Right Mug: Avoid mugs with metallic paint or trim—they can spark in the microwave. Ceramic or stoneware mugs work best.
- Timing Is Crucial: Microwave wattages vary. An 800-watt microwave may need 90 seconds, while a 1200-watt unit might only need 60–70 seconds. Keep an eye on it the first time you make it.
- Center the Chocolate Deeply: Press the chocolate all the way to the bottom center so it melts evenly and creates a generous lava pocket.
- Let It Rest: Skipping the resting period can cause the cake to collapse or the center to solidify too quickly. Patience ensures optimal flow.
- Watch for Overflow: Fill the mug no more than 3/4 full. If doubling the recipe, use a larger bowl or deep ramekin, not a standard mug.
- Serve Hot: This dessert cools quickly and firms up. For best results, eat within 5 minutes of cooking.
Variations and Customizations
The beauty of the Chocolate Lava Mug Cake is its versatility. Once you’ve mastered the base recipe, feel free to experiment with exciting twists:
- Flavor Infusions: Add 1/4 teaspoon instant espresso powder to enhance chocolate depth, or mix in orange zest for a chocolate-orange twist.
- Dietary Adaptations:
- Gluten-Free: Substitute all-purpose flour with a 1:1 gluten-free baking blend.
- Dairy-Free: Use coconut oil or vegan butter and almond/oat milk. Choose dairy-free chocolate.
- Vegan: Replace the egg with a flax egg (1 tbsp ground flaxseed + 3 tbsp water, set for 5 mins) and use plant-based substitutes for butter and milk.
- Protein Boost: Stir in 1 tablespoon of chocolate protein powder or collagen peptides. Adjust liquid slightly if batter thickens.
- Nutty Crunch: Sprinkle chopped walnuts, pecans, or hazelnuts into the batter or on top before serving.
- Spiced Version: Add a pinch of cinnamon, cayenne, or cardamom for a warm, exotic flair.
- Liqueur-Infused: Mix 1 teaspoon of Baileys, Amaretto, or Frangelico into the batter for an adult twist.
- Double Chocolate: Use chocolate-flavored protein powder or add extra chocolate chips throughout the batter.
- White Chocolate Lava: Swap cocoa powder for white chocolate powder (or omit) and use white chocolate chunks in the center. Add a few drops of almond extract for flavor.
- Peanut Butter Core: Replace the chocolate center with a dollop of peanut butter or a peanut butter cup for a Reese’s-inspired treat.
- Salted Caramel Center: Use a soft caramel square or a spoonful of thick caramel sauce in the middle for a sweet-and-salty surprise.
Health Considerations and Nutritional Value
While undeniably indulgent, understanding the nutritional content can help you enjoy this treat mindfully.
Nutrition Facts (Approximate per serving):
- Calories: 380–420
- Total Fat: 18–22g (Saturated Fat: 10–12g)
- Cholesterol: 85mg
- Sodium: 200–250mg
- Total Carbohydrates: 50–55g (Dietary Fiber: 3–4g, Sugars: 30–35g)
- Protein: 6–8g
Considerations:
- High Sugar Content: Due to added sugar and chocolate, this dessert is best enjoyed occasionally, especially for those managing blood sugar levels or following low-sugar diets.
- Saturated Fat: Butter and chocolate contribute saturated fats. Using reduced-fat alternatives or avocado oil can lower this, though texture may change.
- Portion Control: Being single-serving helps prevent overeating, unlike larger cakes where portions can spiral.
- Healthier Swaps: Use coconut sugar or monk fruit sweetener, whole wheat pastry flour, and dark chocolate (70%+ cocoa) to increase antioxidants and reduce glycemic impact.
- Balance: Pair with fresh berries, Greek yogurt, or a green salad for a more balanced dessert experience.
Ingredients
- 4 tablespoons all-purpose flour (or gluten-free alternative)
- 3 tablespoons granulated sugar (or coconut sugar)
- 2 tablespoons unsweetened cocoa powder (preferably Dutch-process)
- 1/4 teaspoon baking powder
- Pinch of salt
- 3 tablespoons unsalted butter, melted (or coconut oil)
- 1 large egg
- 2 tablespoons milk (dairy or non-dairy)
- 1/2 teaspoon vanilla extract
- 1 tablespoon semi-sweet or dark chocolate chips or chunk
- Optional: 1/4 tsp espresso powder, pinch of cinnamon, or 1 tsp liqueur
Directions
- In a microwave-safe 12-ounce mug, whisk together flour, sugar, cocoa powder, baking powder, and salt until well combined.
- Add melted butter, egg, milk, and vanilla extract. Stir with a fork or small whisk until smooth and no dry pockets remain.
- Ensure the batter is lump-free and uniformly mixed. Adjust consistency with a splash more milk or flour if needed.
- Push the chocolate chip or chunk into the center of the batter, submerging it completely.
- Microwave on high for 75 to 90 seconds, depending on your microwave’s power. The cake should rise and appear set on top, but still soft in the center.
- Allow the mug cake to rest for 1–2 minutes after cooking to let the lava center settle.
- Serve immediately with optional toppings such as powdered sugar, whipped cream, ice cream, fresh raspberries, or a drizzle of chocolate sauce.
FAQ
Q: Can I make this without a microwave?
A: Yes! Preheat your oven to 350°F (175°C). Use an oven-safe ramekin and bake for 12–15 minutes until the edges are set but the center remains soft.
Q: Why is my mug cake dry or rubbery?
A: Overcooking is the most common cause. Reduce the time by 10–15 seconds. Also, avoid overmixing the batter, which develops gluten and leads to toughness.
Q: Can I prepare the batter ahead of time?
A: Not recommended. The baking powder activates upon contact with liquids, so pre-mixing will reduce the rise. However, you can pre-measure dry ingredients in a container for quick assembly later.
Q: My cake overflowed. What went wrong?
A: The mug was likely too small or overfilled. Always leave at least 1 inch of space at the top. Also, ensure your mug is truly microwave-safe and not overly narrow.
Q: Can I double the recipe?
A: It’s better to make two separate mug cakes. Doubling in one mug leads to uneven cooking—edges burn while the center stays raw.
Q: How do I store leftovers?
A: This cake is best eaten fresh. Reheating alters the lava texture, turning it into a solid cake. It’s designed for immediate enjoyment!
Q: Can I use oil instead of butter?
A: Yes, use 3 tablespoons of neutral oil like canola or melted coconut oil. Butter provides richer flavor, but oil keeps it moist.
Q: Is it safe to eat with raw egg?
A: The microwave heat typically reaches temperatures that cook the egg sufficiently. For extra safety, use pasteurized eggs, especially for pregnant individuals or those with weakened immune systems.
Summary
The Chocolate Lava Mug Cake is a lightning-fast, restaurant-worthy dessert that brings gourmet joy to your kitchen in under 10 minutes. With a crisp exterior, tender crumb, and a molten chocolate heart, it’s the ultimate solo treat for chocolate lovers.